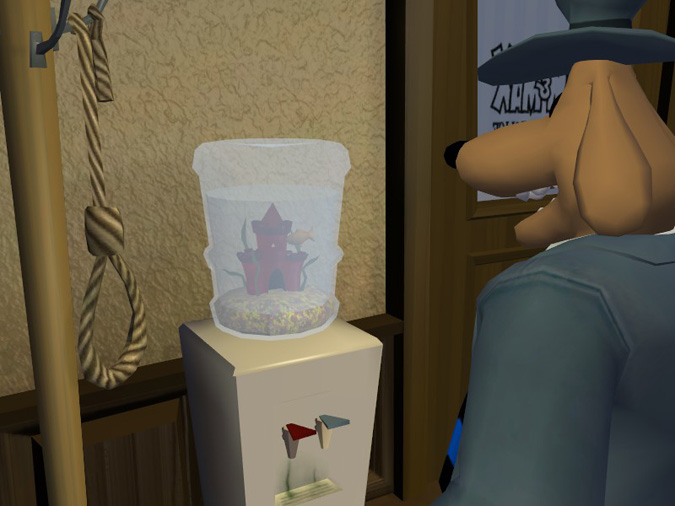
Continuing with Mr. Spatula’s water cooler, I planned to make two versions, one with resin water and one with real water like a snow globe. The castle inside the water cooler is a metal charm and I’m concerned it will rust if it sits in water. I spent a very long time looking online for a plastic charm I could use in the snow globe version, thinking “If only I could find a plastic version of the same charm I already have…”
Well, hey! Why not make one out of resin?
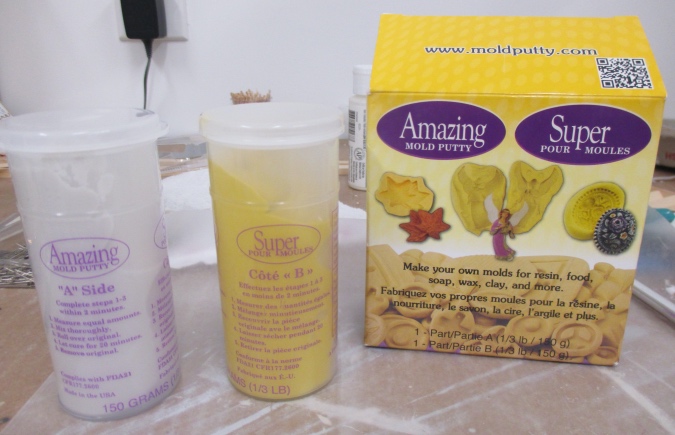
I bought a package of Amazing Mold Putty from Michaels. (The price is $23 on the website but it was $26 in the store. Lame.) The way this stuff works is, you take a glob out of the A package and a same-sized glob out of the B package and knead them together until the putty is a uniform color.
Then you squish the thing you want to make the mold of into the putty and let it sit there for about twenty minutes.
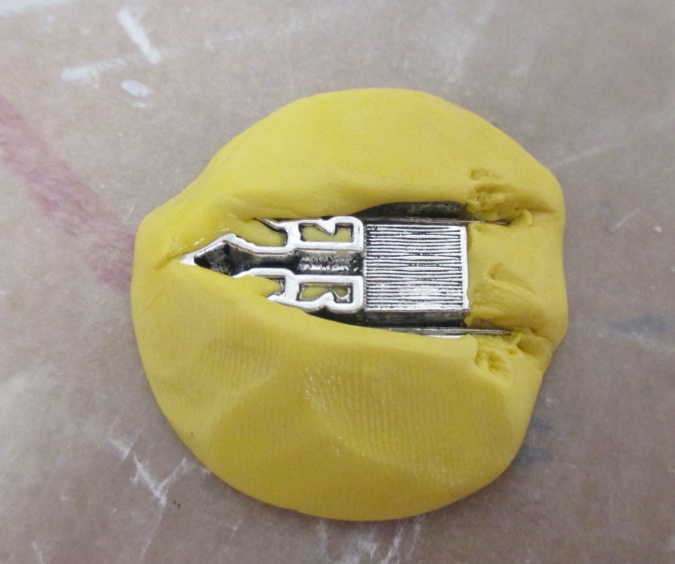
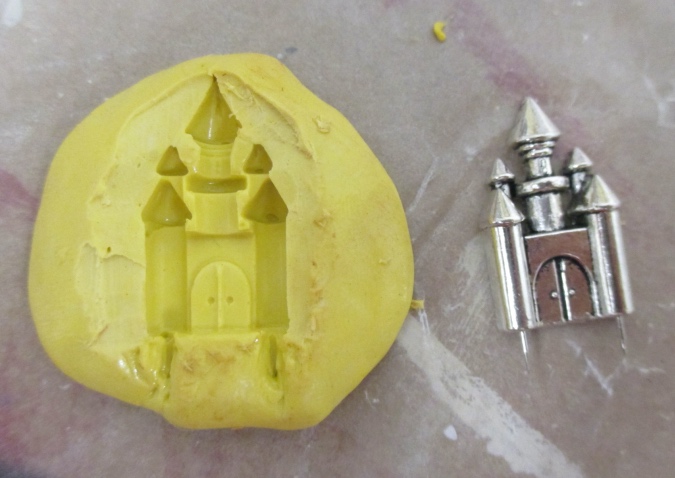
I glued pins to the charm, sticking out the bottom, to help secure it to the cork base. I included the pins on the castle I made the mold of, thinking this would allow me to insert pins before I poured in the resin and have them be embedded in the castle.
Looks pretty good! I scraped a razor blade over the top of the mold to make it flat(ish).
Next it was time to mix the resin. I’m using EasyCast. Like the putty, there are two bottles — the resin and the hardener — and you need to mix exactly the same amount of each one together.
Since I’ll also be filling up a dome with resin, I decided to use this process as practice and figured out exactly how much resin I needed to add to the dome to have it stop just above the castle. I poured water into a dome and eyeballed it next to the finished base (I didn’t want to get the base wet) to estimate that 1/2 tablespoon of water or resin would reach just above the top of the castle.
On a paper cup, I drew a line at 3/4 teaspoons (which is half of 1/2 tablespoon) and a second line at 1/2 tablespoon, with the intention of pouring the resin up to the first line and then adding hardener up to the second line.
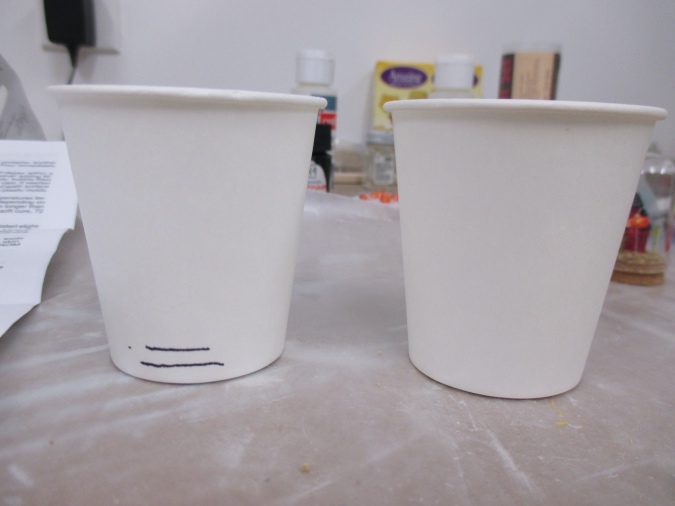
I set up a light shining at the cup so I’d be able to see the lines from the other side.
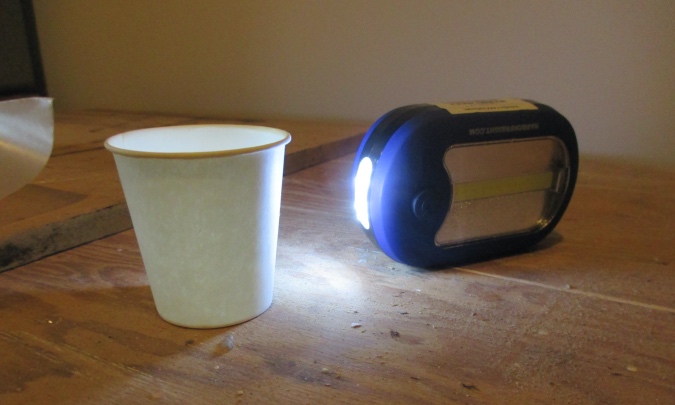
The instructions for the resin are to pour equal amounts from both bottles into the same cup and stir for two minutes, then transfer to another cup and stir with a new stir stick for an additional minute. I’m not sure what the reasoning is for pouring into the second cup, but I did it. I set up my phone on the table with the stopwatch running so I could make sure I stirred for the appropriate amount of time.
Turns out this was much too much resin for the mold! However, I noticed that a lot of resin didn’t make it out of the first cup and into the second cup, so what I ended up pouring in was somewhat less than 1/2 tablespoon. This was important to learn, since once it came time to pour resin into the dome I wouldn’t have a second chance to fill it up more — so I knew now that trying to pour in *exactly* the right amount wasn’t going to work.
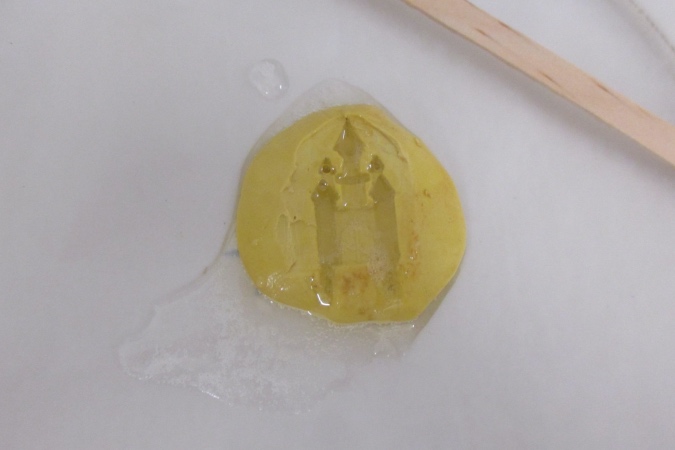
(Also, I forgot to put the pins in before I poured in the resin. Oops.)
I set it aside for 24 hours, per the instructions. After 24 hours it was still a bit sticky, so I let it sit another 24 hours. The next day it was the same amount of sticky, so I decided to pop it out of the mold anyway.
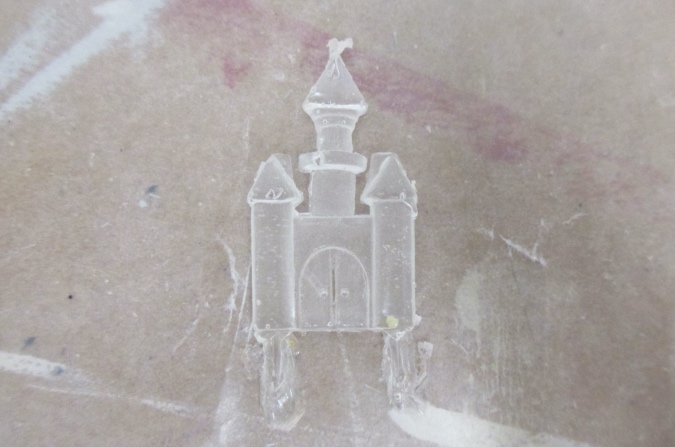
Continue reading


 I started by shrinking it down to 199 x 307 pixels. I think I used Photoshop’s Bicubic Sharper setting when I reduced it, but it might have been regular Bicubic. One pixel is equivalent to one stitch, so this comes to about 5″ x 7.5″ on 40-count.


 Emily is a freelance writer, miniaturist, and adventure game enthusiast.

