I visited family in Boston right before Christmas. A few weeks before the trip, I searched for dollhouses on Boston Craigslist, just in case… and I lucked out!
I wish I had saved the pictures because the post is long gone now, but it was an estate sale where someone was selling off a miniature collection. I recognized several half scale dollhouses, including an Elizabeth Anne and a Jackie Deiber pull-apart rowhouse (both of which I already have).
And then there was this:
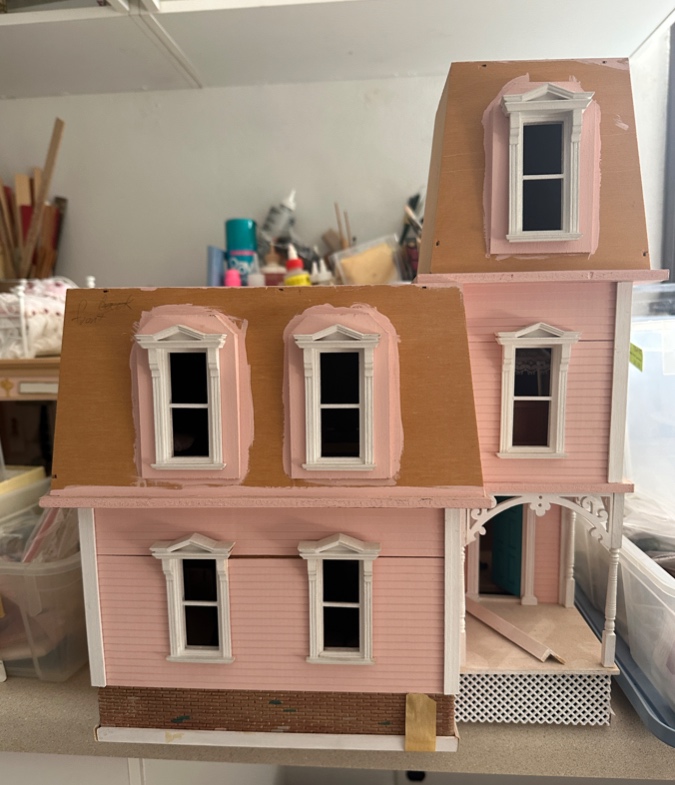
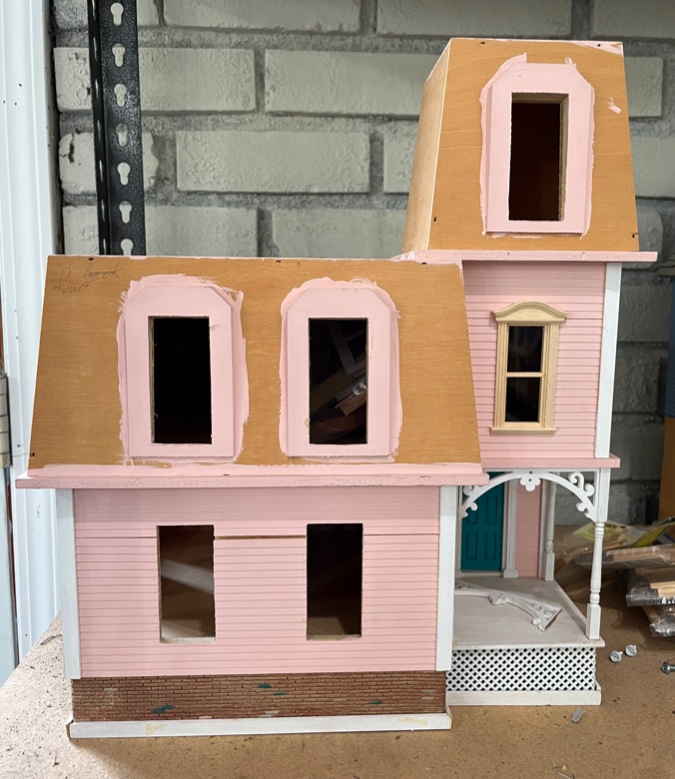
I’ve posted about this house before. It’s another of Jackie Deiber’s pull-apart houses, like the one I linked to above and the Gull Bay. It’s similar to a 1:12 house named the Amberwood, so unless someone comes forward to let me know it has another official name, that’s what I’m going to call it.
I passed up the opportunity to buy this dollhouse on eBay (twice!) back in 2016. It’s top-heavy with that big roof (the taller 1:12 version has better proportions), and I don’t like the dormers. I also knew from having two others that pulling these houses apart to access the inside is awkward. For all of these reasons, I never felt like I *needed* this one.
But how could I ignore a half scale house I’d randomly found on Craigslist, clear across the country, three weeks before I would be there in person? The thrill of the chase was too enticing.
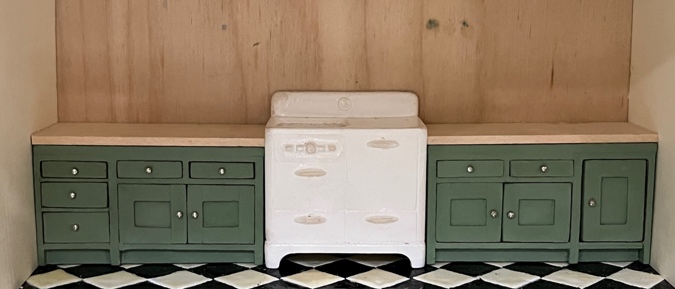
I emailed the seller. She wasn’t interested in dealing with someone who wasn’t local. I told her I would be in town in mid-December, could she set it aside? She said no, the estate sale would be over by then. I offered to send my parents over there to buy it for me. Finally she relented and sent me a few more pictures, including this one…
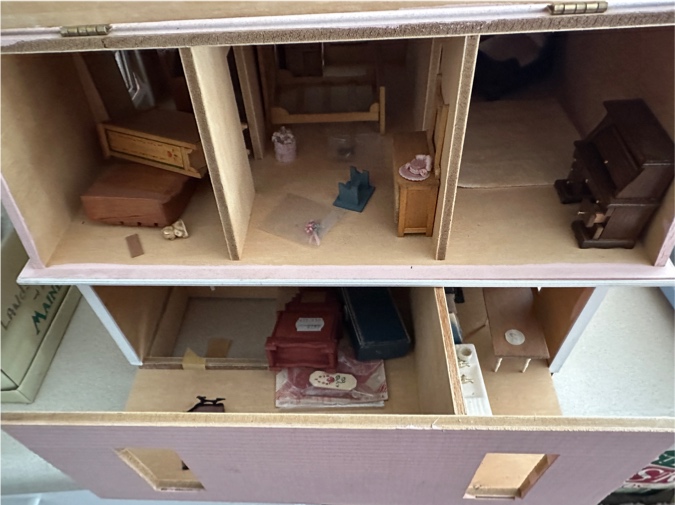
Okay, now I really needed it. I just had to know what was inside. I offered $125 and she agreed to that for the house and the furniture. My parents picked it up, I brought the furniture home in my suitcase when I visited, and then we shipped the dollhouse from Boston to California.
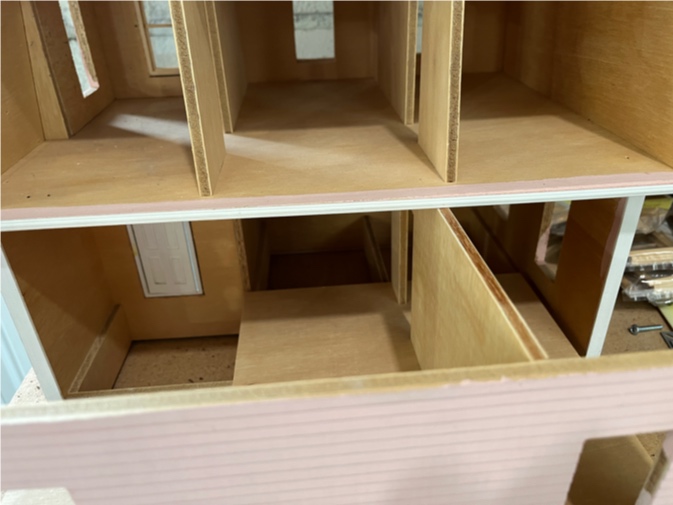
The first thing I did was pop out the Victorian windows. I’m going to use Houseworks bonnet-top windows for the body of the house, and will get creative with windows and trim on the roof windows to make them look more like real dormers.
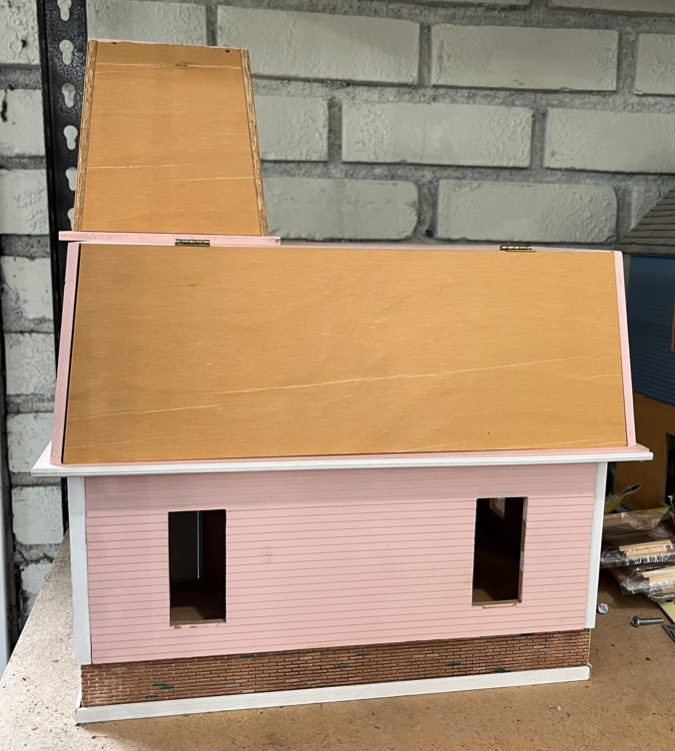
The roof is hinged, and the back side of the house slides out.


 Emily is a freelance writer, miniaturist, and adventure game enthusiast.

