I’m not doing anything Christmas-related this year — no decorating, no gifts, nothing. I don’t mean to be a Grinch, but it’s really started to bug me how for the entire month of December (and even some of November!) the holiday is foisted on people whether they like it or not. You can’t watch TV or go grocery shopping or sit in a coffee shop without the world shouting GUESS WHAT, CHRISTMAS!!!! in your ears. I remember as a kid not really understanding the whole “Christmas is too commercial” message in the Charlie Brown special… well, Linus, I get it now. That kid was wise beyond his years.
Anyhoo. The winter scene in the four seasons roombox isn’t going to be overly Christmassy, but I did make a couple of season-appropriate plants for it. (Also: I looked up “Christmassy” and this is how the internet says I should spell it. Looks weird to me, but if it’s on the internet it must be true.)
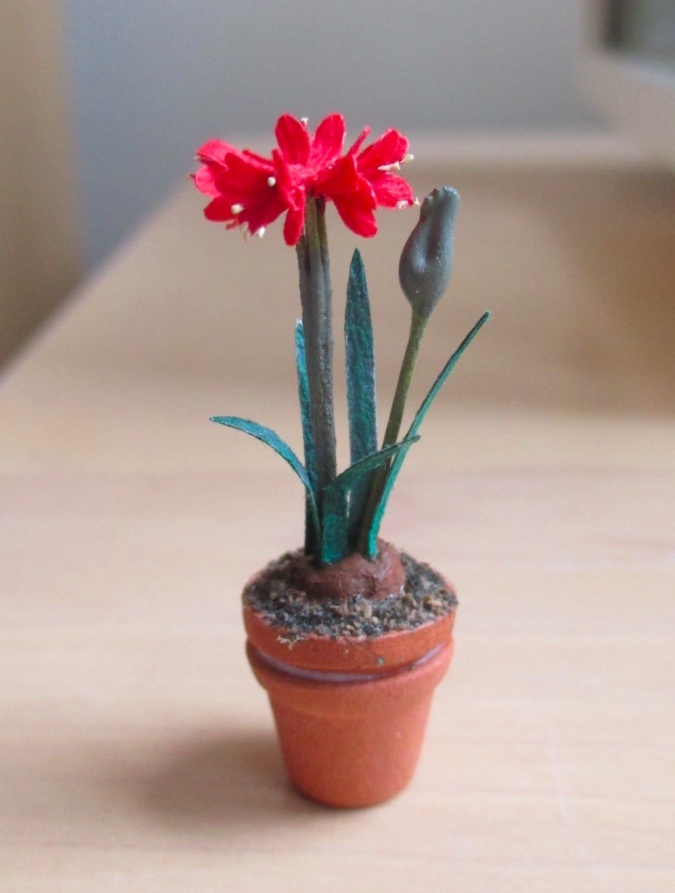
The first plant is an amaryllis from an SDK Miniatures kit. My mom has given me amaryllis bulbs in the past and they bloom in the Christmas/winter timeframe, so it seemed fitting for the roombox. Here are the ones I grew last year.
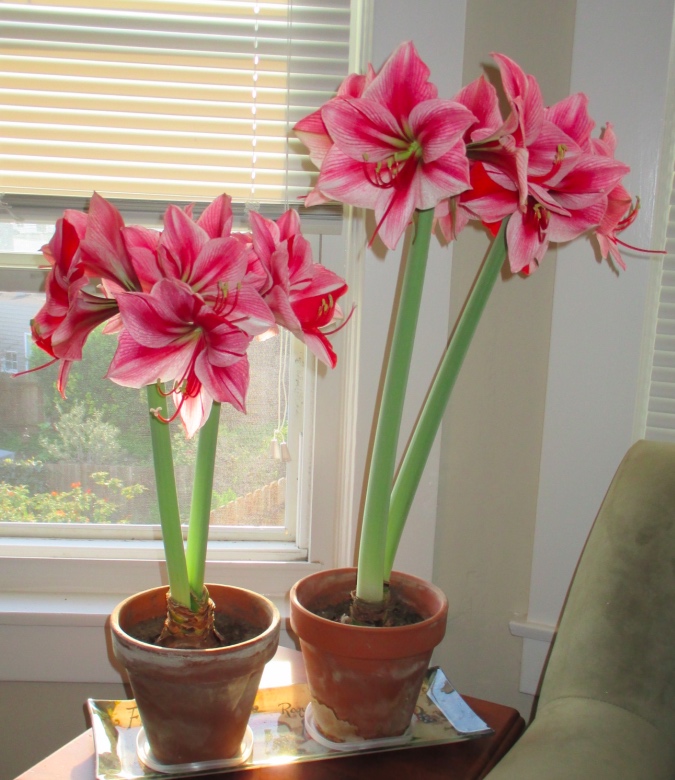
(I say that like I had anything to do with it. My mom helped me plant them in pots and then I just put the pots near the window and this is what happened.)
When my parents visited earlier this month, my mom helped me put the kit together. It starts with making a bud out of a glob of glue. This took a long time to dry and gravity kept dragging the blob down in the interim. Maybe tacky glue wasn’t the right choice.
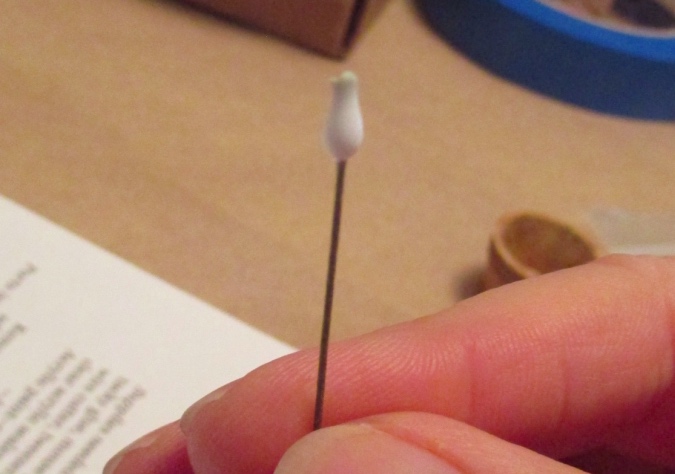
I’ve made a few SDK kits in the past but it’s apparently been a very long time, because then the kits came with punched-out colored paper that needed to be folded and snipped to make petals. Now the petals are laser cut, on white paper, and need to be painted. Apprehensive about painting such teeny tiny pieces, I used fine tip magic marker instead.
Pro: they dried quick! Con: I only had one color of green and it’s not a super realistic leaf color. We colored gray over the green to temper the color a bit.
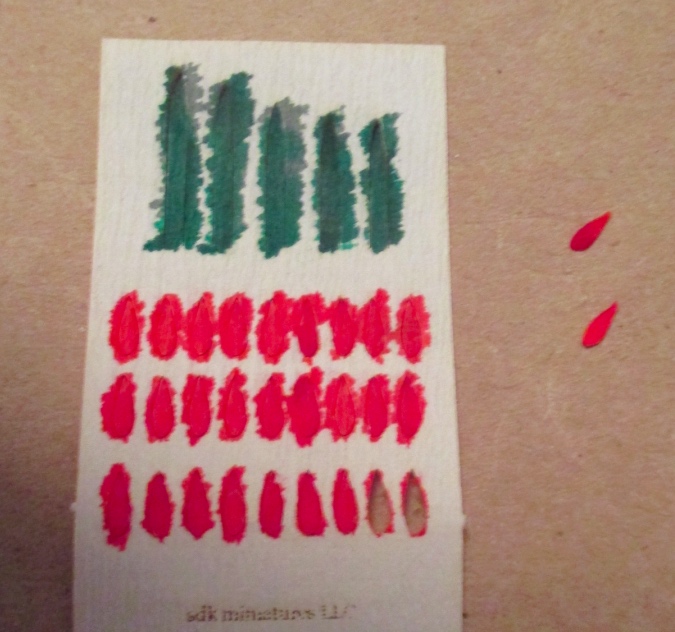
(Note: the red isn’t *quite* this red. The camera’s automatic color setting got overenthusiastic.)
Here’s the completed amaryllis in the window. We didn’t consider when “planting” the flowers that the window sashes would get in the way of the flower. Hmm.
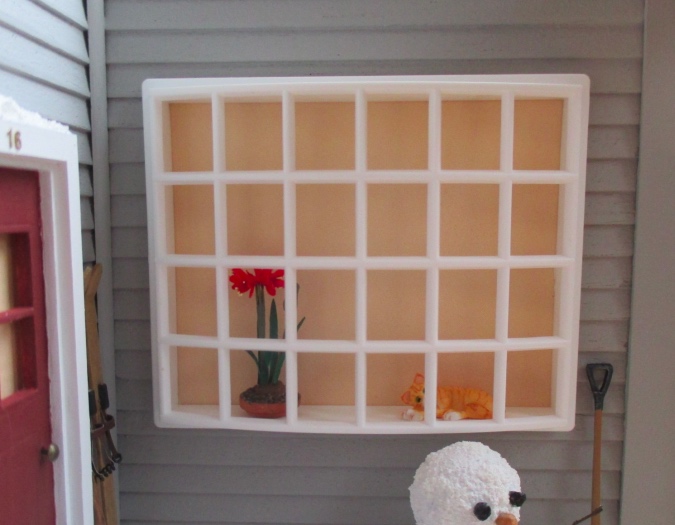
Everything was glued into the pot at this point and I didn’t want to destroy it, so I started looking around for containers I could put the shallow pot into, to give it a boost. Nestled into this flowerpot, it sort of kind of looks like one big pot with a ridge around the top. Maybe?
Continue reading


 Emily is a freelance writer, miniaturist, and adventure game enthusiast.

