Squeezing in one last post for 2024! The blog has been neglected lately because I have been hard at work on a secret project. I surprised Geoff with this roombox for Christmas.
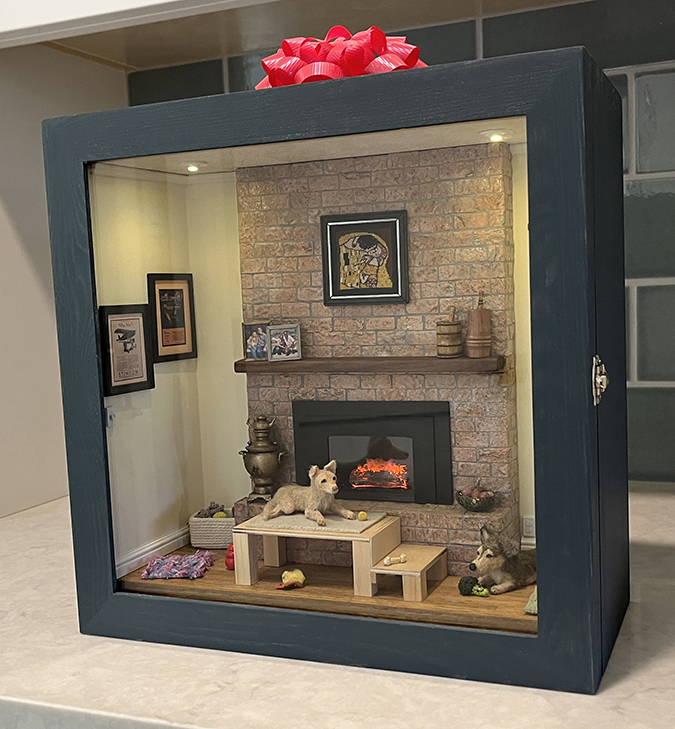
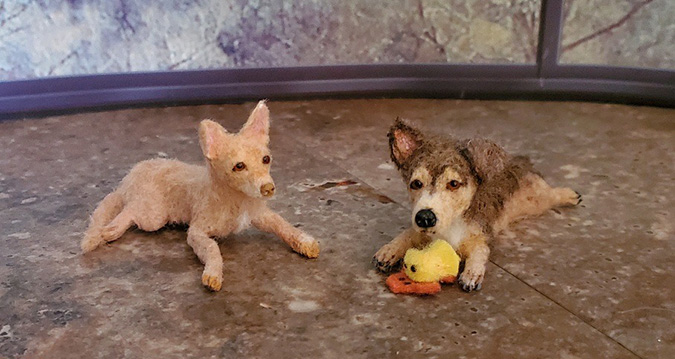
I’ve been wanting to make this vignette since our sweet girl Rosy died last year at the age of fifteen. Not long after that, I saw a Facebook post about Lucy Francis, a talented artist who makes miniature dogs, and I got the idea to memorialize Rosy in front of the fireplace, but I was too sad to get started on it. After we adopted Daisy this summer, I decided to add her to the scene and I emailed Lucy to start the process.
Lucy was very responsive and wonderful to work with. She even made Daisy a duck toy.
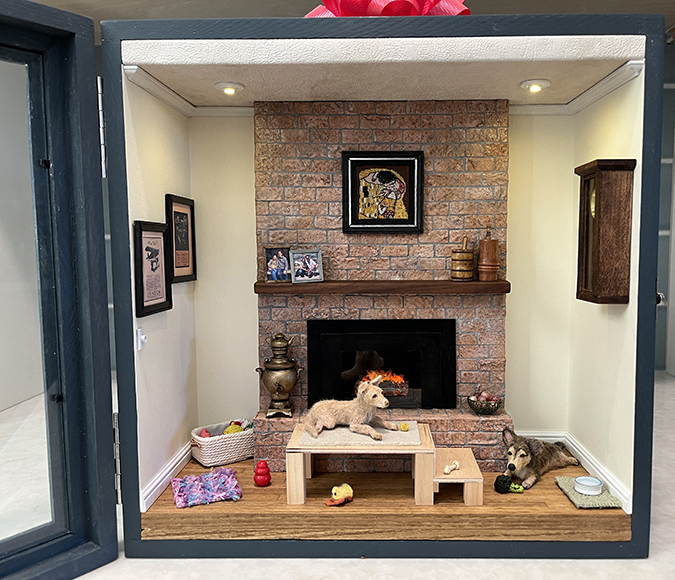
The scene is set in a 12″ x 12″ x 5.5″ box from PinkSeagullDesign on Etsy. The dogs came out a little larger than 1:12 scale and our house has 8′ ceilings, so the scale of the scene is between 1:12 and 1:6. (I guess that would be 1:9?) The lights are powered by a 9-volt battery hidden under the hearth.

 Emily is a freelance writer, miniaturist, and adventure game enthusiast.

