Back in May, I wrote about how I made a false wall and ceiling for the Mansard Victorian’s bathroom. I never posted pics, but I went on to make false walls and ceilings for the bedrooms on either side of the bathroom.
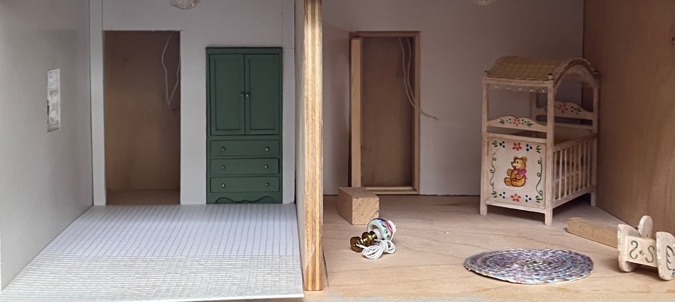
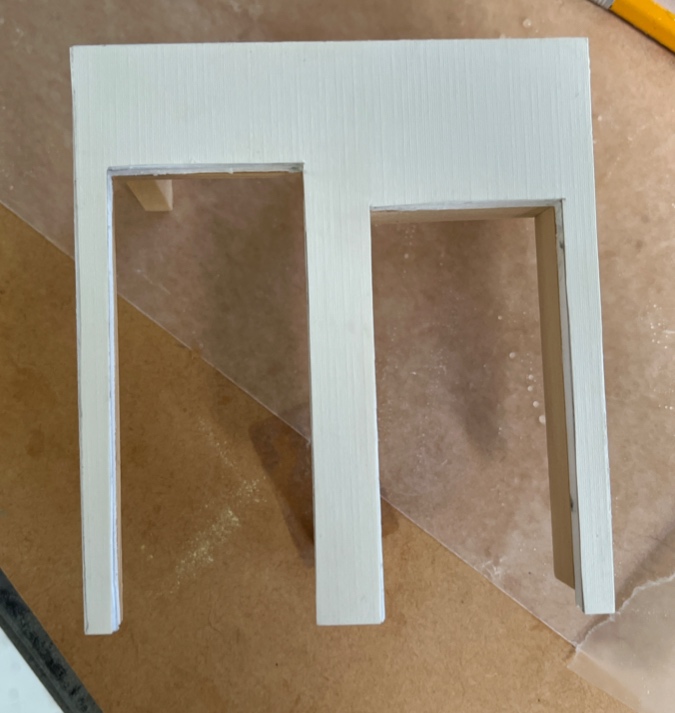
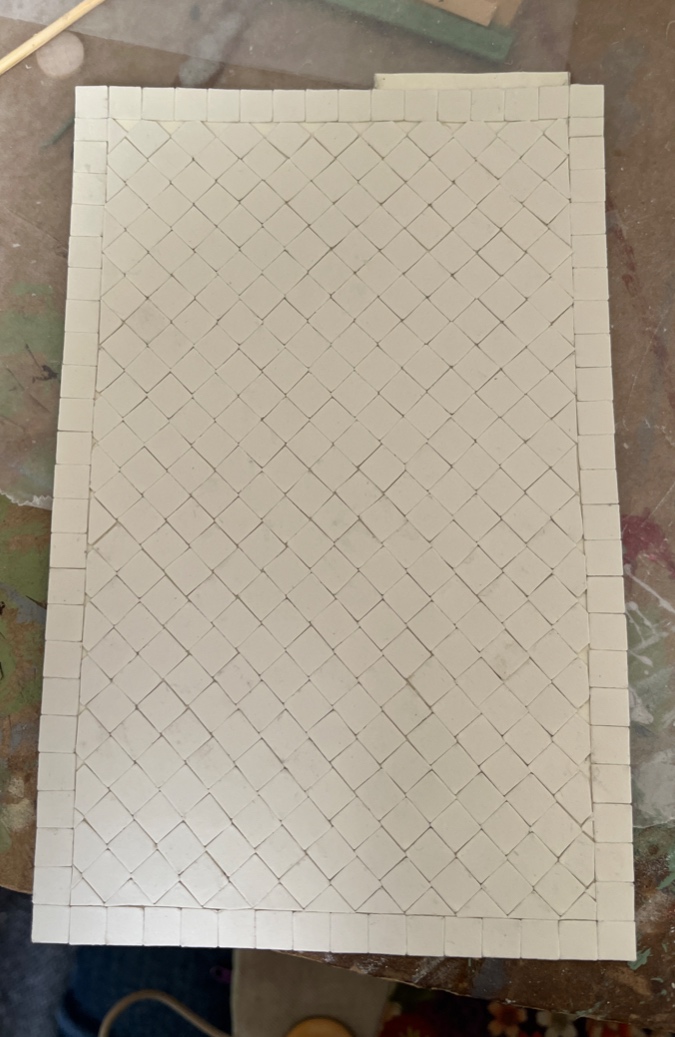
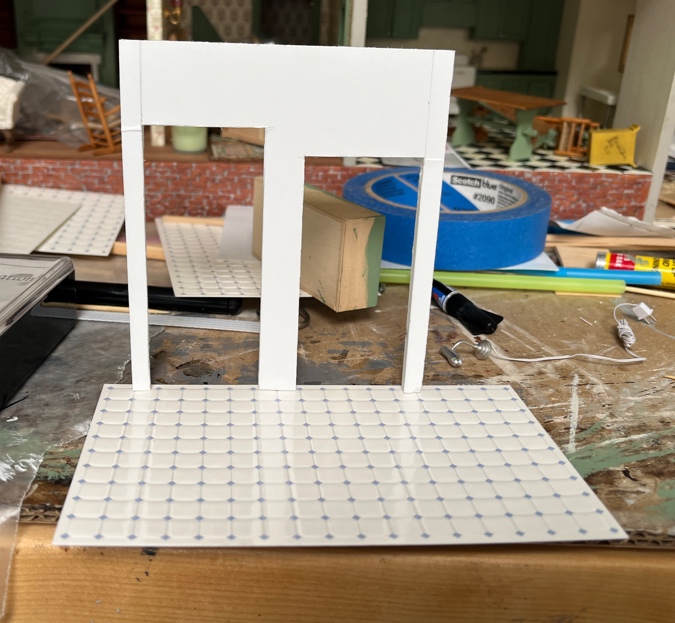
The bathroom wall is set in a bit, to make room for the built-in linen closet and to make a long, skinny room shallower and easier to reach into. But the bedroom walls will benefit from having a larger footprint, so I set those false walls closer to the real wall. (This picture also shows one of my aborted bathroom floor tile attempts.)
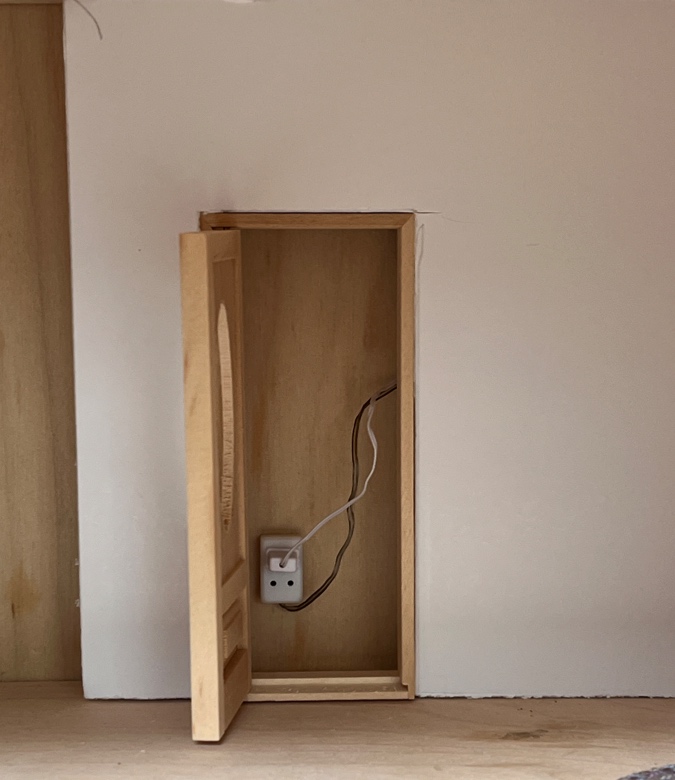
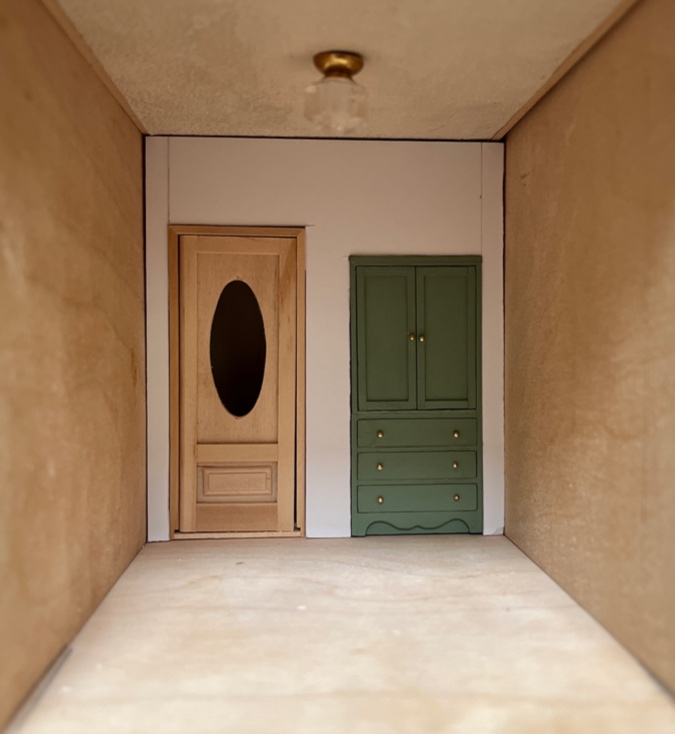
The false walls will hide electrical wires, with outlets accessible behind the doors.
I had one spacer on the back of the bathroom wall, but it wasn’t enough to keep the wall from twisting and sitting crooked when I pushed it in. The foamcore was also bending, since the cutouts for the door and linen cabinet left so little material on the left and right sides. I added more spacers, along with strip wood to reinforce the holes.
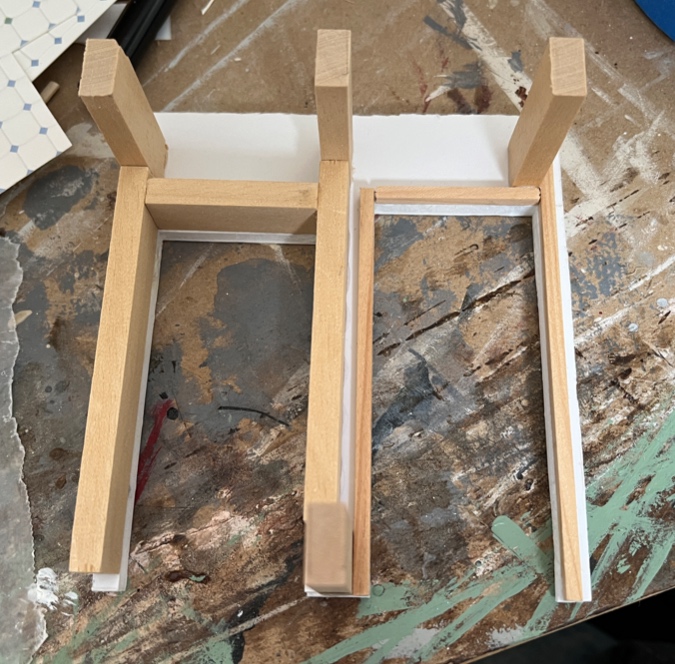
The wood around the door hole will hold the door so it’s flush on the visible side. The wood around the linen cabinet gives me something to glue the cabinet to.
I also glued a piece of scrapbook paper to the front side of the wall, to help prevent those skinny pieces on the left and right from bending.
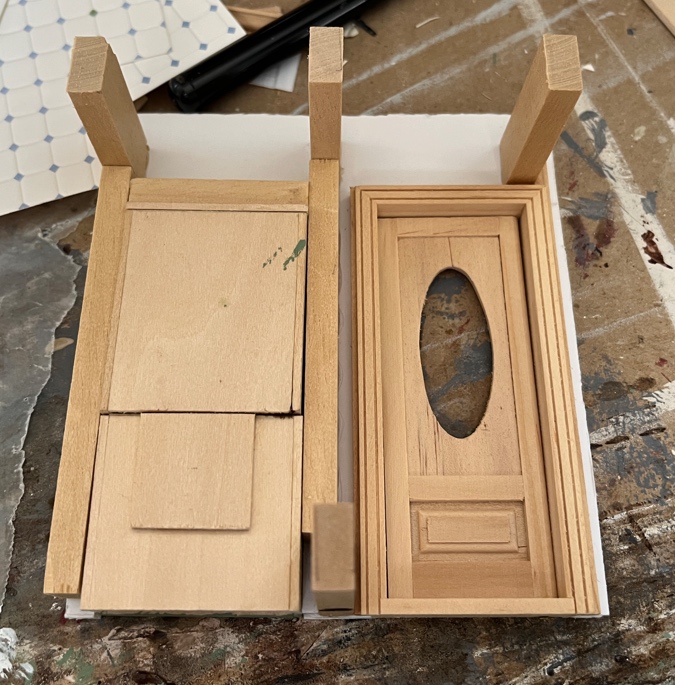
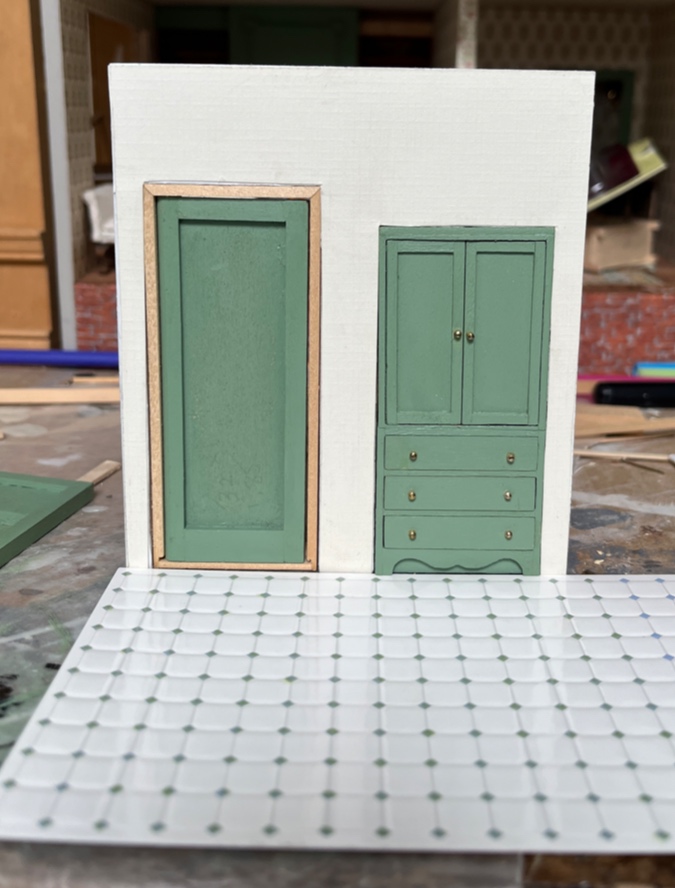
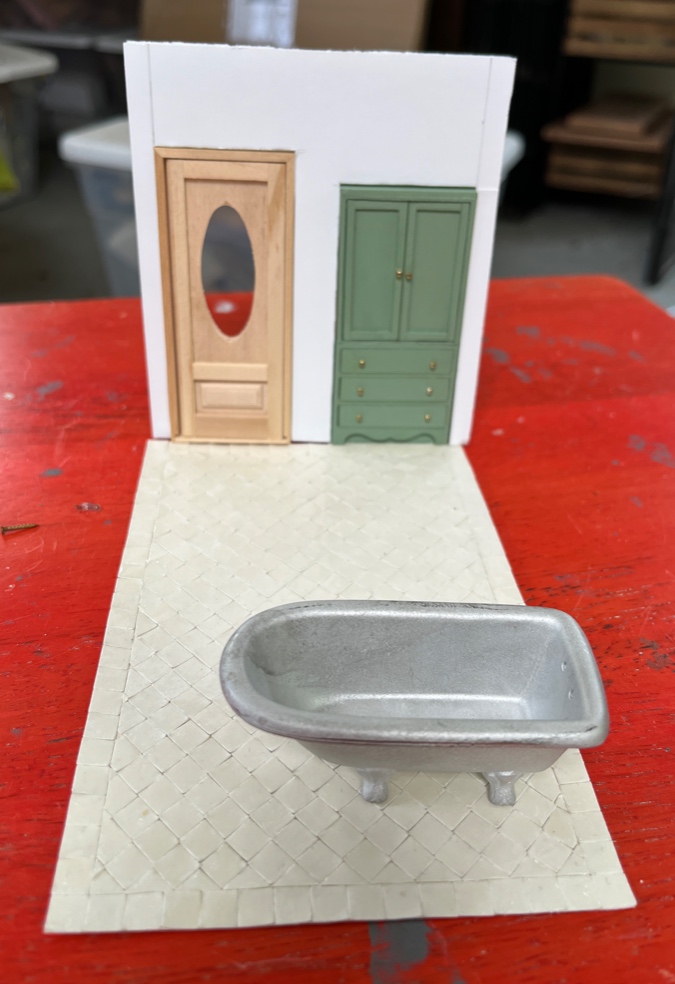
Next I disassembled two more of the Real Good Toys doors and reassembled them with solid panels, as described here. The one on the left is for the bathroom and will have a mirror inset in it. The house where I used to live in San Francisco (built in 1925) had a door like this. The one on the right will go in a bedroom.

I added wood filler to the cracks where the wood pieces meet, and then painted both doors. Here’s how the bathroom door and the cabinet will look next to each other.


 Emily is a freelance writer, miniaturist, and adventure game enthusiast.

