I have this tendency, as I get close to finishing part of a dollhouse, to start messing with the thing that’s finished and totally fine the way it is. Usually I’m glad I messed with it. Occasionally I curse myself for getting ambitious and screwing it up when it was perfectly fine already. I’m not sure yet where on this spectrum the Gull Bay’s front door falls.
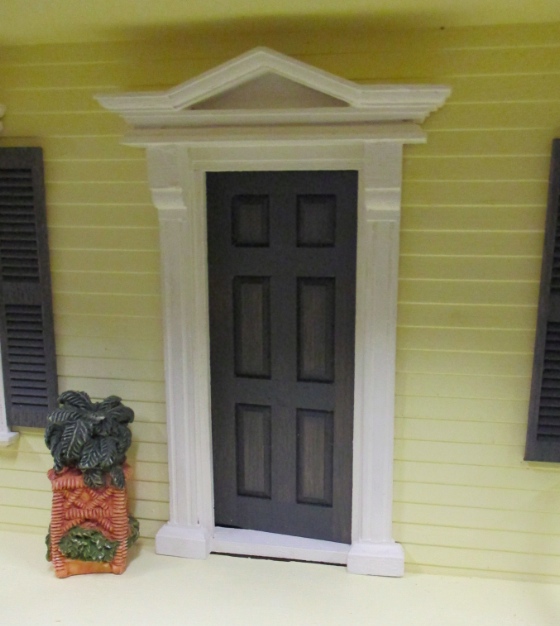
I stained the door, along with the shutters, to match the shingles. It looked good. Just one problem: the floor inside, which is part of the back side of the house that slides out, was slightly too high and the door was catching on it when I tried to open it.
As you can see here, the back and front don’t meet up exactly — there’s a slight gap, and then the floor is slightly higher than the bottom of the door hole.
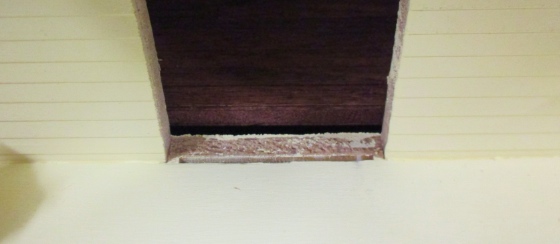
Nothing a little sanding can’t fix, right?
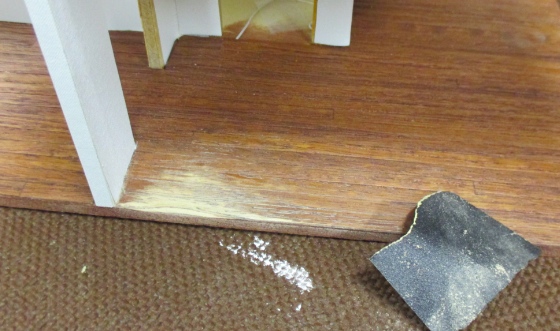
I sanded the hell out of it until the door opened easily enough. The door wasn’t glued in yet — I wanted to make sure this was taken care of first, in case I needed to position the door a certain way while gluing to ensure it would open.

I re-stained the sanded part. It looks a little wonky, but this isn’t really obvious once everything’s in place.

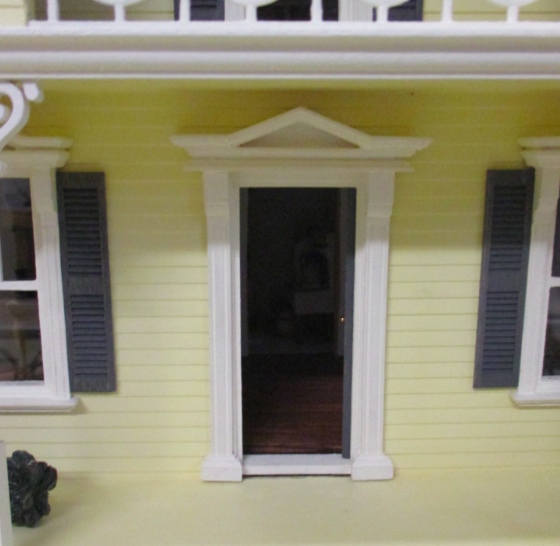
So, great, the door opens. But I was starting to realize how difficult it is to see inside the house, even with the door open. You basically get a straight shot into the kitchen and can’t see into the rest of the living room since the door opens into the room. Because this house slides together and will be displayed completely enclosed, there are very few spots where you can see in, and the front door is one of them.
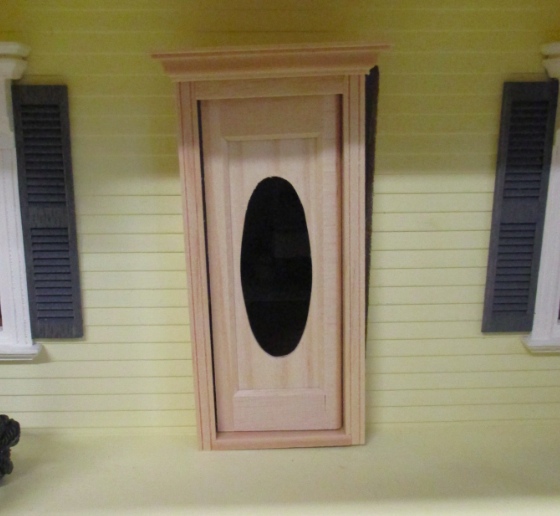
This got me thinking… maybe I should swap my door out for one with a window? I pulled out this oval door that I have for another, not yet started house, just to see how it would look. I really liked how it gives another view into the house, even with the door closed.


 Emily is a freelance writer, miniaturist, and adventure game enthusiast.

