Since the Gull Bay is enclosed and the inside will mostly be viewed through the windows, I wanted to keep the interior light and simple so it’s easy to see the furniture. I decided to use bright white scrapbook paper for the best possible illumination inside.
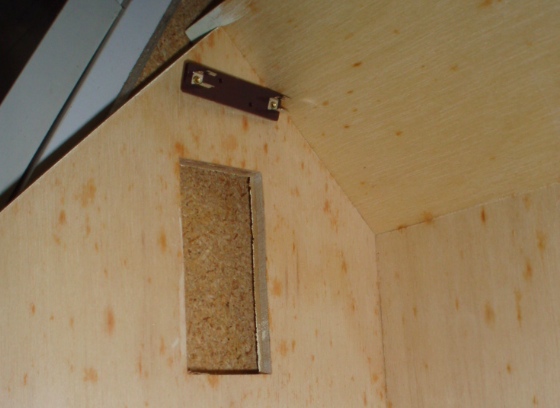
I’ve never been very good at papering dormers. Initially I thought I’d do the peaked ceiling with part wallpaper, part ceiling paper.

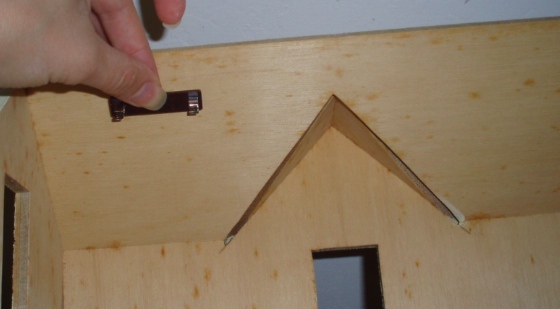
But looking at the two pieces, I decided to use them as a template to cut one piece of wallpaper to accommodate the dormer. The outer line is for the cutout in the ceiling, and the inner line is the inside wall of the dormer.

I seemed to be on the right track.

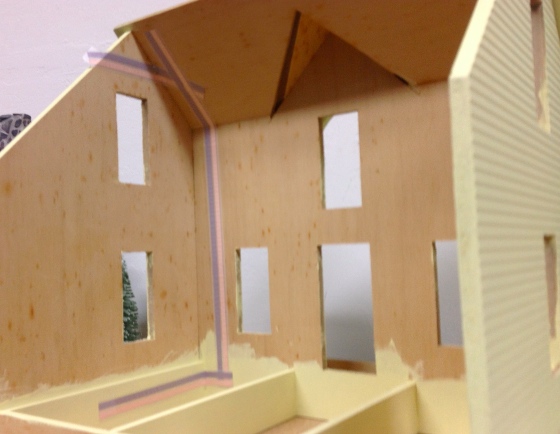
Using two separate pieces for the inside edge of the dormer ceiling, here’s how it looks. Not quite perfect around the dormer, but the best I could do.

As usual, I sprayed my wallpaper with matte sealer before gluing it in.


 Emily is a freelance writer, miniaturist, and adventure game enthusiast.

