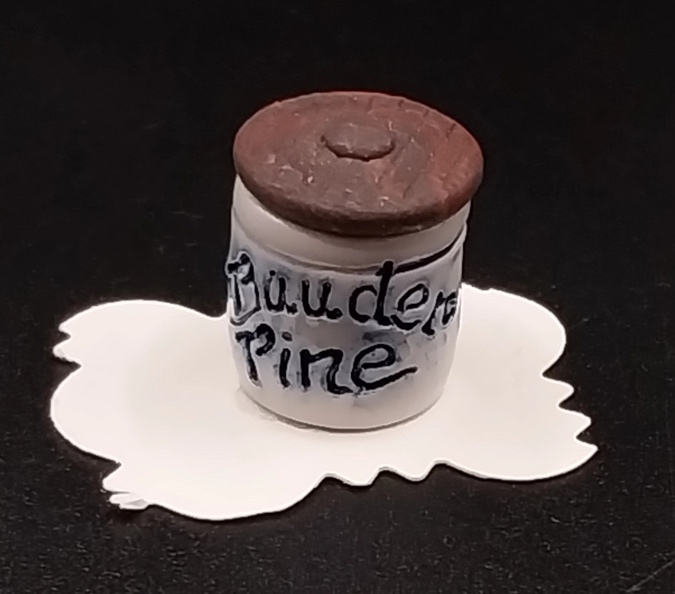
Last week I was browsing the Miniature Designs website and happened upon this Bauder-Pine pickle crock.
Of course, I had to have it for my Mansard Victorian. Shipping was steep for such a tiny thing, so I threw some wallpaper and strip wood in the cart to qualify for free shipping.
I reached out to Cathy, the current owner of Bauder-Pine, to see if she knew anything about it. She said Pat Bauder had a bunch of these in a desk drawer for years, and that they might have been made by Jane Graber or Vernon Pottery. The crock I bought is unsigned, so its maker remains a mystery.
While I was waiting for my new pickle crock to come in the mail, I dug through my stash to see what else I had to dress up the Hoosier cabinet I recently built.
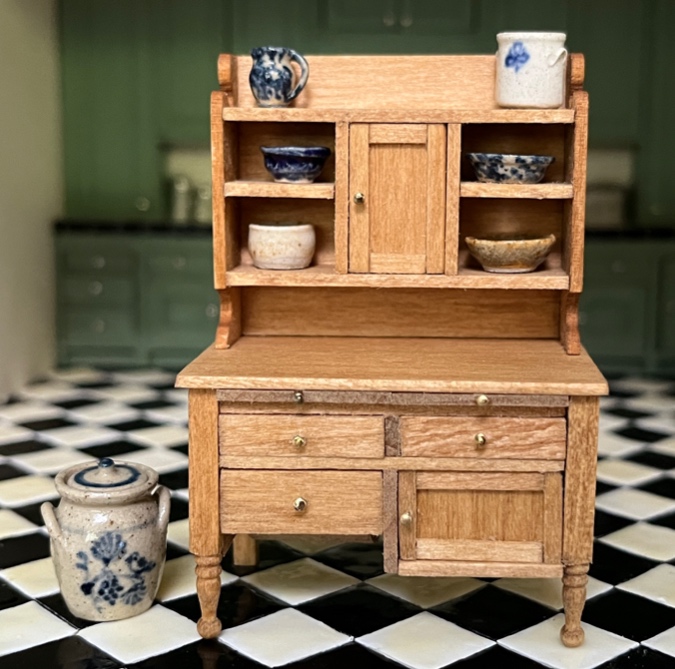
The spatterware jug on the top shelf and matching bowl on the right came from the Amberwood haul, and were made by Jane Graber. (The jug doesn’t have a signature, but the bowl does, and they clearly go together.) The white bowl also came with the Amberwood, but is unsigned.
The brown bowl is unsigned — can’t remember where I got it, but I used to have it on display in the Rosedale. The big crock on the floor is Jane Graber, and the one on the top shelf is San Dunlap (more on this below).
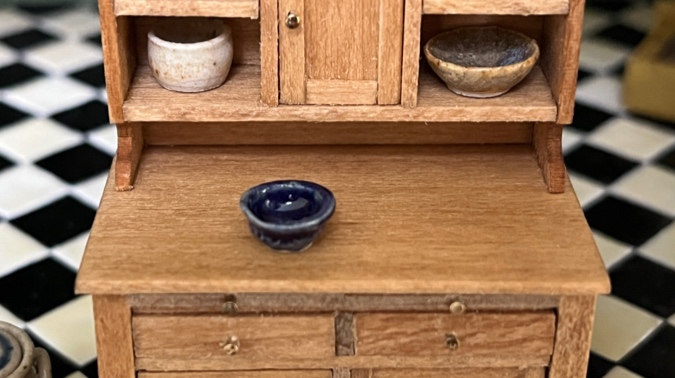
The blue bowl was made by IGMA artisan Jo-Ann Shaw. It was in my stash in a plastic bag with her info and I can’t remember where I got it… maybe in a swap? I’m mentioning this here so I’ll remember later!
So the pickle crock arrived, and it’s adorable. The lid does come off, but the crock is filled with putty to keep the lid from getting lost.

I’ll tuck it in this corner of the counter.

While I was looking for items for the cabinet, I came across this other crock with utensils in it, that I used to have in the Fairfield. (I never set up most of my dollhouses again after I moved in 2020, so all of the accessories that go with the houses are currently separated into bins.) This crock was also made by Sam Dunlap, and I bought it from Dollhouses, Trains, and More years ago after I finished the Fairfield’s kitchen.
Back to the Hoosier cabinet. I also found an orange jug and black spatterware bowl in my stash. I can’t remember where the jug came from, but it was set aside with other Mansard Victorian stuff, so apparently I intended to put it in this house. The bowl is the smallest of a set of 1:12 nesting bowls that I got years ago at an estate sale.

I got the Sam Dunlap crock pictured above from Dollhouses, Trains, and More during their going out of business sale. I intended to also use it for cooking utensils, but it’s a little bigger than the other one and it looked too big on the counter. Seeing it next to the Bauder-Pine pickle crock made me think it could work as a canister, if only it had a lid. Okay, so let’s make a lid!


 Emily is a freelance writer, miniaturist, and adventure game enthusiast.

