Because I’m planning to put the chimney along the seam where the right side panel opens, I decided to put fireplaces in the corner of the rowhouse’s bay window rooms. This has the added benefit of hiding the mess of wires that are running down in these corners to the tapewire on the underside of the house.
I didn’t want to block too much of the opening with a wall, so the wood I cut to fit there is only 1″ wide.
This creates a very small triangle for the fireplace to go up against—only about 1.4″ wide, which I didn’t realize until after I’d committed to it is very narrow for a fireplace! After searching far and wide, I found one at Petite Properties that’s a perfect fit.
The fireplaces are white resin, and I painted them black to look like cast iron.

After looking through a library book and at a lot of pictures online, I printed off some decorative tiles from websites for real Victorian fireplaces. After gluing these on, I painted the fireplaces with a couple of coats of matte varnish.

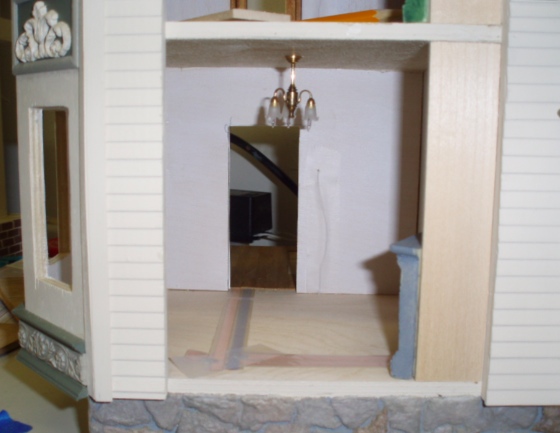
Geoff helped me cut the diagonal walls with the big scary power saw. Since I needed them to be ~1.4″ wide and wood doesn’t come in that width, I got 2″ basswood and we cut it down.

The sides are 45-degree angles so they butt up against the wall pieces.

Not entirely satisfied with my “cast iron,” especially on the panel just above the hole where the raised design was getting lost, I started playing around with green paint. This is “Mossy Green,” the same dark green I’m using for accent trim on the exterior.
My first attempt came out nice entirely by accident… I painted the entire panel green, and decided a few minutes later that I didn’t like it, but it had dried too much to wipe the paint away. As I attempted to rub off the paint I managed to rub off enough of the raised portion for the original black to show through. Almost like I planned it!

I also did the feet and the top with a coat of Mossy Green, and then sponged it off with a paper towel. (I ultimately changed my mind on the feet and painted over them with black again. Fickle!)


 Emily is a freelance writer, miniaturist, and adventure game enthusiast.

