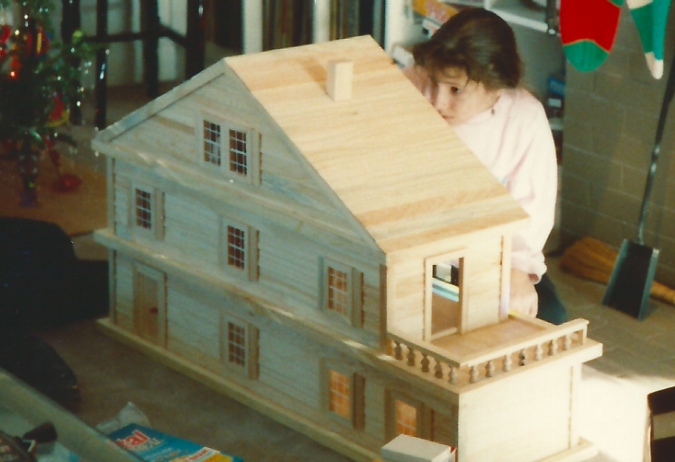
One downside to having a house with an “interesting” shape (square and open on two sides, as opposed to rectangular and open on only one) is that it’s hard to visualize the layout. The pictures in the instructions only show certain angles. So, it took me a very long time to figure out where the stairs go, and what parts of them are visible. I decided not to paint until the whole unit was assembled and I had a better idea of what would be showing… and in retrospect I’m glad I did. One of the things that made my Orchid take longer was that I painted every piece individually, when it would have been faster to assemble certain things first, then paint them.
So, I sanded all the stair pieces, then tried following the directions. They wanted me to glue the bottom, top, and one middle riser to one stringer, then glue on the other stringer, then glue on the rest of the risers. I guess this keeps the assembly square, but I just couldn’t get it to work. Instead, I glued all the risers to the left stringer first, let these dry, then glued the other edges of the risers to the right stringer.
Still, putting the stairs together was very frustrating. The risers kept snapping off. In the end, some of the pieces didn’t glue together quite straight. But I decided not to obsess over it… with pieces this small, there’s only so much you can do!
When that assembly was dry, I glued on the treads. Many of these aren’t quite flat because of the crooked risers / stringers. When those were dry, I glued the rest of the pieces together. The angled piece and back side of the staircase will eventually have shelves built on (per the instructions). I love built-in bookcases! I added woodfiller to the stairs to cover up some gaps that resulted from the assembly not being square… didn’t realize that this part of the staircase will be covered up with a wall! As far as I can tell, the only part of the stairs you’ll really see are the stairs themselves (from the top), with both sides enclosed by walls.
Continue reading


 Emily is a freelance writer, miniaturist, and adventure game enthusiast.

