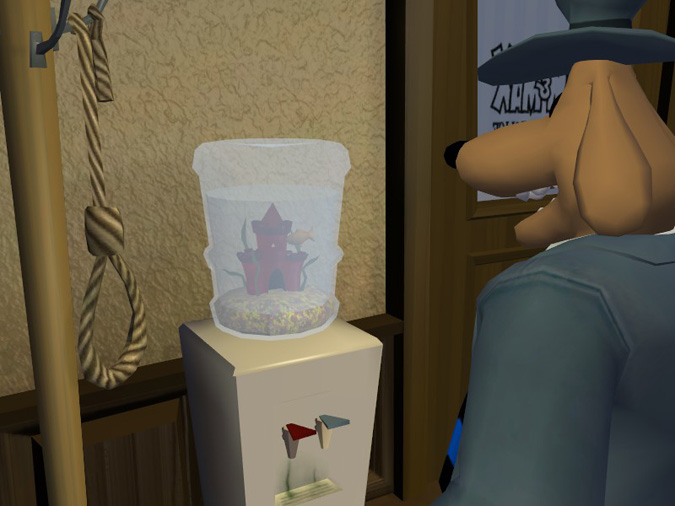
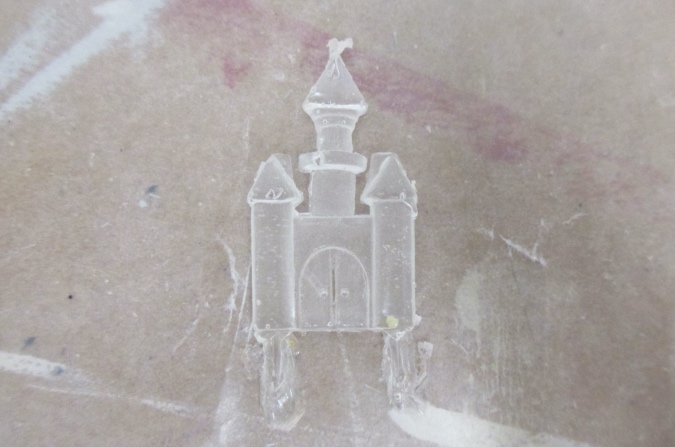
When I left off with Mr. Spatula’s water cooler, I’d made a rather sad attempt at using resin and decided that would not be a good way to achieve a water effect. My second attempt was going to be a snow globe, but I was concerned about the castle (which is a metal charm) rusting in the water. Mr. Spatula wouldn’t like that.

Snow globes are made with regular water plus a few drops of glycerin, a clear gel-like substance that adds weight to the water so the snow/glitter/whatever in the globe drifts when you shake it. My aquarium won’t have any drifting pieces, but I planned to make my snow globe the same way (because why not?) and bought a little jar of glycerin for that purpose. In the comments on my last post someone suggested using just the glycerin and not the water, so I wouldn’t have to worry about the castle rusting. Hey, good idea! (Why didn’t I think of that?!)
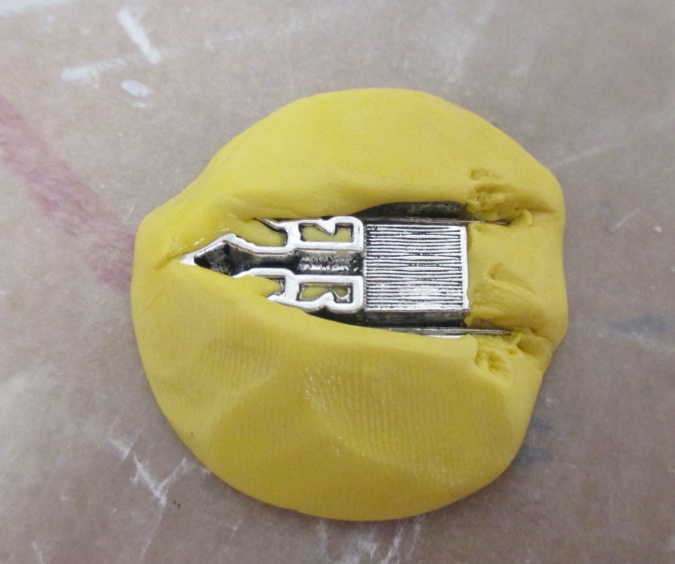
I painted another castle and put together another base. (If you’re just tuning in, you can read about the process of making the base here.) This time I used the waterproof Silicone Sealant and Adhesive to glue everything down. I don’t know if “waterproof” applies to glycerin, but it seemed more likely to hold up in wet conditions than regular glue.

I used monofilament to attach Mr. Spatula to the base this time. It’s more invisible than the plastic shopping tag thingie I used last time.
I covered the top edge of the dome with masking tape, to prevent getting glycerine on the glass where I would want glue to stick.

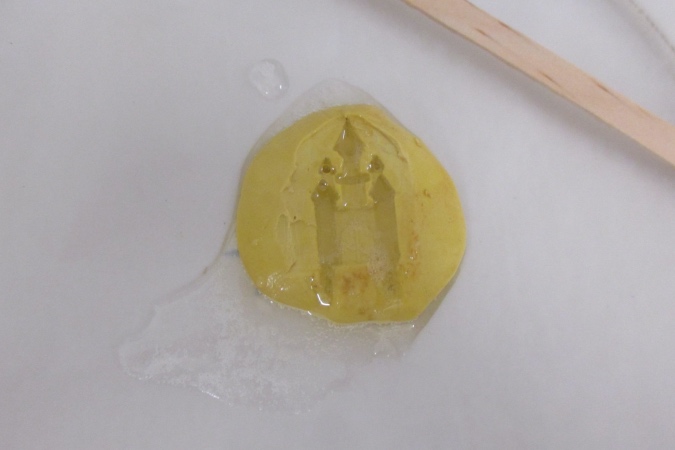
I measured slightly more than 1/2 tablespoon of glycerin into my little shot glass measuring cup and used a funnel from the kitchen to pour it in. (The glycerin is food safe — it’s used in cake icing.)

Like with the resin, I wasn’t able to get all of the thick glycerin out of the shot glass and the funnel, so I ended up with less in the dome than I wanted. I even added another few drops out of the glycerin bottle, but I didn’t want to overdo it. I added the silicone adhesive to the cork and pushed it in.


 Emily is a freelance writer, miniaturist, and adventure game enthusiast.

