Haven’t been mini-ing much lately, but here’s some progress on Momma’s Kitchen.
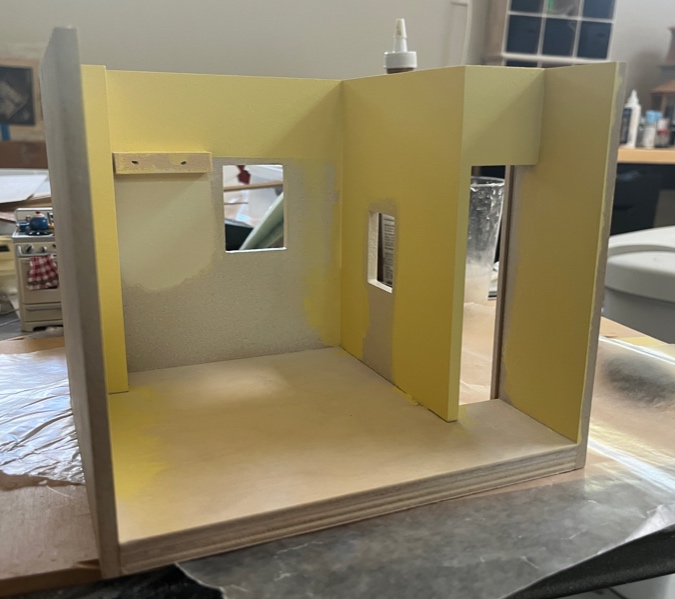
The walls got a few coats of the yellow paint that came with the kit. I found an off-white on my paint shelf that’s close to the cabinet color, and used it in the area that shows through behind the glass cabinet doors.
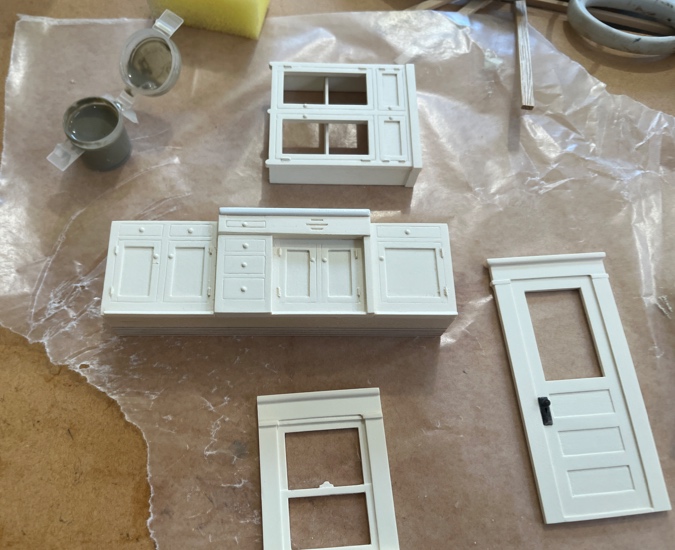
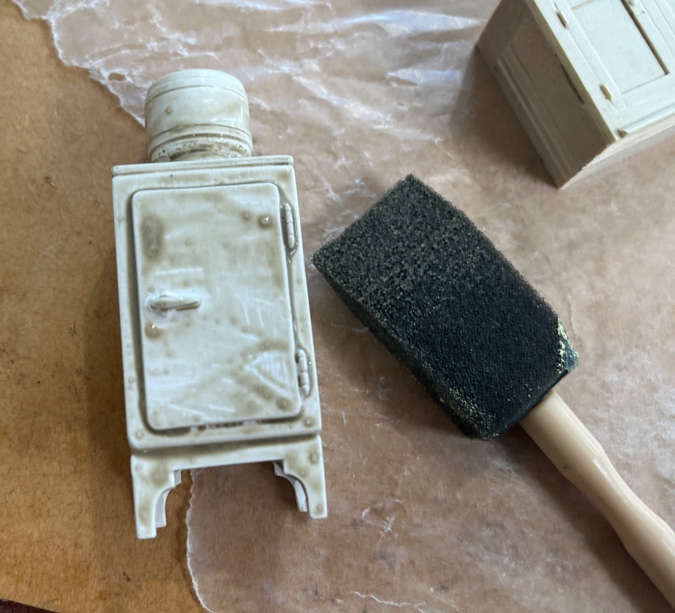
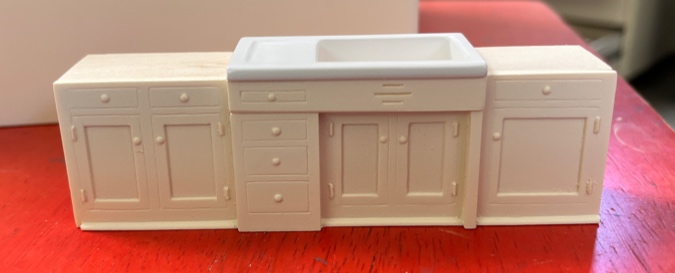
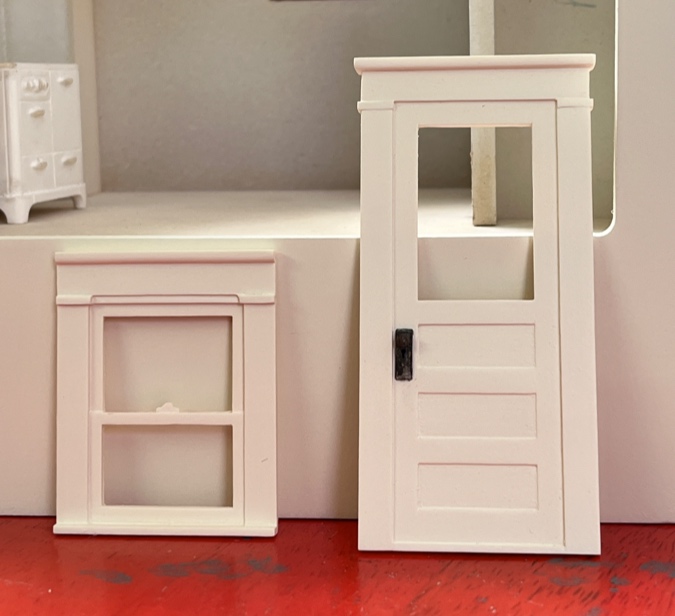
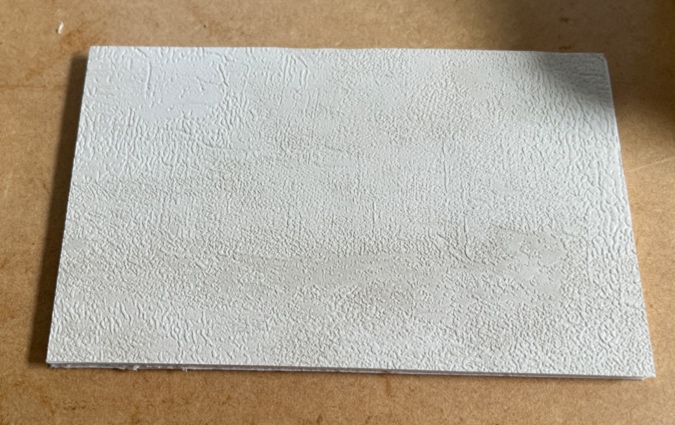
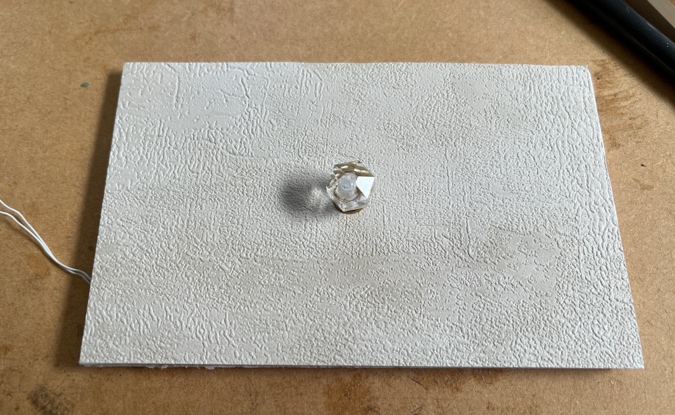
The next step is to apply glaze to the resin cast cabinets, window, and door. I’m not sure what this stuff is, but it’s like a gray wash.
I used a sponge brush to spread glaze over the cabinets. It pools in the cracks, at the edges of the door panels, and around the hinges.
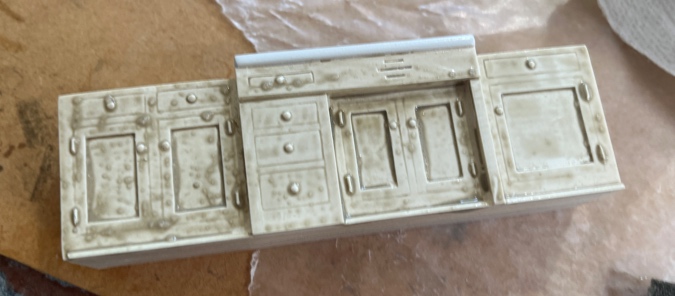
Then I dabbed it off with a paper towel.
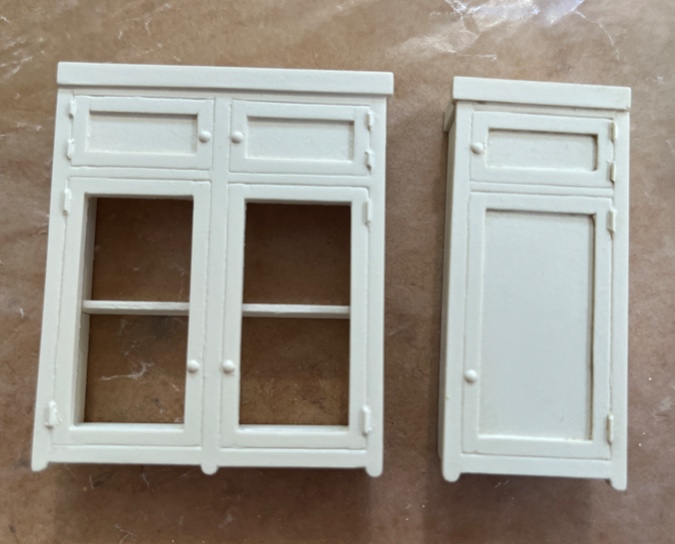
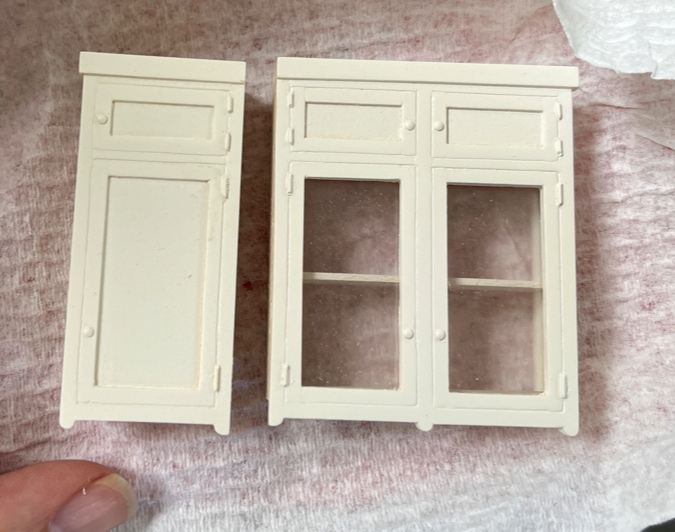
And finally I used a damp paper towel to get the glaze off the flat parts. Here you can see an unglazed cabinet on the left and a glazed cabinet on the right. The difference is subtle, but the glaze adds a little bit of grime and brings out the details.
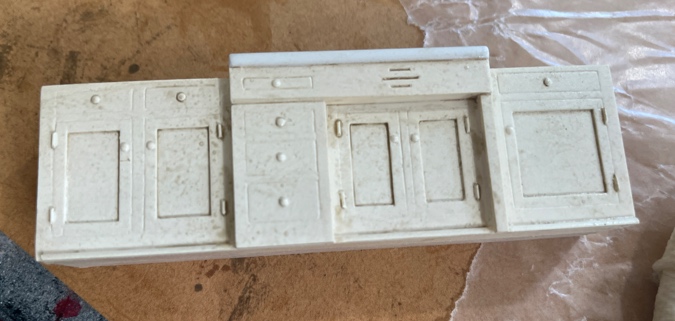
I felt like the details weren’t popping enough and repeated the process three or four times on each piece. I had some glaze left over so I decided to do it on the fridge too.
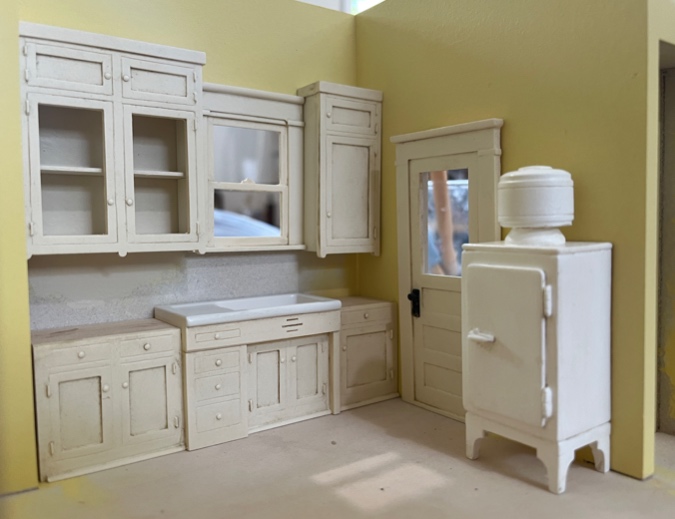
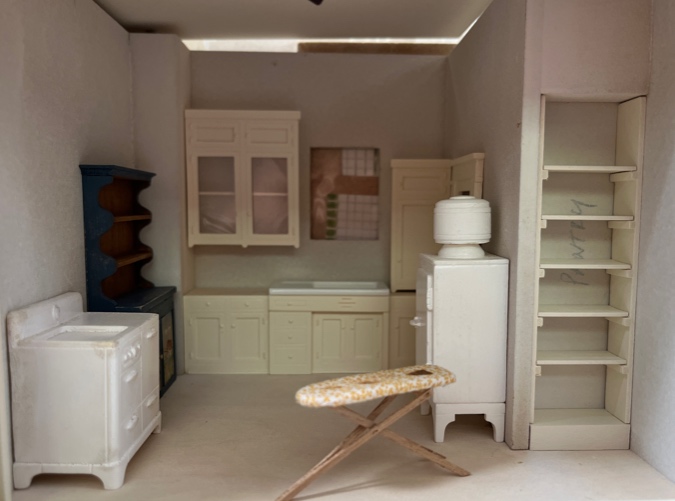
Here are my glazed pieces in place. I might have overdone it — they look pretty grimy! But white kitchen cabinets do have a tendency to get this way…
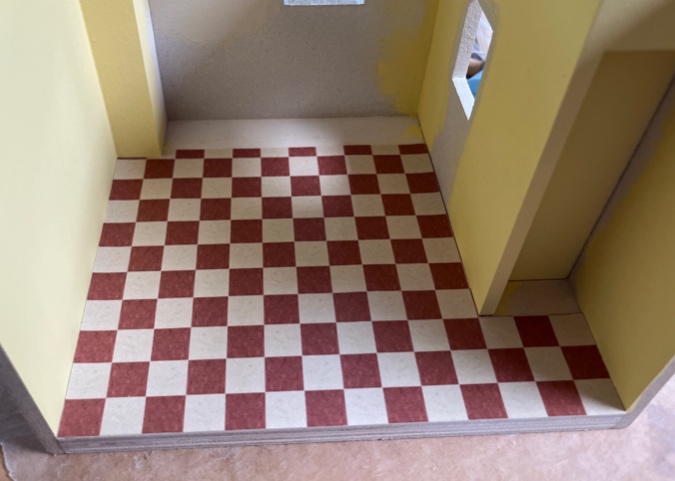
The next step was to glue down the flooring. This was much quicker than my hand-laid floor in the Mansard Victorian.
And then I tackled the countertops and backsplash. The kit came with these pieces taped down on a piece of MDF. They’re paper, and the packing tape covering the paper adds a glossy sheen. You’re supposed to use a ball stylus to score the grout lines, but I don’t have one, so I used a size 22 tapestry needle. In this picture, the long backsplash piece have been scored and the others haven’t yet.


 Emily is a freelance writer, miniaturist, and adventure game enthusiast.

