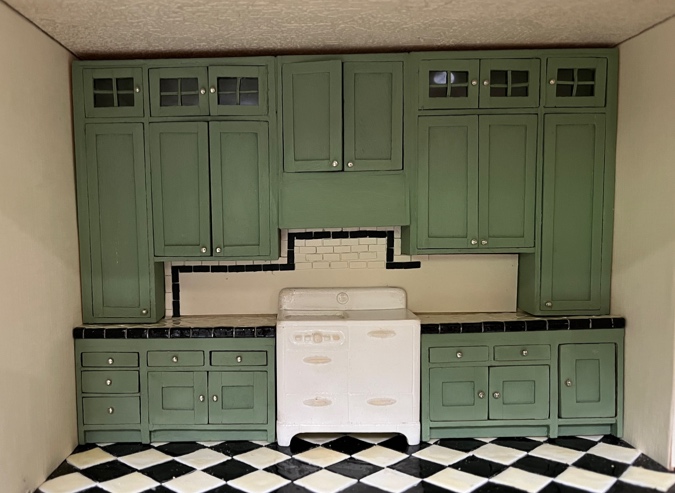
This post has been a long time coming. I’ve been puttering around on the Mansard Victorian’s kitchen backsplash ever since I finished the countertop in January.
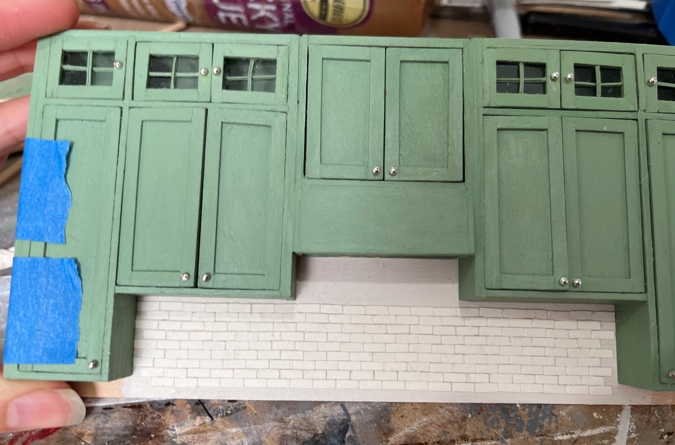
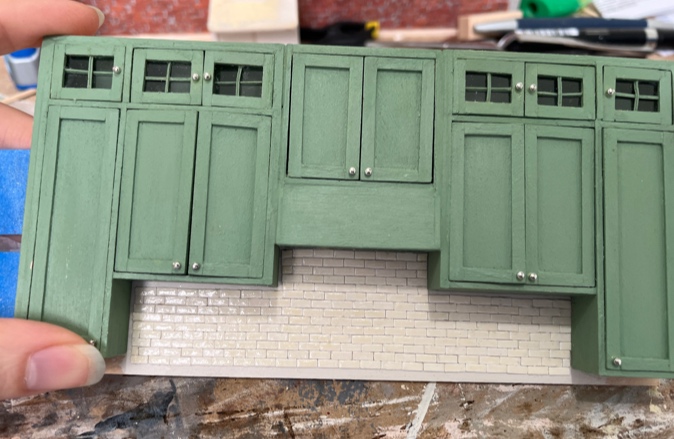
First I glued in the kitchen wallpaper. I prepared this scrapbook paper last fall when I started the kitchen (yikes, has it been that long?) but then I put it aside because I wasn’t sure if plain white was the way to go.
But with the cabinets finished and providing a lot of color to the room, I decided the white would work. To be fair, I also didn’t feel like cutting out more wallpaper.
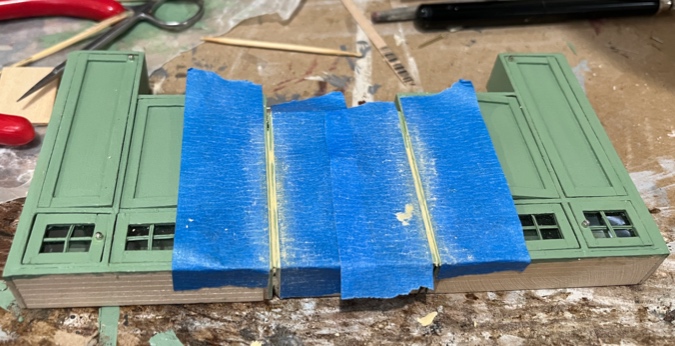
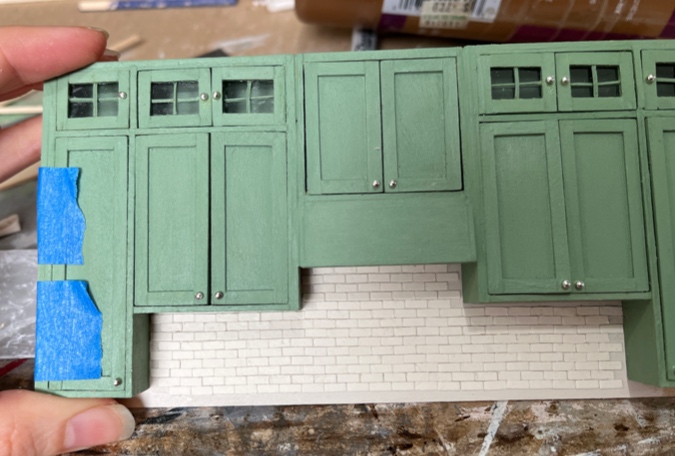
The upper cabinets were an extremely tight fit — so much so that I couldn’t get them in and out of the house in one piece. But I needed them to be one piece in order to fill in the cracks between the three units.
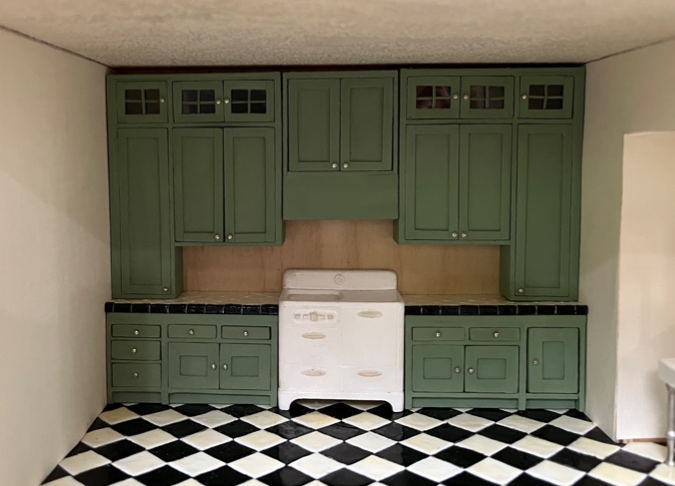
I carefully sanded the edges of the cabinets on the disc sander until I was able to glue them together and still slide them in and out of the house. In order to do this, I need to slide them in horizontally, close to the ceiling, and then ease them down the wall. I won’t be able to do this once a ceiling light and trim on the bump-out opening are installed. (Luckily I realized this before I glued those in!)
Once the cabinets were glued together, I added wood filler to the cracks, and then painted over them.
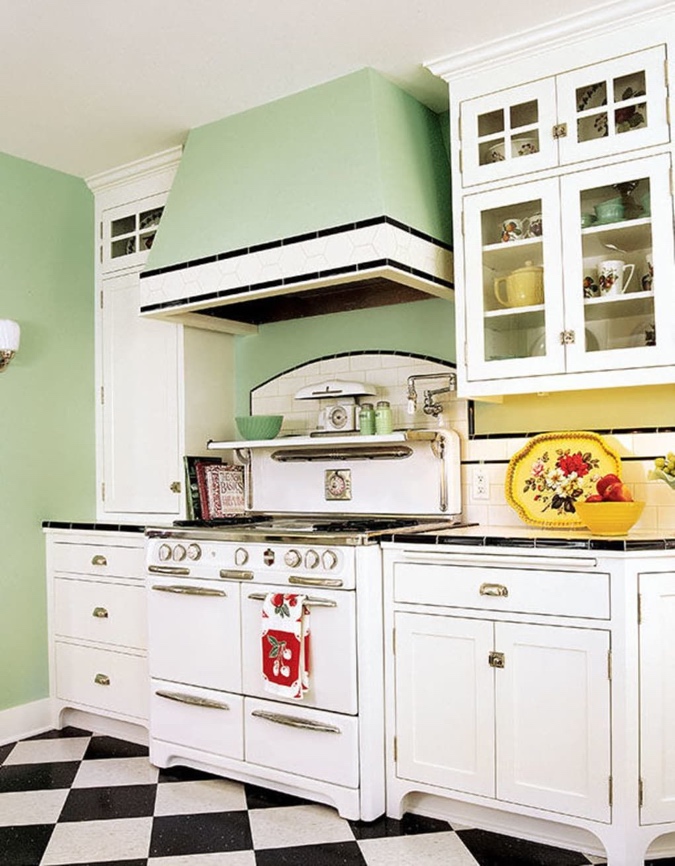
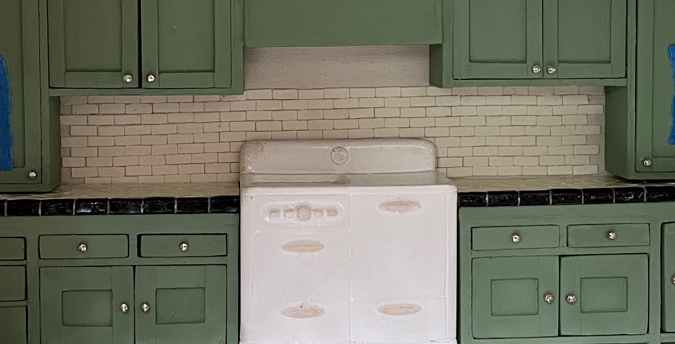
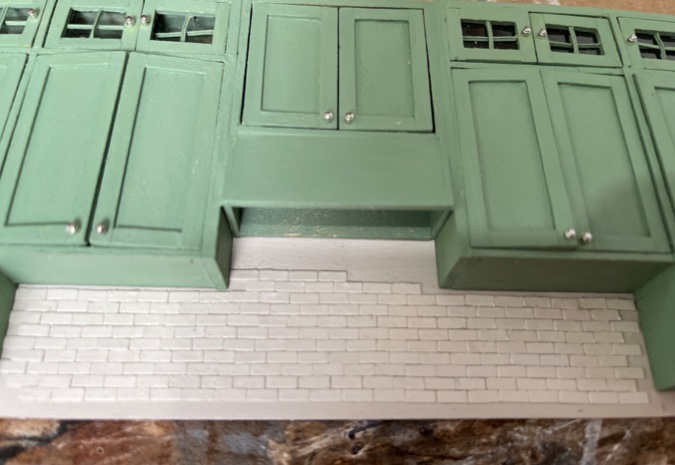
Now on to the backsplash. Like in the inspiration picture, I envisioned a white subway tile backsplash with black trim.
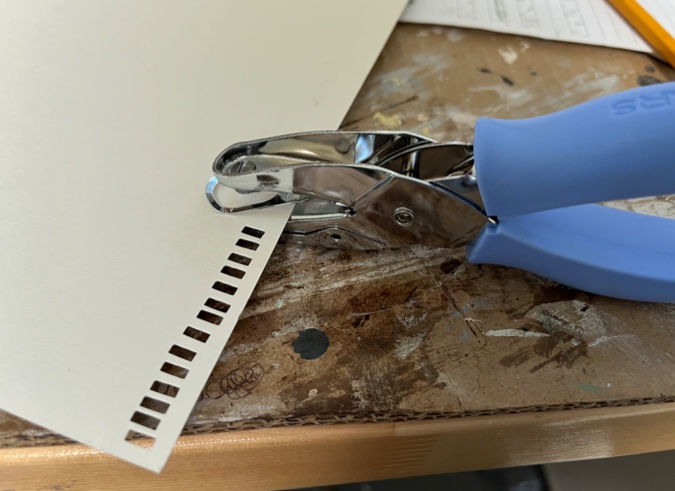
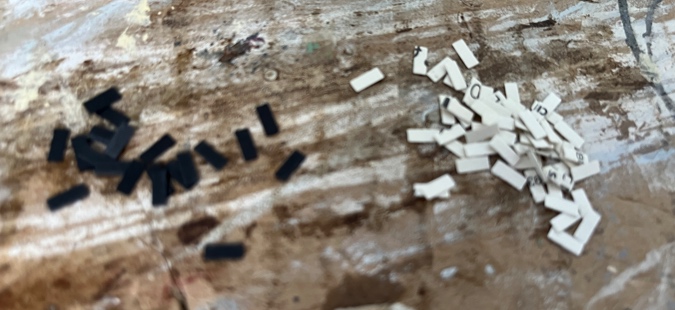
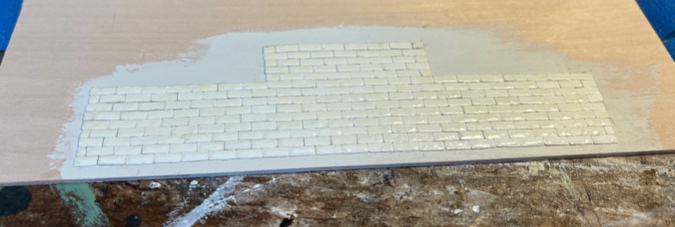
This Fiskars punch makes 1/4″ x 1/8″ tiles.
I laid the cabinets on a piece of scrapbook paper to trace the backsplash area.
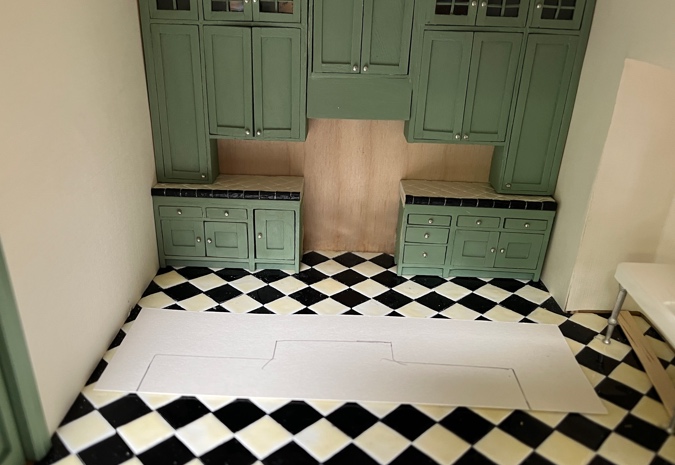
Then I started gluing on the tiles.
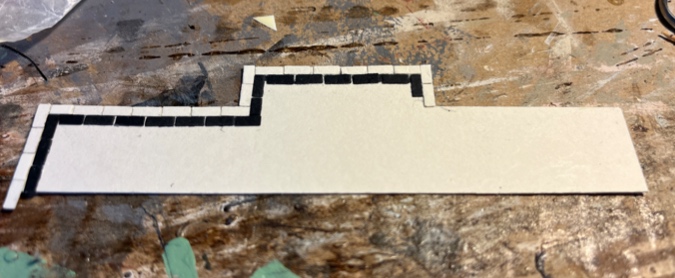
I didn’t like a few things about this first attempt. I thought I centered my initial tiles, but apparently not, because I ended up with a tiny piece of tile at the left side of the second row where there should have been a full tile. And the fourth row didn’t quite line up with the border, which would have caused too big a gap between that row and the next one.

It’s on the right track, but wanted to start over and do a neater job.
Continue reading


 Emily is a freelance writer, miniaturist, and adventure game enthusiast.

