The next step in the Mansard Victorian’s kitchen is the countertops.
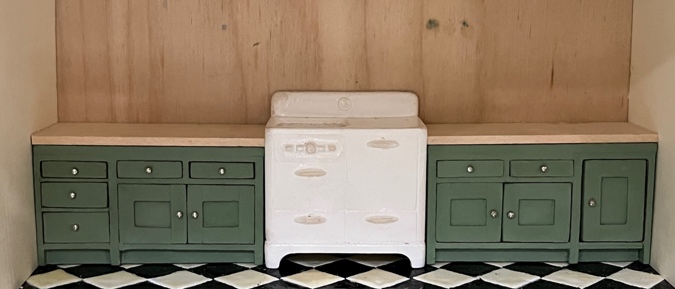
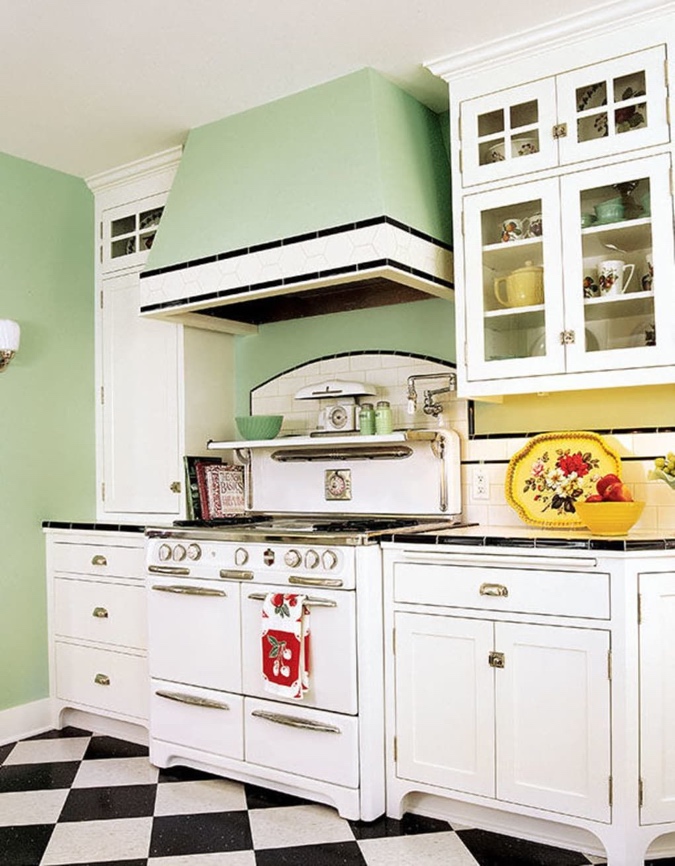
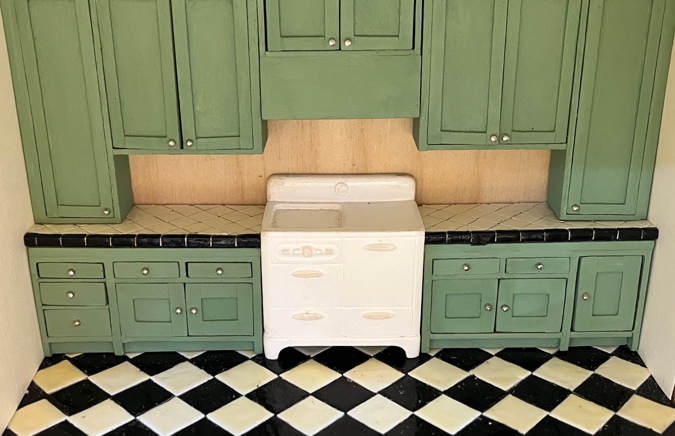
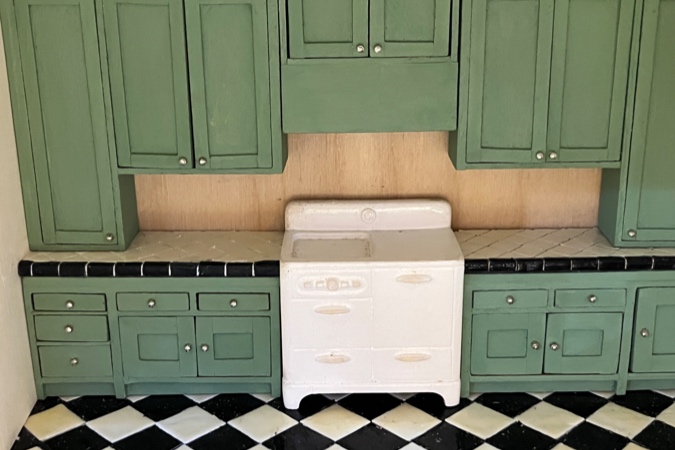
Looking back at the inspiration picture, the countertop is white tile with a black border. The backsplash is subway tile, but you can’t tell in this picture what the countertop tile looks like.
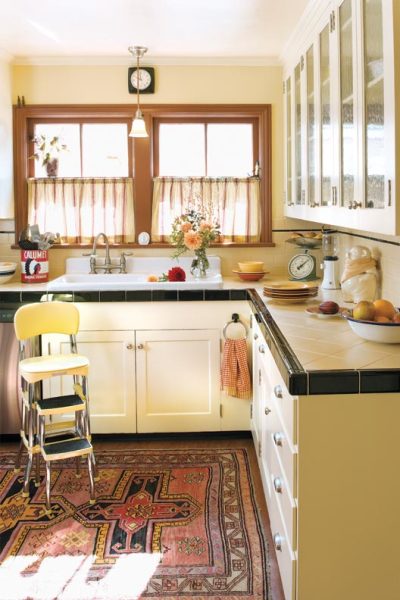
I found a picture of another kitchen with a similar countertop. In this one you can see that it’s square tile on a diagonal, like I did on the floor.
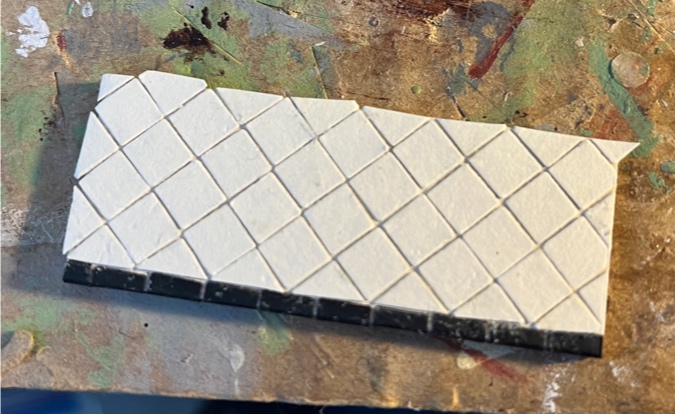
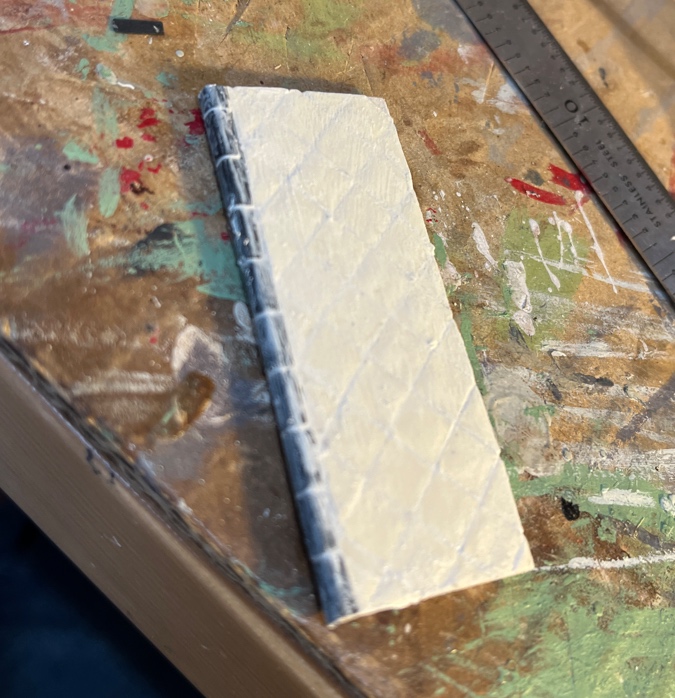
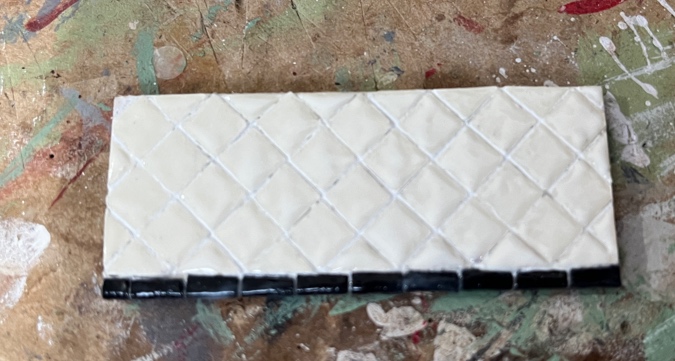
I bought a 1/4″ square paper punch (the equivalent of 6″ in half scale). The squares are cut out of scrapbook paper, and I folded black squares over the edge of the wood to make the border. I left a small space between each tile to simulate grout lines. (I had painted the wood white before starting this process.)
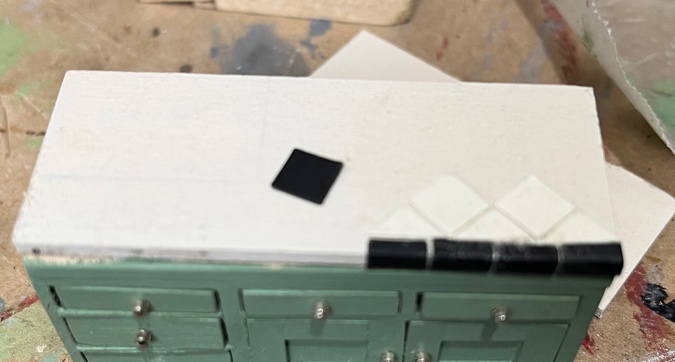
One side finished. After taking the picture, I went around the sides and back with the nail scissors, cutting the tiles flush with the edge of the wood.
The black tiles got pretty gooped up with glue crumbs. I touched them up with a black Sharpie.

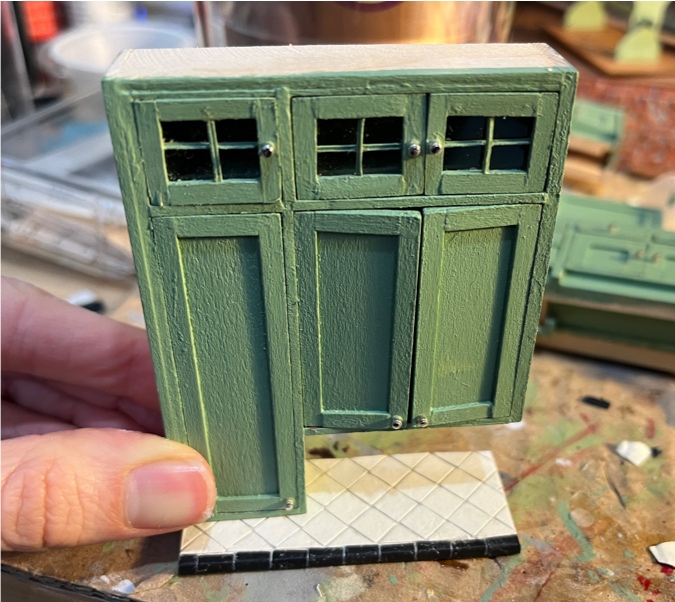
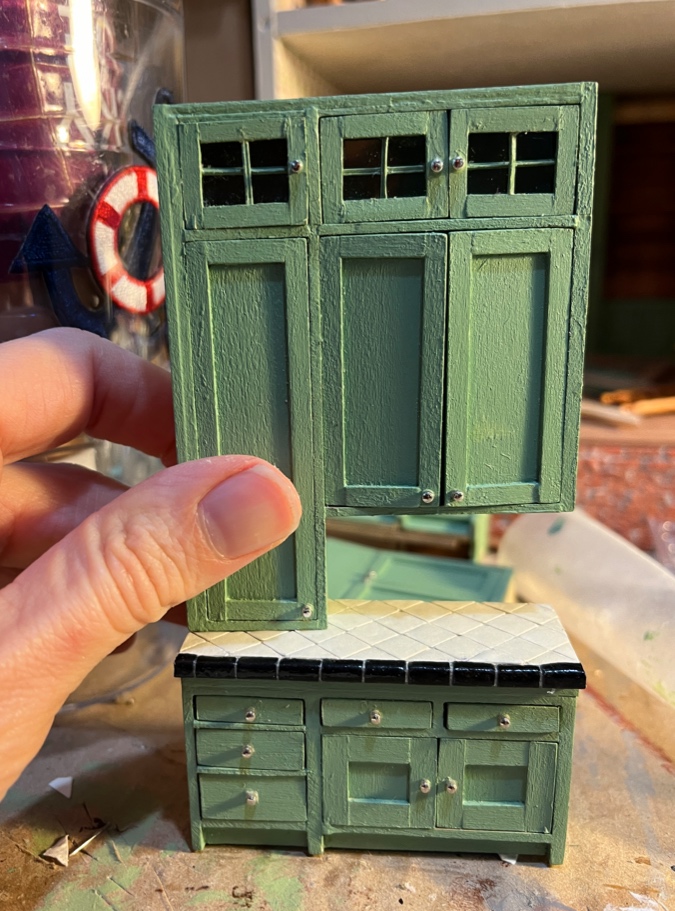
The cabinet will sit on top of the countertop, like this.
Next I applied clear Gallery Glass paint to each paper tile, to make them hard and shiny.
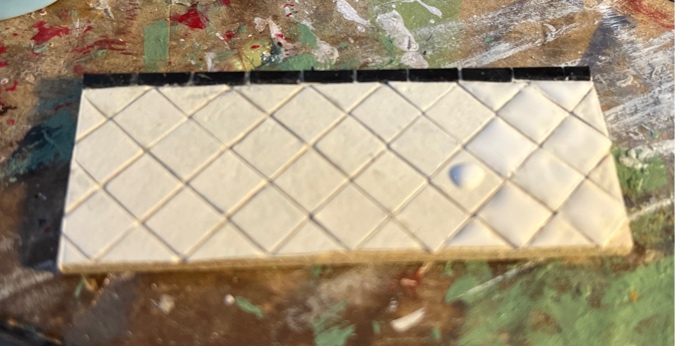
Looks pretty good. The tiles have a nice sheen.
I did the other side the same way and set them in place. This could have been the end of it.
But of course it wasn’t.
The cracks between the tiles with the white paint showing is a reasonable approximation of grout. When I made tiles like these for the Victorianna’s kitchen, and again in the bathroom, I was happy with how that grout looked. But I got it in my head that I should add real grout.
In my defense, I first did a corner patch that would be covered up with a cabinet, just to make sure I liked it. And it looked good! Or so I thought. But as soon as I spread it over the entire piece…
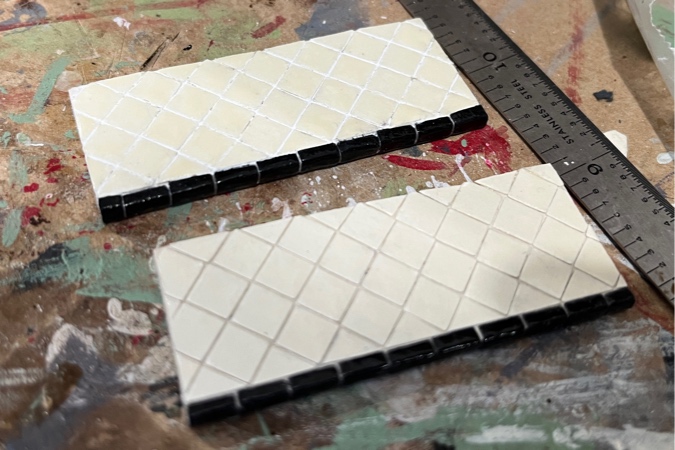
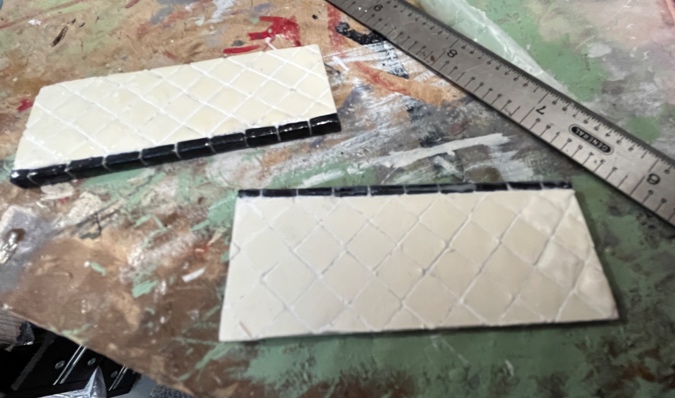
This was a bad idea. The grouted version (on the left) is now matte and bright. Also, the corners of the tiles lifted up from the moisture.
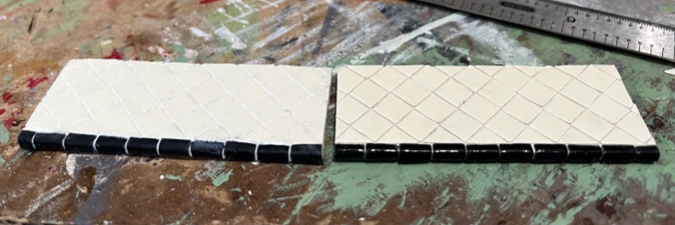
Here they are in place, the grouted version on the left again. I don’t like how bright the white grout is between the black tiles.
I was ready to throw the piece away and start over, sure it was ruined, but I had nothing to lose by trying to fix it.
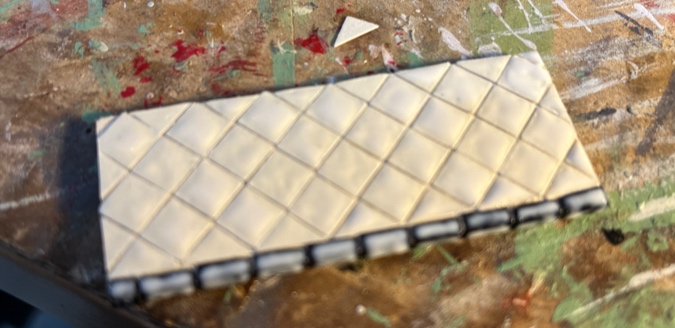
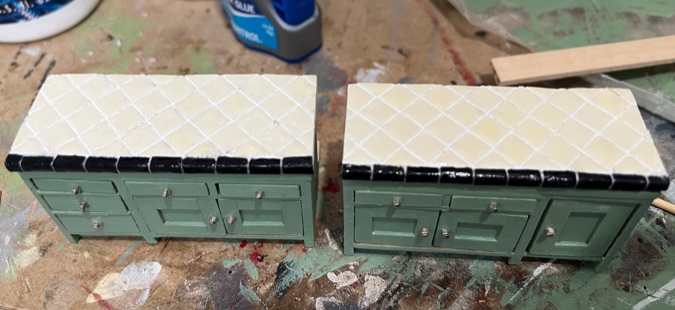
I got out the Gallery Glass again, this time painting the square tiles with Cameo Ivory since the white grout had brightened them up so much. I used Charcoal Black on the black tiles, also painting the grout lines between them.
I like the grouted version better than the ungrouted one now! My only complaint is that I didn’t use quite enough grout to fill some of the cracks (but you can’t tell when it’s in the back of the kitchen).
I repeated the process on the other counter piece, using both the grout and the Gallery Glass paint a bit more liberally.
This one has cleaner grout lines. The paint came out darker, which is noticeable side by side, but won’t be when they’re separated by the range.
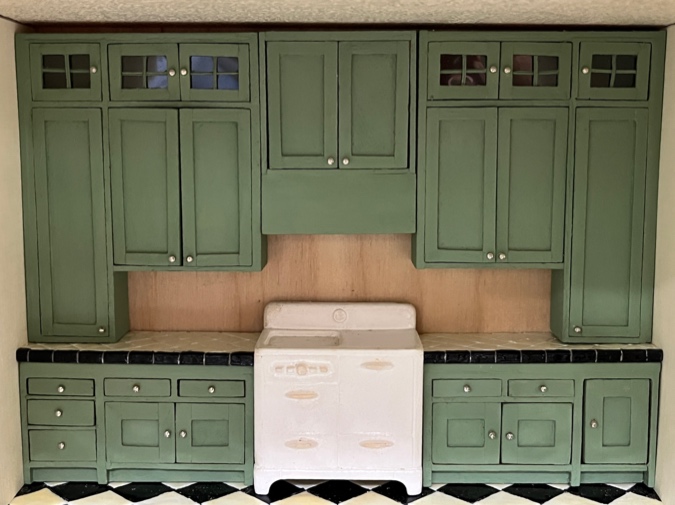
Will this kitchen ever be done? Next up will be the subway tile backsplash.
 Emily is a freelance writer, miniaturist, and adventure game enthusiast.


Thanks so much for the update! Your challenges and trial-and-error experiences are interesting and educational, and I feel happy when you’re able to make adaptations that turn out so well! You’re amazing!!
Love how this is coming out! Great work.
It is so admirable that you don’t give up in getting the appearance that you desire…a great deal of effort but it will provide a beautiful finished look to the kitchen!
I think we all go through such trials. Right now I’m working on a roof with Greenleaf Speed Shingles. Not really enjoying the process. The speed shingles are the 3rd alternative, so it’s nice to see how you have salvaged–saved–your countertops. They are lovely and authentic. Congratulations.
I just used Greenleaf speed shingles on my 1/24 dollhouse & they were no easy task! But I really like the look of it now that I’m done. Much neater than single shingles. So it ended up being worth the frustration. Good luck to you!
I used the speed shingles on the Rosedale (https://www.emilymorganti.com/blog/?p=3759) and the Victorianna (https://www.emilymorganti.com/blog/?p=13863 and https://www.emilymorganti.com/blog/?p=13889). For the Rosedale they went on easily (as far as I remember) but on the Victorianna it was challenging to make them lie flat. The fact that I lived in a damp climate when I shingled the Victorianna might have exacerbated the issues.
I love the look of this kitchen & can’t wait for your next update! It’s a joy to watch the process & gives me so many ideas! Thanks
Your countertops are so beautiful! Great work!
Those “Oh my god, I’ve ruined it” experiences are so painful….. but often such a good learning experience! That you didn’t quit but tried one more thing is a great example of a “mistake” actually being the path to something better than what we thought we’d get! I love how it looks and look forward to seeing the backsplash too!