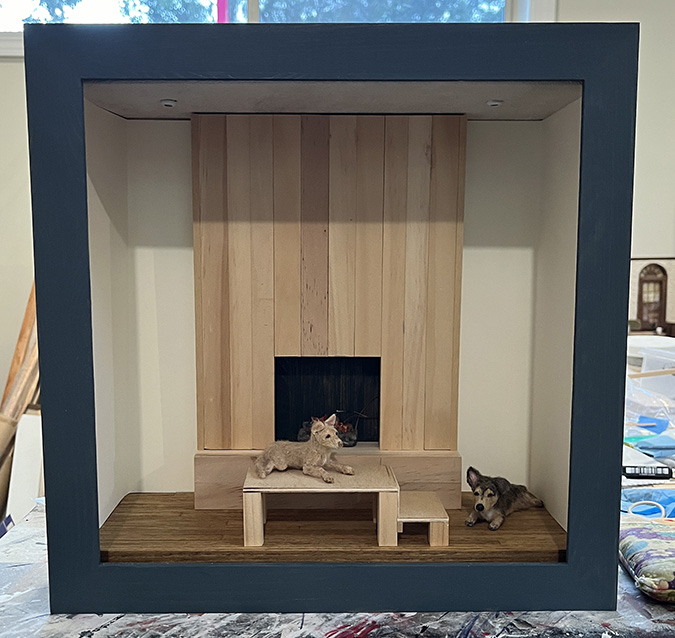
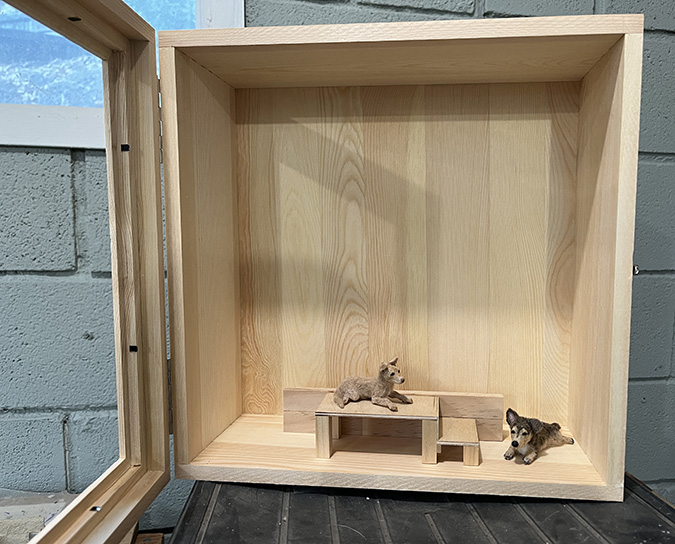
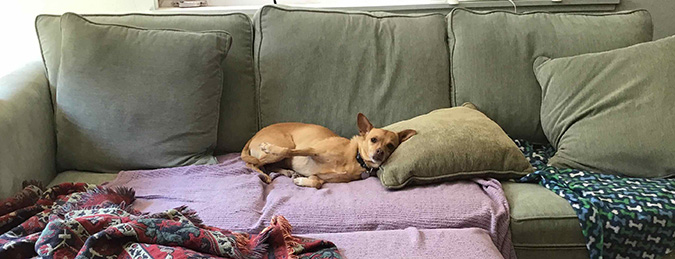
While I was (secretly) working on the dog roombox to give to Geoff for Christmas, the weather got cold and he got the platform down out of the garage so Daisy can lie by the fire. She likes splooting on it…
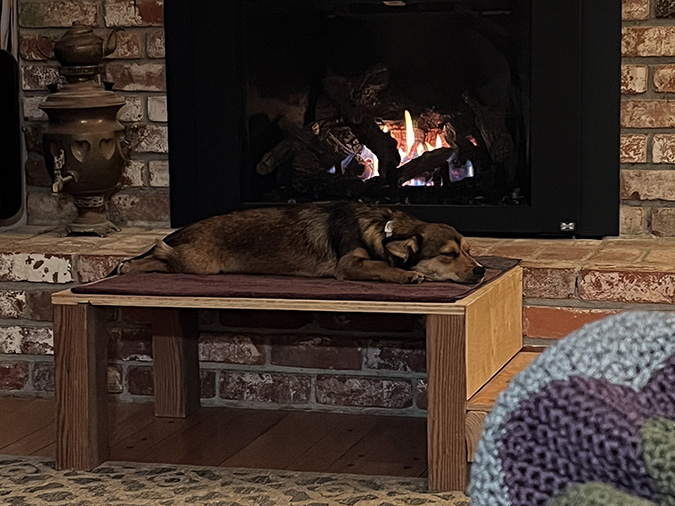
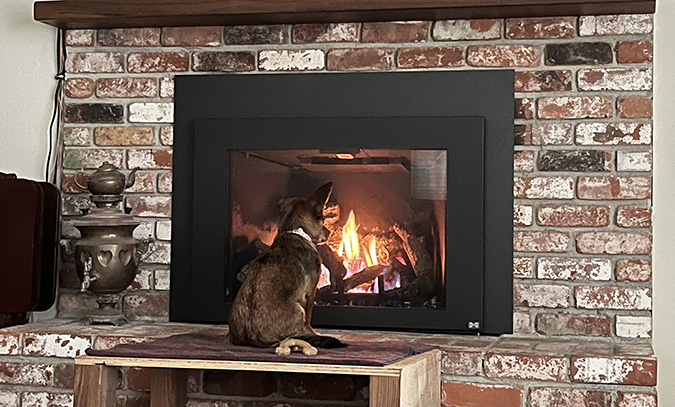
…but she likes staring into the fireplace even more.
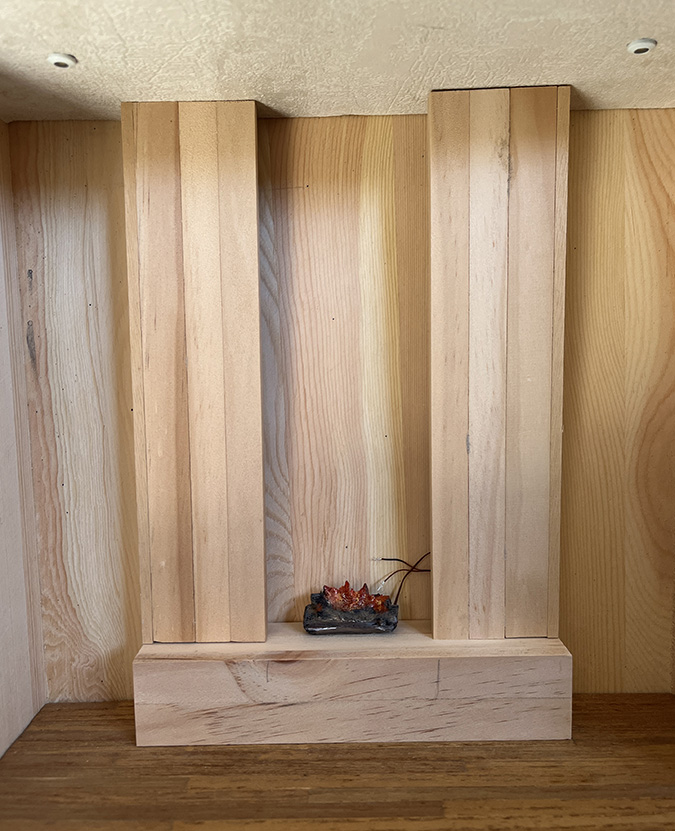
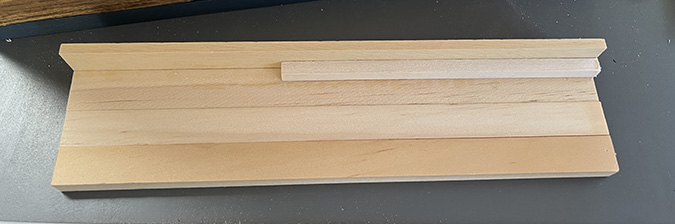
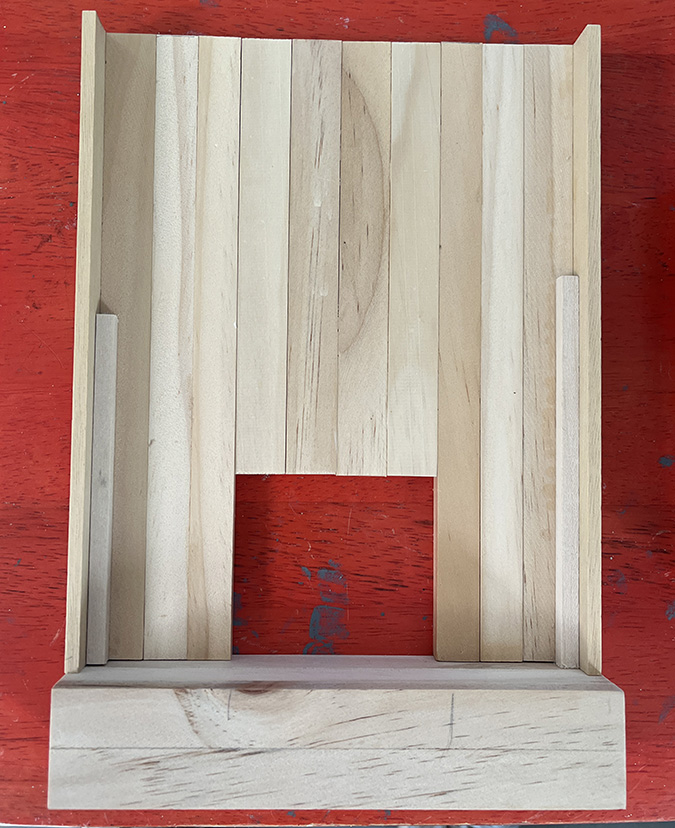
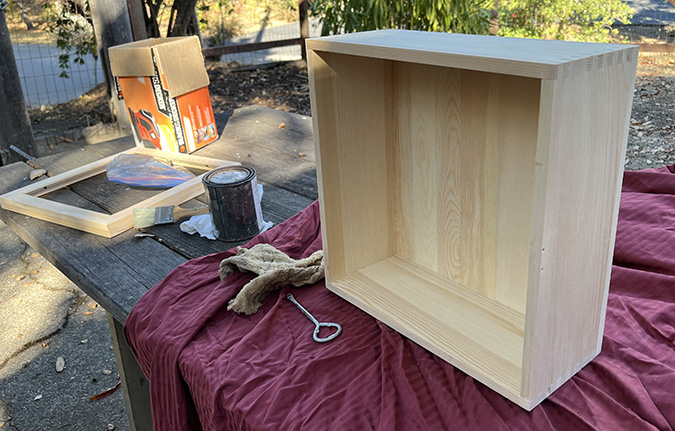
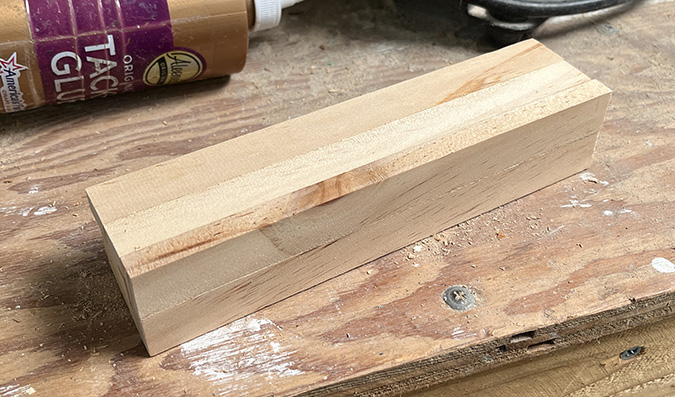
With the false ceiling and floor finished, I was now able to make the fireplace. The fireplace needs to be removable so I can access the wires and 9V battery behind it. I started by gluing pieces of stripwood together to form the sides and front.
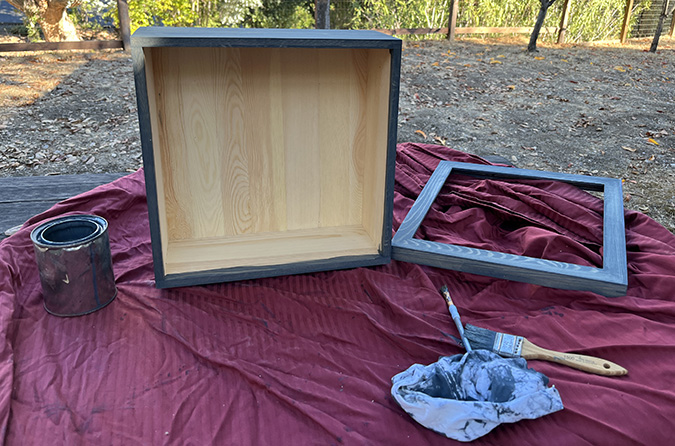
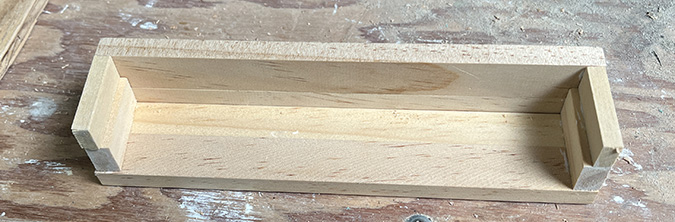
I glued a support strip inside the corners to keep them square.
I added shorter pieces to form the hole.
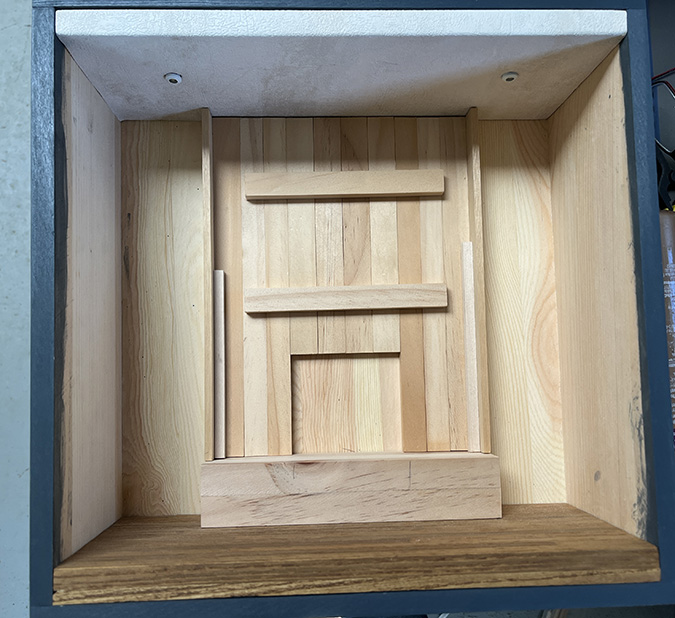
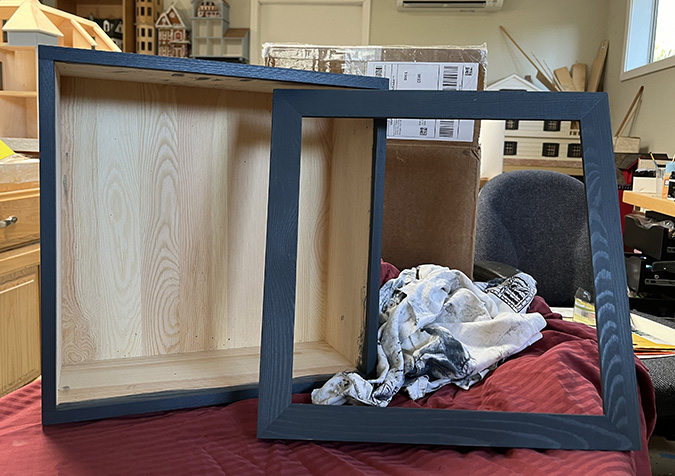
I glued in a couple of horizontal pieces to add stability.
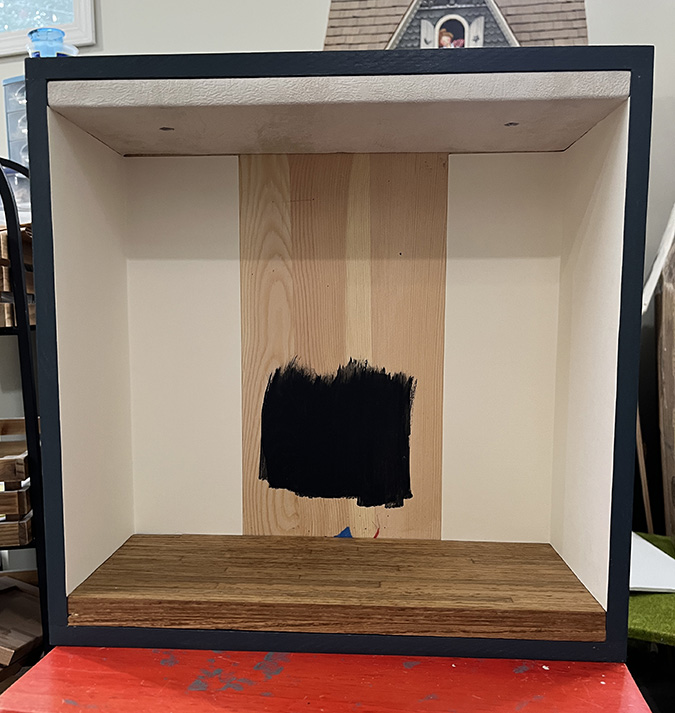
I prepared two pieces of scrapbook paper for the walls (but didn’t glue them in yet), and painted the area behind the hole black.
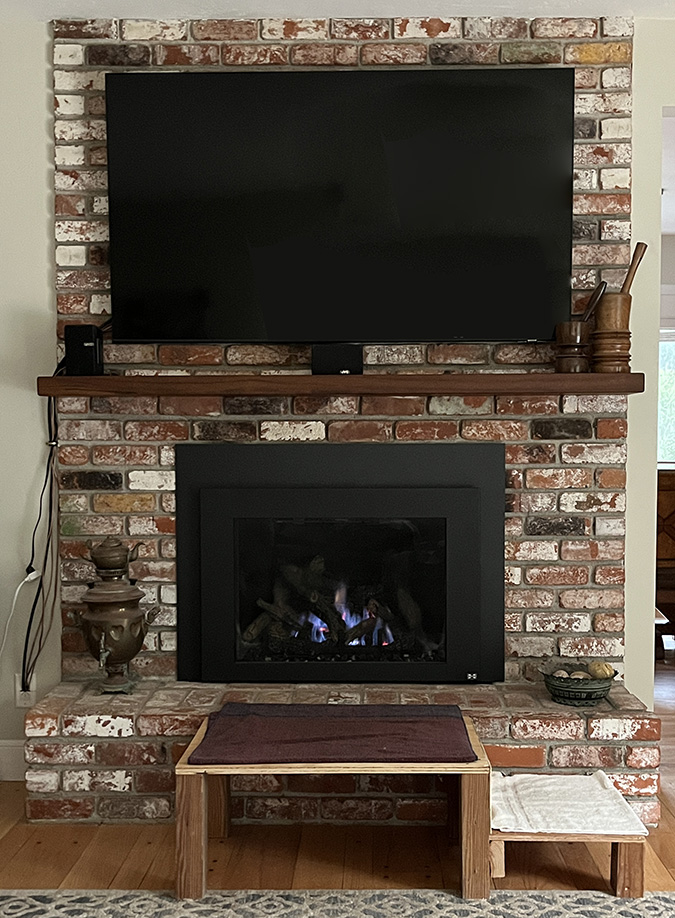
Here’s how it looks so far.


 Emily is a freelance writer, miniaturist, and adventure game enthusiast.

