When I bought the shadow box from PinkSeagullDesigns, I had an option to get it painted or unpainted. The painted ones looked nice and I would have liked to save myself some time, but none of the colors offered were quite what I had in mind, so I got the unpainted one.
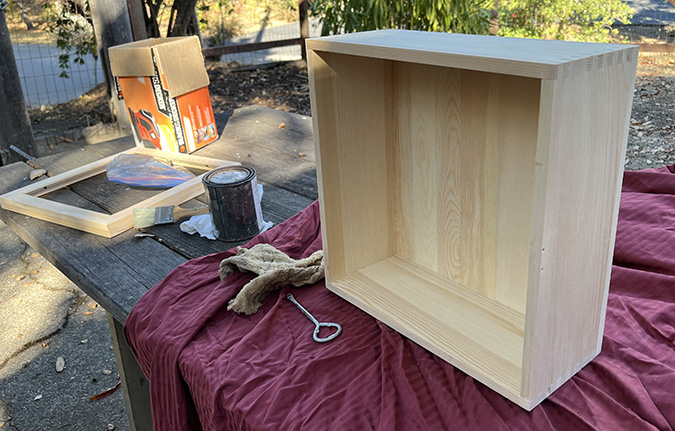
I unscrewed the hinges and clasp, sanded with the mouse sander, and stained it with blue/gray water-based Minwax stain that I’ve had forever.
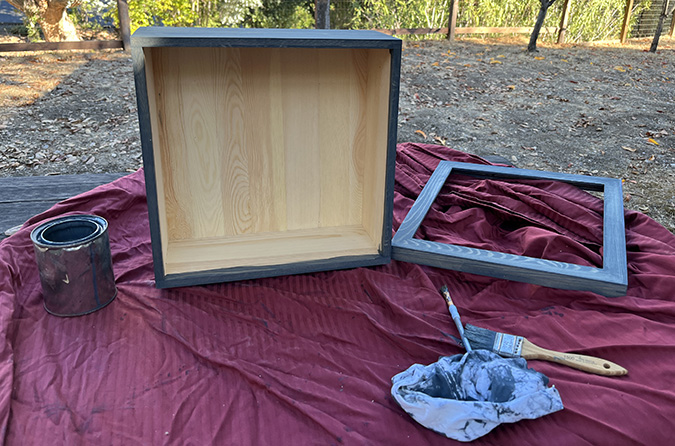
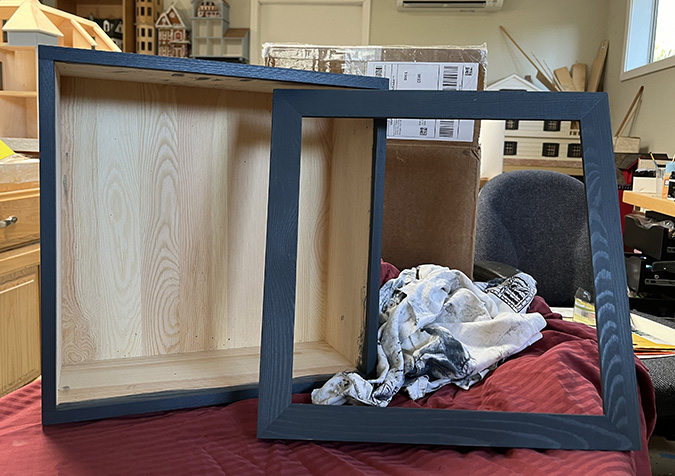
The grain was very visible initially. I did a few coats, sanding between coats, and then waxed it. I left the front off so I could reach inside more easily.
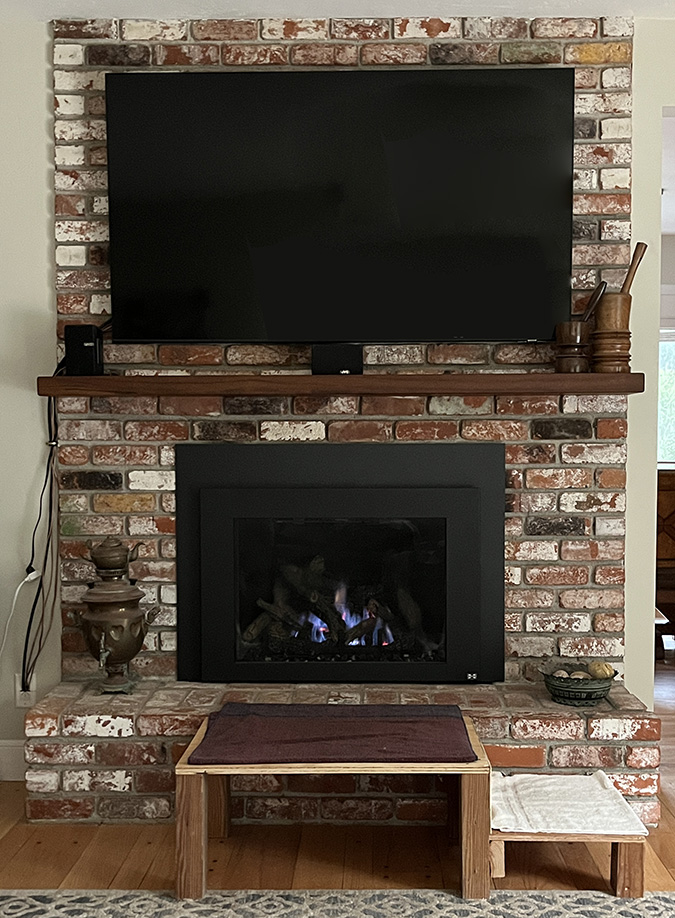
As a reminder, here’s the fireplace I’m recreating.
I’d started by making the platform and the front of the hearth.
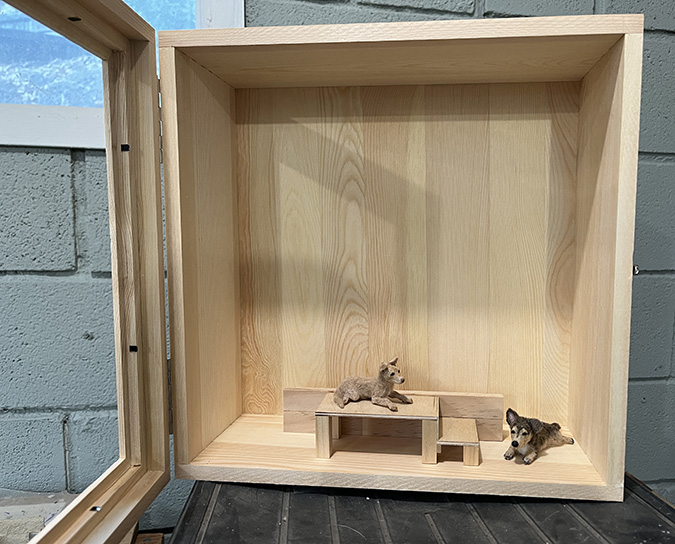
I used more strip wood to form top and sides of the hearth.
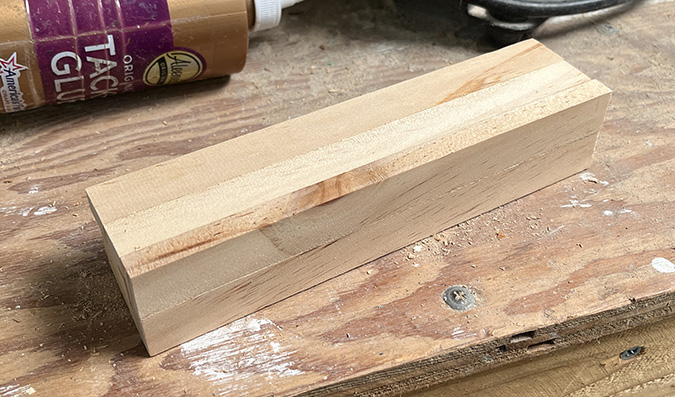
The pieces I used for the sides weren’t the same depth, so I put the mismatched edges on the inside.

Before I could build the rest of the fireplace, I needed to know exactly how tall it should be, so my next step was to build a false ceiling and floor to hide the wires. I made both the ceiling and floor out of the same piece of 3/16″ foam core I’ve been using for false walls and ceilings in the Mansard Victorian.
This is the ceiling. It’s made from one full piece plus a smaller piece at the front, so the back part of the wall has a void for the recessed lights to stick up into.
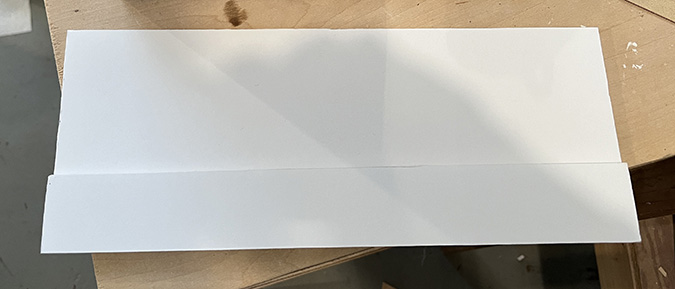
To figure out the light placement, I first marked where the fireplace will be.
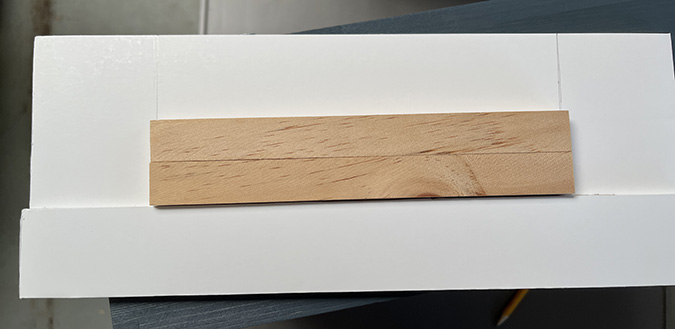
Then I found the center of that space and used my circle template mat to draw 5/16″ circle (the diameter of the light).
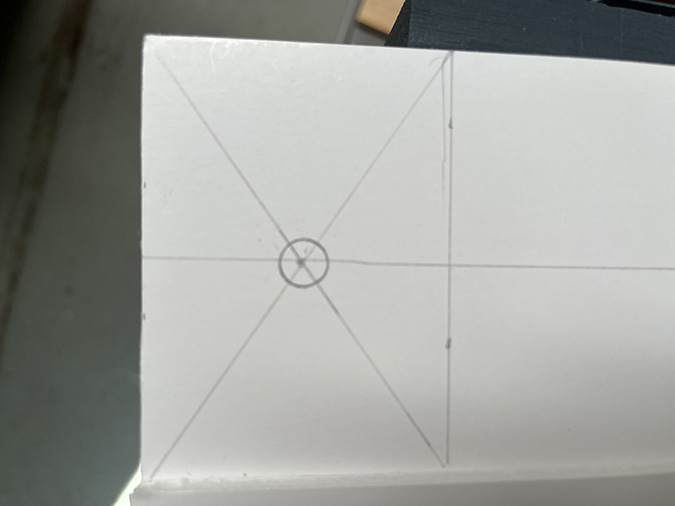
I poked around the circle with the electricity pilot hole tool.
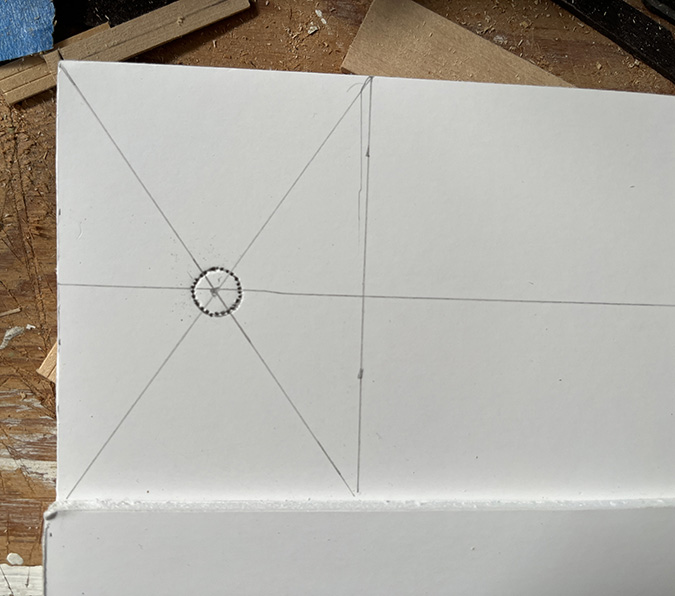
Then I flipped over the foam core, cut around the poked-out circle with an Xacto knife, and popped it out.
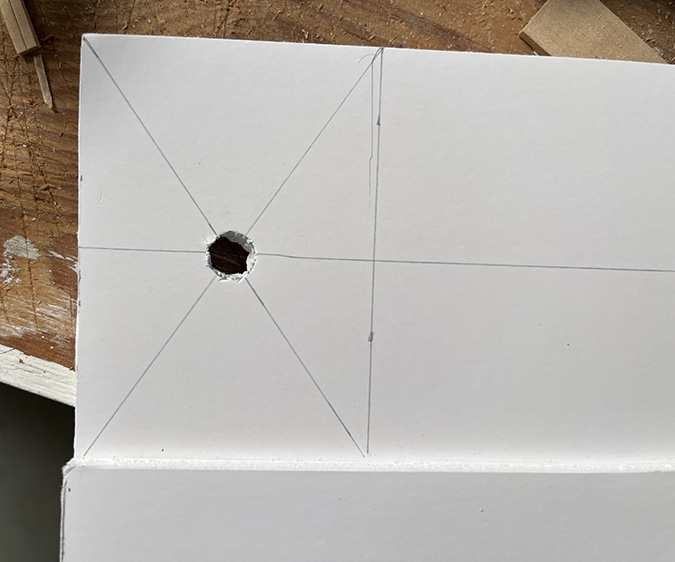
As with most of this project, I was in a hurry because I only had limited time to work on it when 1) Geoff wasn’t around and 2) Daisy could be left alone without getting into trouble, so the placement of the light was slapdash and I immediately realized it was not good.
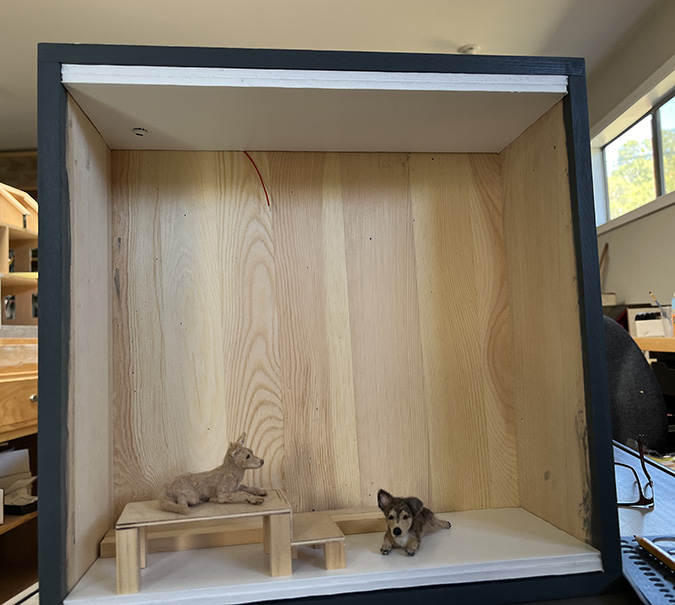
I glued the punched-out circle back into the ceiling and tried again, this time keeping them centered in the void area but placing them as close to the edges of the fireplace as possible. I need to be able to slide the fireplace in and out to access the battery, so the lights can’t be in the way of that. They still seemed too far back, though, and I decided to come back to them another day.
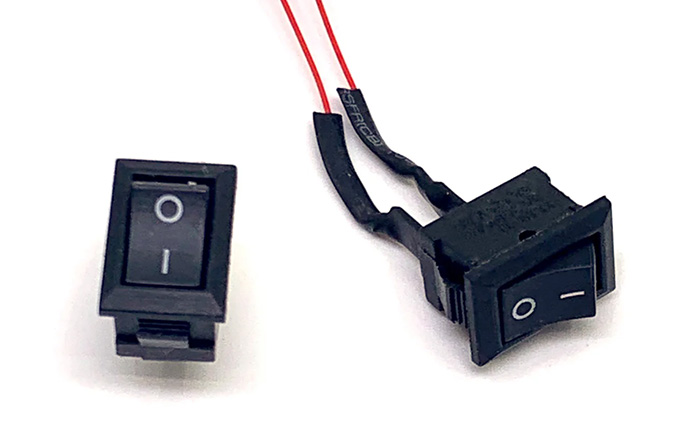
Next I made a hole for a switch on the side of the box. I love this little rocker switch from Evan Designs! I want to use it on the Guys from Texas canisters too.
Normally I would get Geoff’s help with something like this, so I had to get creative. We have a Dremel but I wasn’t sure where it was and I’ve never really used it. I do, however, know how to use a drill.
Based on the seams of the wood pieces that make up the box, I was able to see where the back and bottom of the box ended. I started with one small hole that just cleared them.
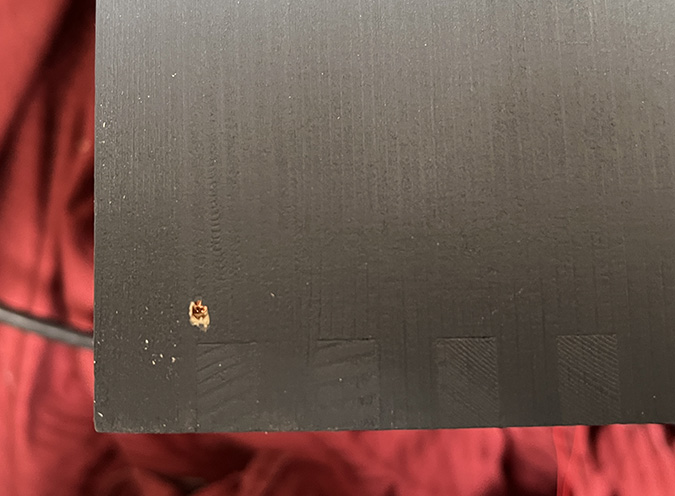
Next I made a row of holes to form the bottom and top of the cutout.
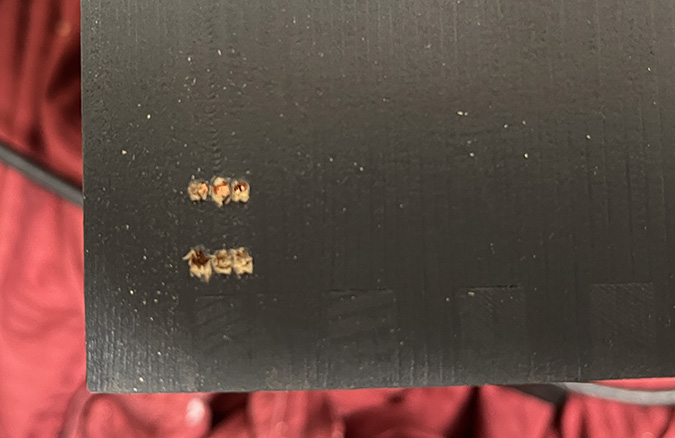
Followed by two more rows of holes within these boundaries.
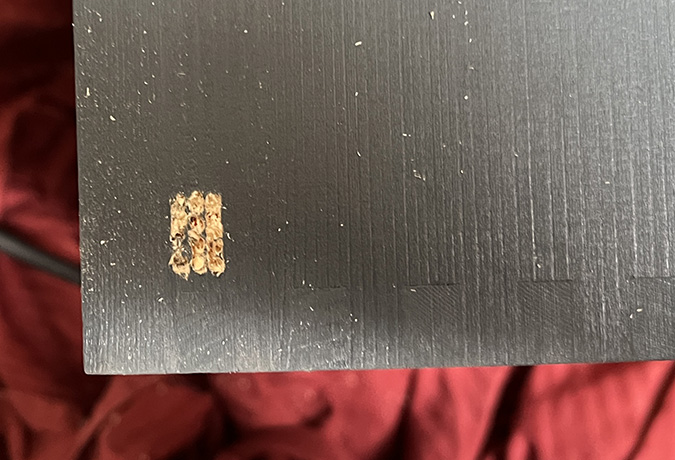
I drilled a hole with a bigger bit to knock out the middle of the grid.
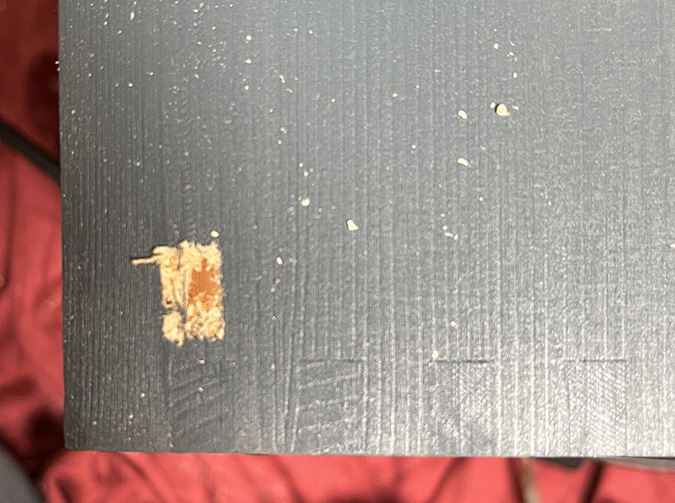
Then I knocked out the rest of the wood and used a file out of Geoff’s toolbox to clean up the hole.
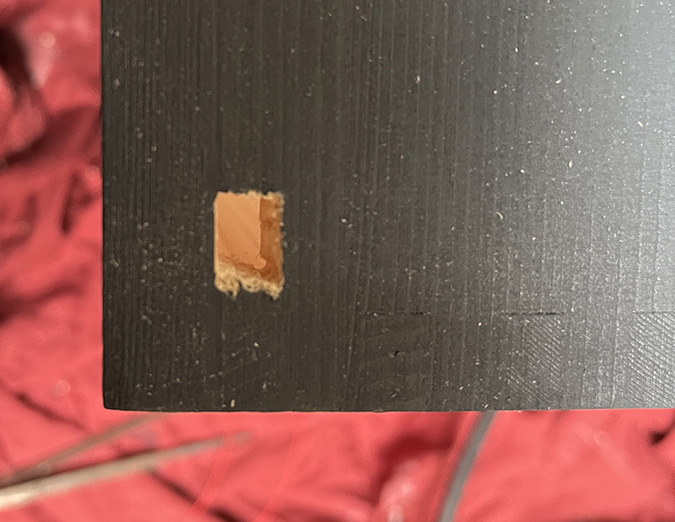
This part took a lot of time, filing and then checking the fit and then filing some more.
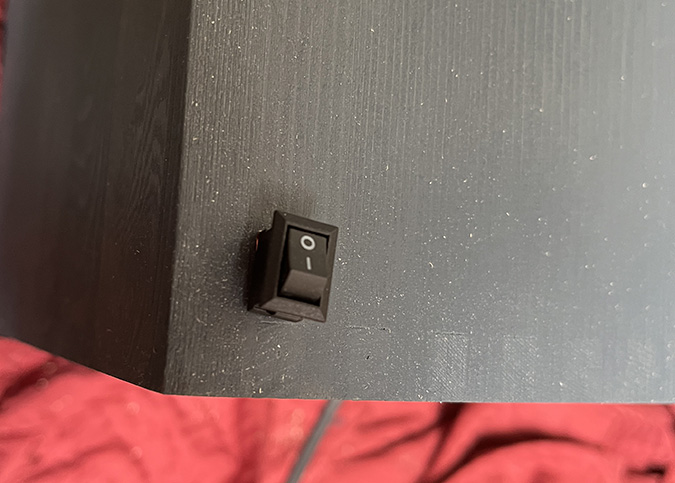
I was finally able to insert it, and it’s perfect! I was worried about doing a sloppy job with this and was extremely proud of myself. (Unfortunately I couldn’t brag to Geoff about what a good job I’d done!)
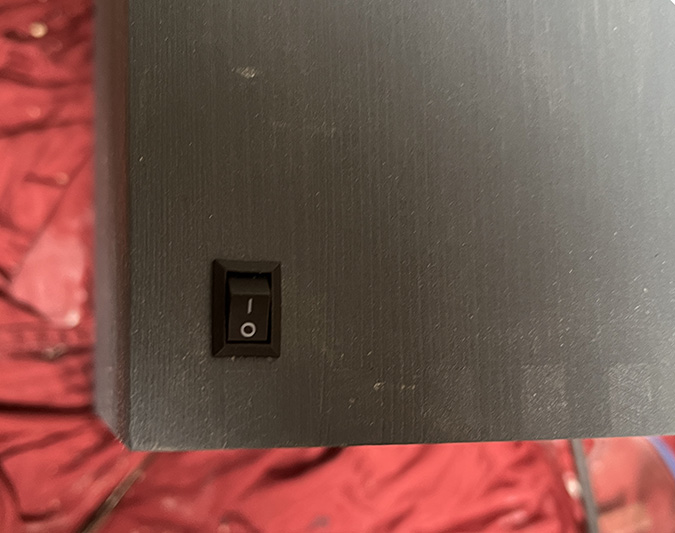
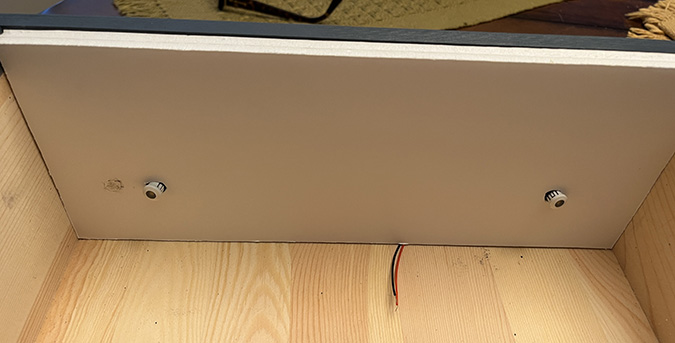
The wires attached to the switch poke into the room.
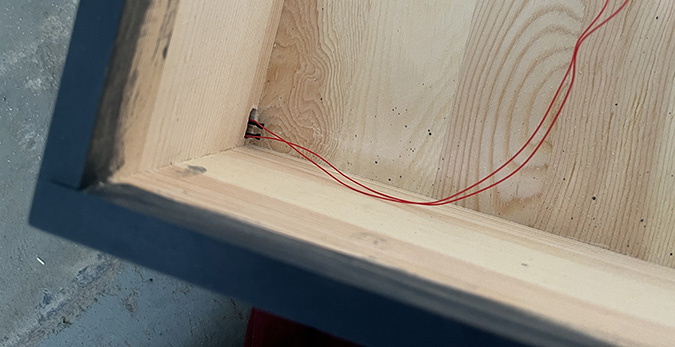
Oops. The floor was supposed to hide them! I inserted the switch vertically because I was thinking about adding a second one next to it, to control the can lights and fireplace separately. If the switch had gone in horizontally instead, the wires would have been completely covered by the floor.
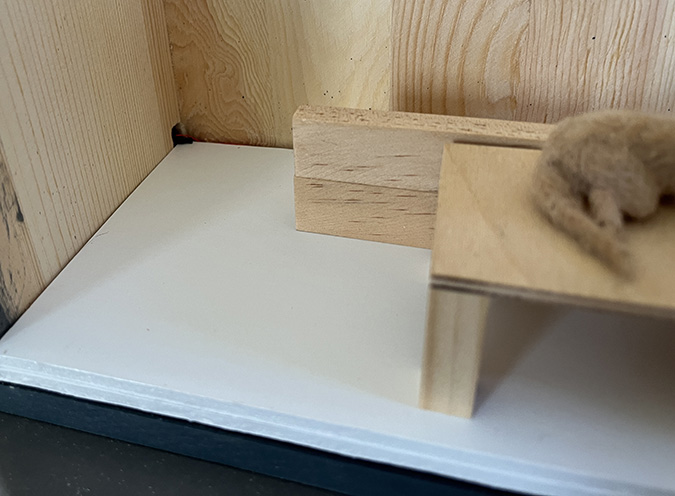
I put off dealing with this and kept going on the floor. I love LittleWonders lumber and had my eye on this lot on eBay, but it’s 3/8″ which is too big for half scale (my usual). This project gave me an excuse to buy it. (What will I use the rest of it for? Who knows!)
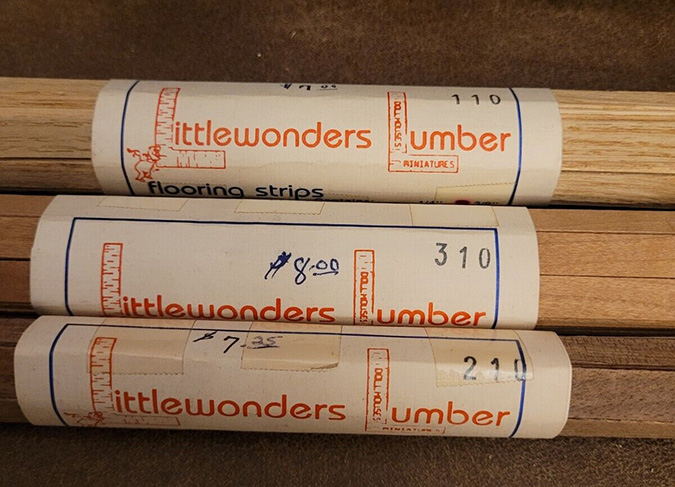
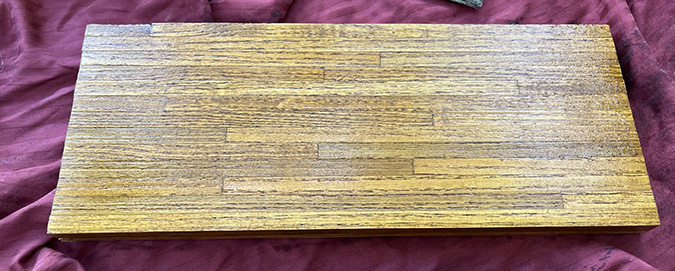
I used oak strips to match my living room floor. One piece fits perfectly over the floor’s 3/8″ front edge.

I gave the floorboards one coat with a Minwax Golden Oak stain pen before gluing them on.
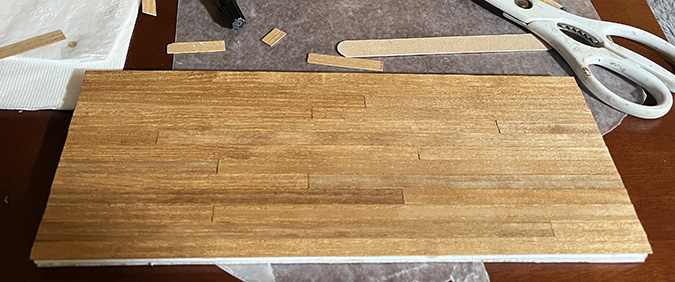
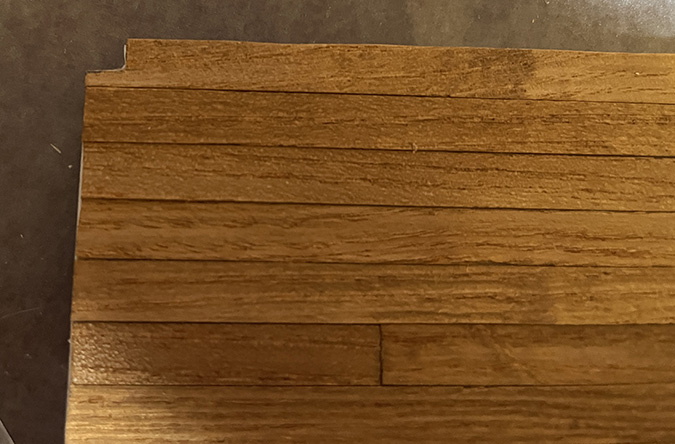
I cut a notch in the back corner to accommodate the wires from the switch.
Here are the floor and ceiling in place, with two vertical pieces that will be the edges of the fireplace.
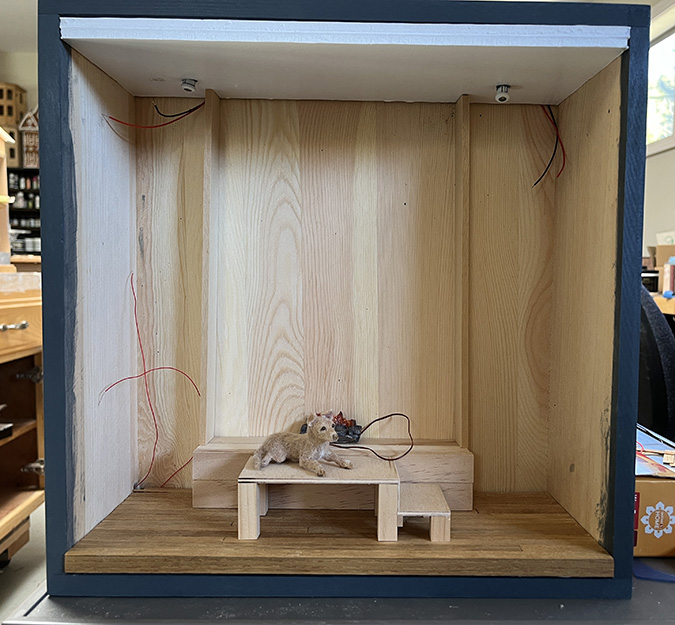
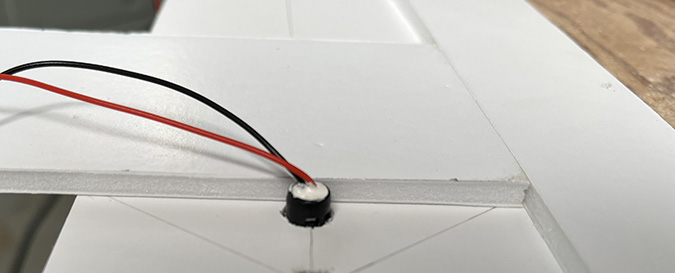
The ceiling should have been tight against the top of the box, but when I pushed it all the way up, the can lights popped out. These are 3/8″ tall, so they just fit within the void on the false ceiling… except for the wires.
Okay, so how about resolving both of the wire issues by adding a little more height to the ceiling and the floor? I grabbed some wood out of the scrap drawer to see how it would look with a taller floor and lower ceiling.
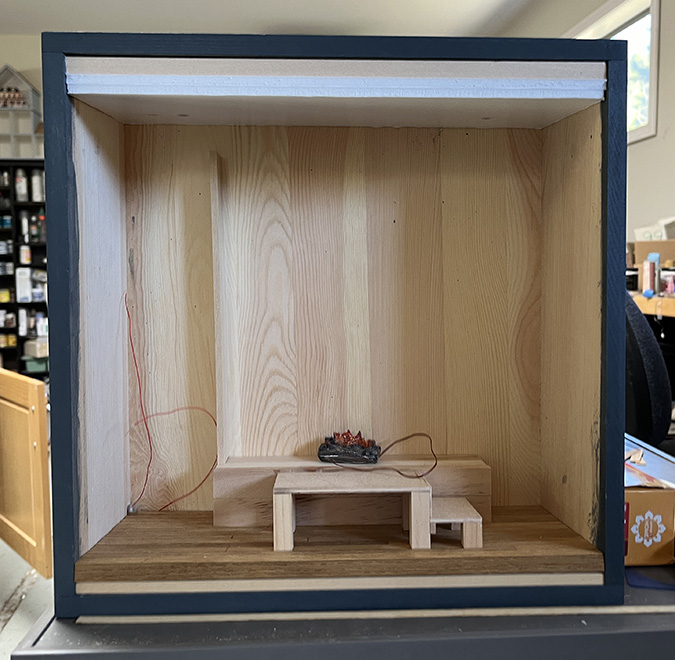
The floor’s okay. The ceiling is hanging down lower than I would like, but I realized I’d overcompensated — I didn’t actually need to add this much height to the ceiling to accommodate the wires sticking out of the can lights.
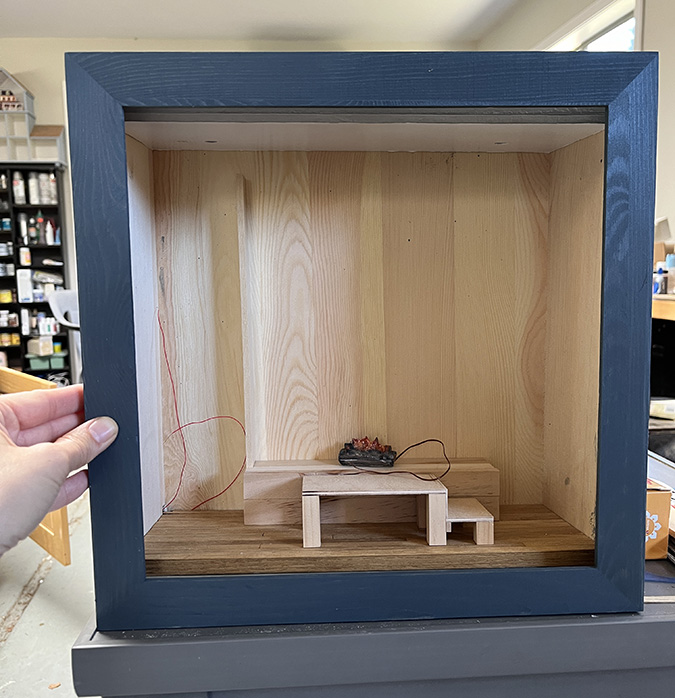
I added 1/4″ tall spacers to the bottom of the false floor.
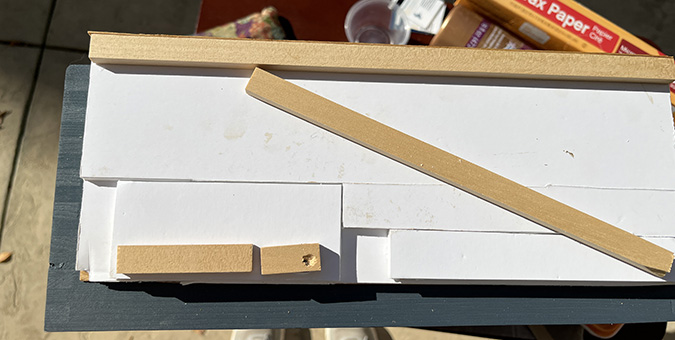
Years ago I used 1/4″ oak LittleWonders strips in my Queen Anne Rowhouse. I dug through the drawer where leftover hardwood flooring pieces go to die and found ONE 1/4″ oak strip long enough to fit across the box. Just another example of why I never through anything away.
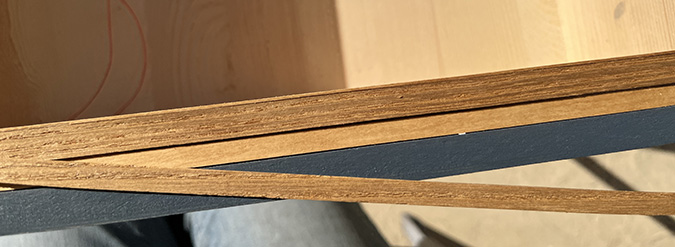
The end of the 1/4″ board was a little raggedy, but beggars can’t be choosers.
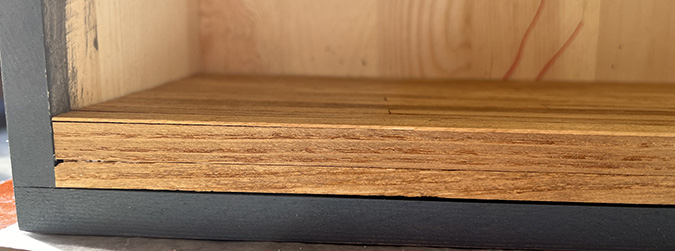
No more unsightly wires! I also pulled off the floorboard I’d cut a notch into and replaced it.
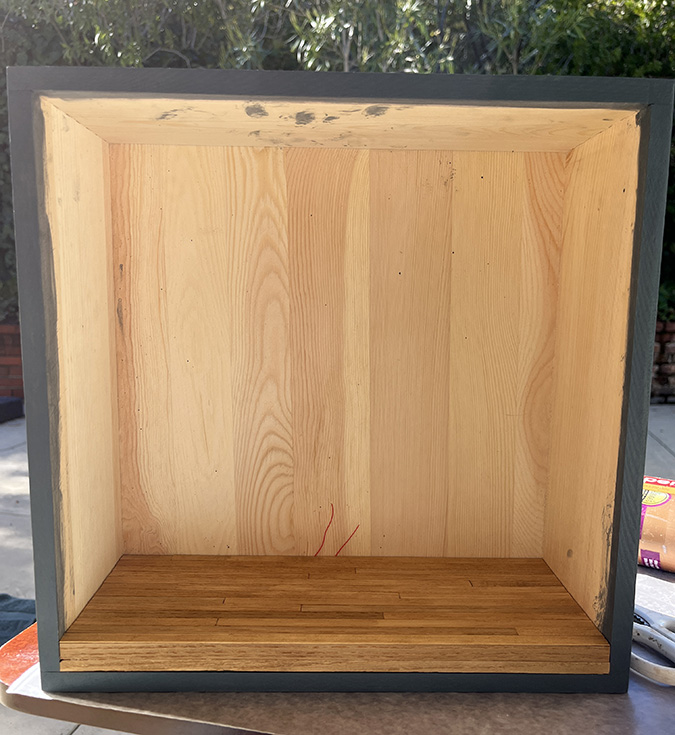
Wow, is this post not finished yet? We’re almost there, I promise.
Next I smeared watered-down wood filler over the floor, to fill in the cracks. This is a technique I learned in a Guys from Texas class (more details here).
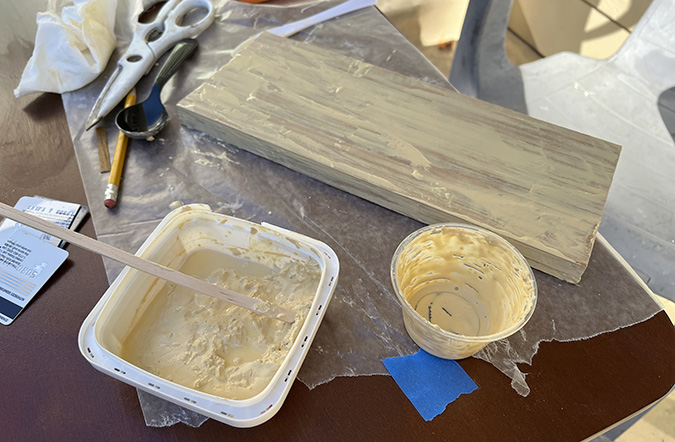
After the wood filler dried, I sanded with the mouse sander. That first coat of Minwax Golden Oak mostly came off, so that was an unnecessary step.
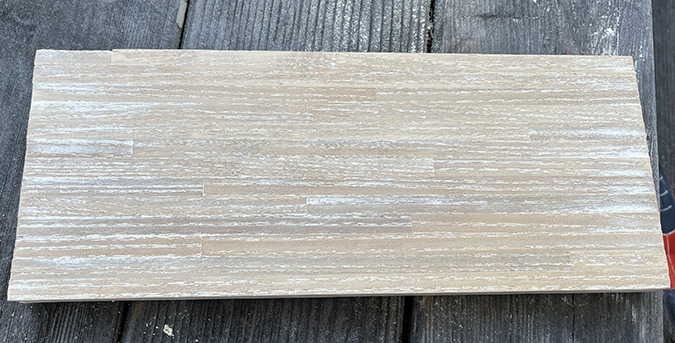
I stained with another coat of Golden Oak, out of a can this time. And I almost immediately regretted it — this color is nothing close to what our floor looks like. I have a water-based stain called English Oak that would have been better. Oh well.
On to the ceiling. I added 1/16″ tall spacers along the front edge of the ceiling as well as some other spots. The can lights were wiggling in the holes, so I added stability by layering a second hole piece on top of the first (but didn’t glue them on yet).
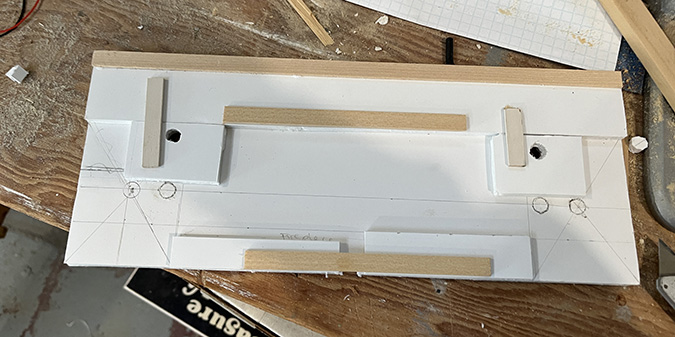
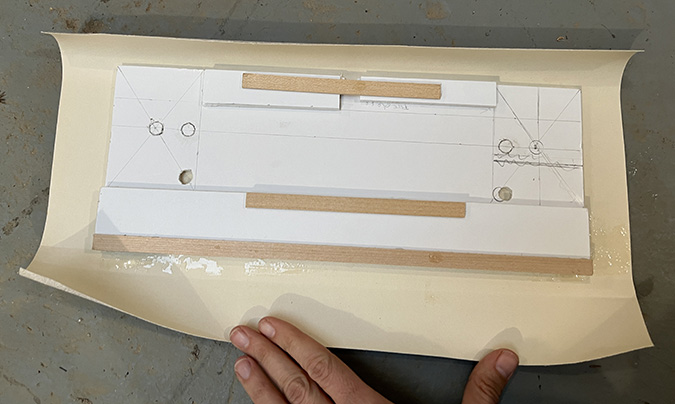
At the back of the ceiling, I added two pieces of foam core with a gap between them, and then lay a spacer over the gap. The wires will go through that gap and hang down behind the chimney.
I cut a piece of ceiling paper and glued it on, stretching the paper up and over the front piece of ceiling. Then I used an Xacto knife to off the excess at the sides and back.
(Oh, at some point I also moved the can lights farther forward on the suggestion of my dad, who patiently answers every dollhouse electricity question I throw at him.)
And here we have it… a prepared box!
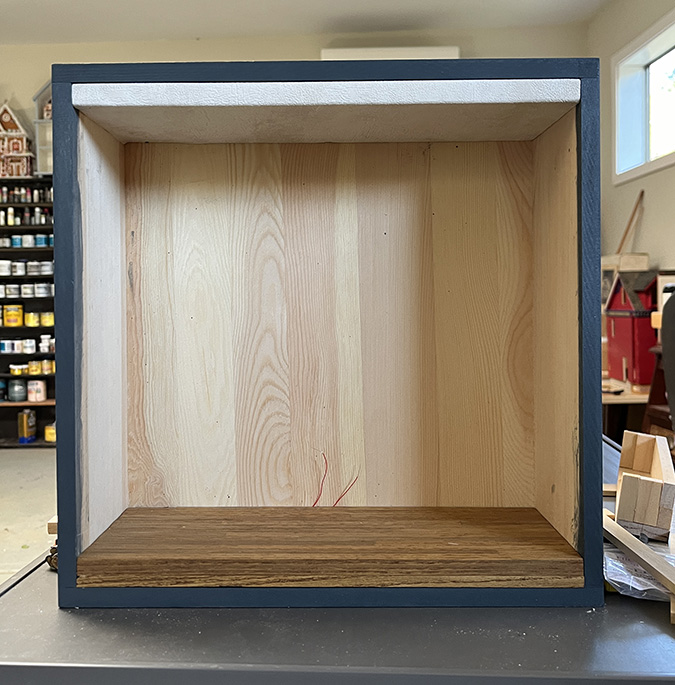
Coming up next: building the fireplace.
 Emily is a freelance writer, miniaturist, and adventure game enthusiast.


Don’t leave me hanging!!!! I want to see how you get it wired up! It looks great. I’m feeling inspired~
Thank you! Fireplace first, then electricity. :)
Excellent work! It had to be so hard not to share the process with Geoff! Those wood strips are great – you could always use them for vertical siding if you go modern with a future build.
Yes, that’s a great idea!