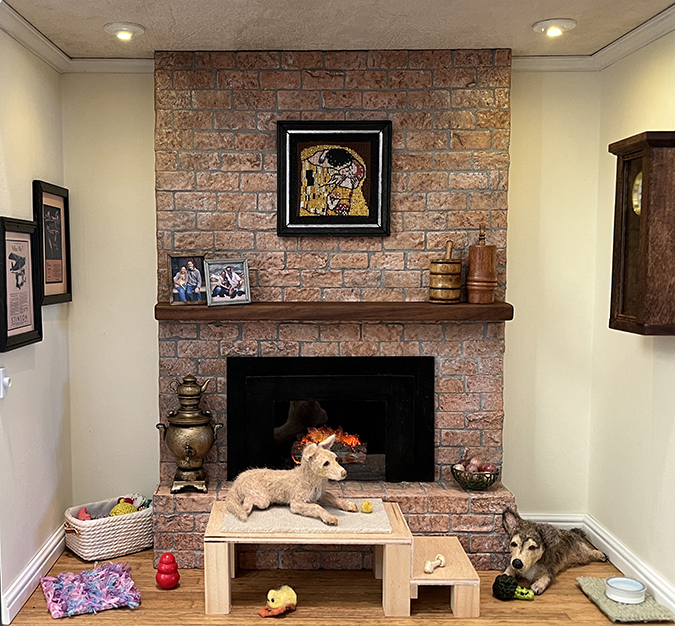
To electrify the dog roombox, I used LEDs and supplies from Creative Reproductions 2 Scale and Evan Designs. The roombox has two can lights and a flickering Log ‘n Flame. I got warm white can lights (they also come in pure white).
The log includes a circuit board and multiple LEDs that blink at different intervals, to create the flickering fire effect.
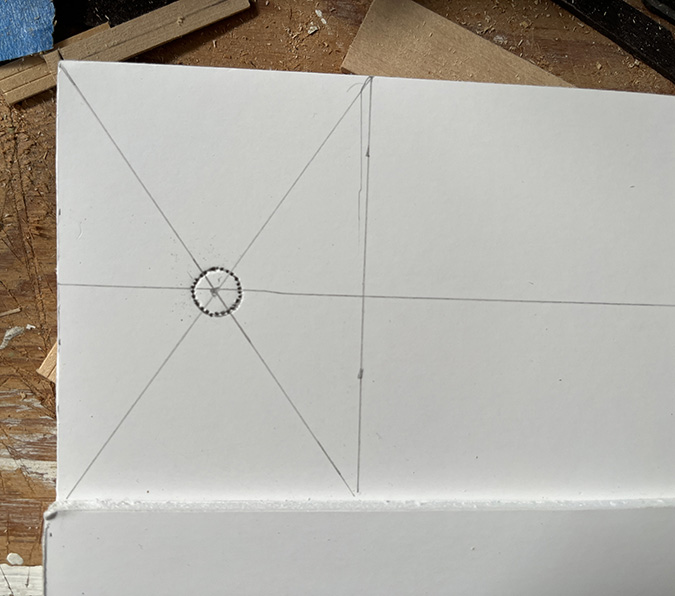
As I showed here, I made a false ceiling and floor out of foam core to hide my wires. The can lights fit into a 5/16″ diameter hole. I used my circle stencil to draw this and then poked around it with a pilot hole punch tool.
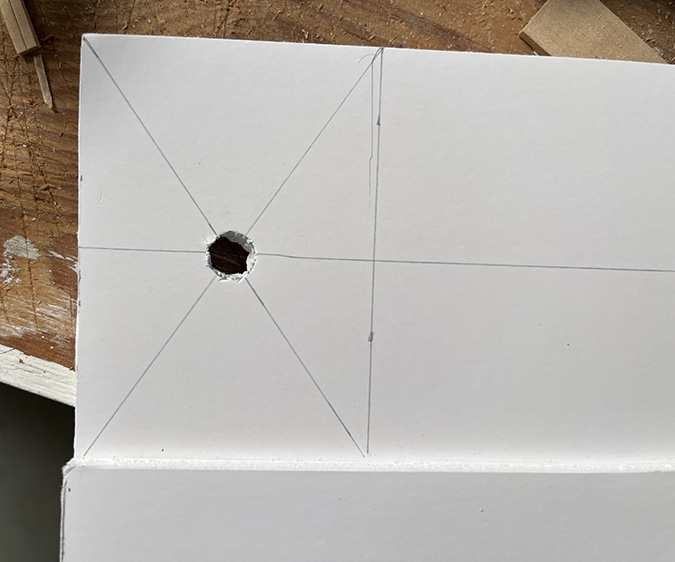
Then I cut out the punched circle with an Xacto knife.
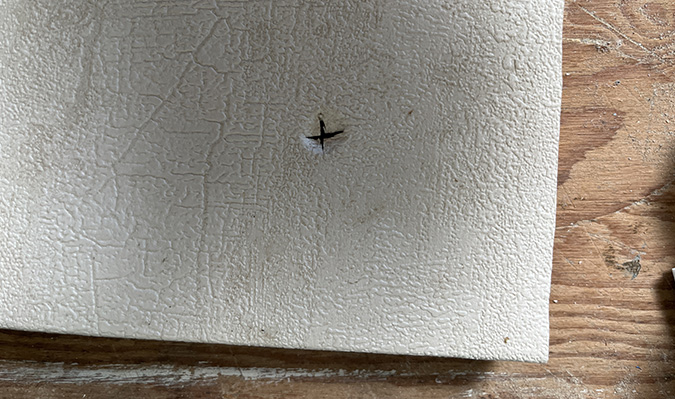
After adding ceiling paper (which is life-sized textured wallpaper), I cut an X through the hole and pushed the paper in.
And here’s the can light in the ceiling. The hole is a little bit too big because my Xacto cuts weren’t exact. In hindsight I should have started with a 1/4″ circle for a more snug fit.
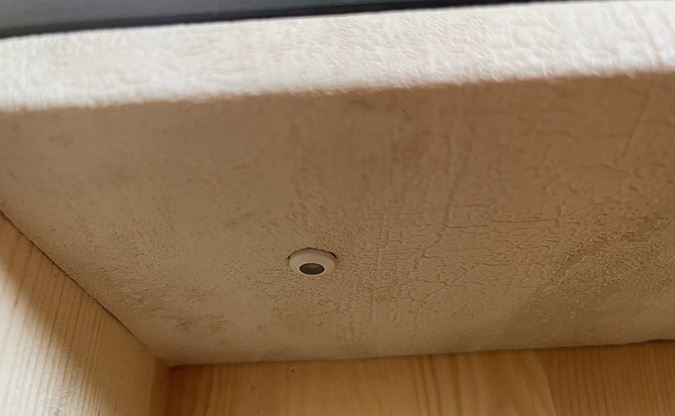
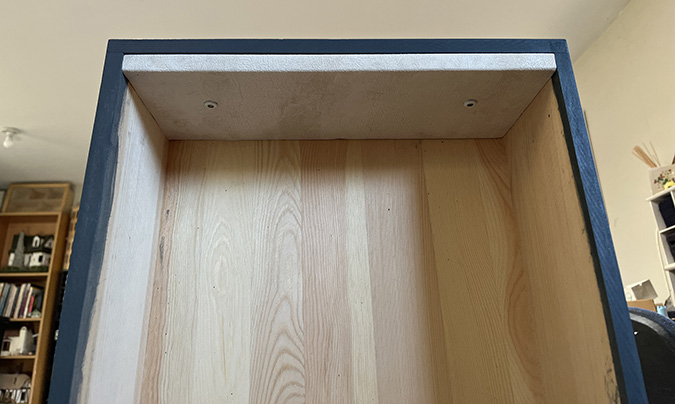
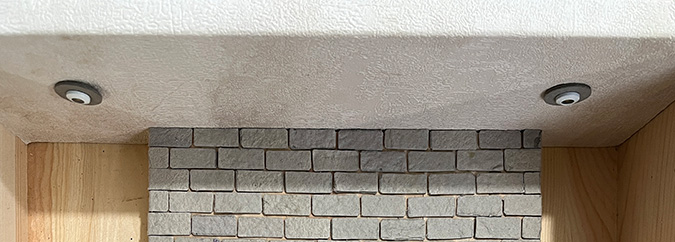
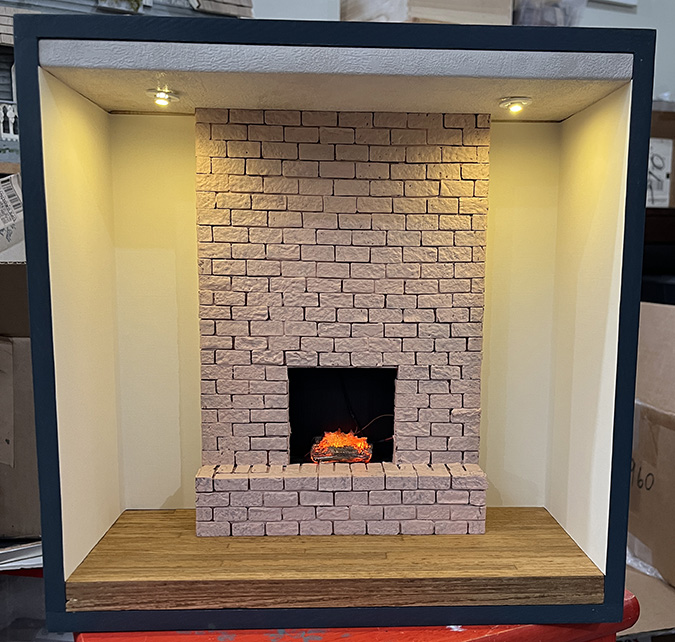
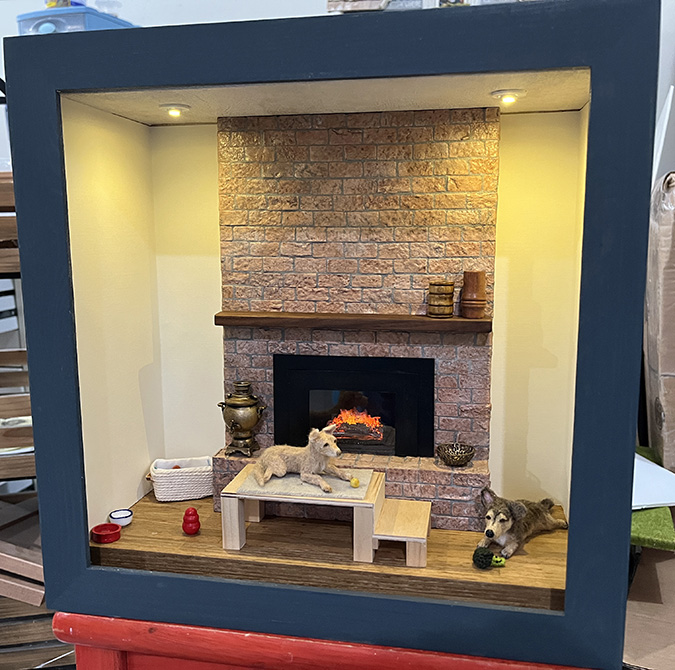
Here are the two can lights in place. In my post about preparing the box I mentioned that I tried a few different locations for the lights before I ended up with something I liked. These are roughly equidistant from the side wall and the front of the fireplace, with enough space between them to slide the fireplace in and out of the box.
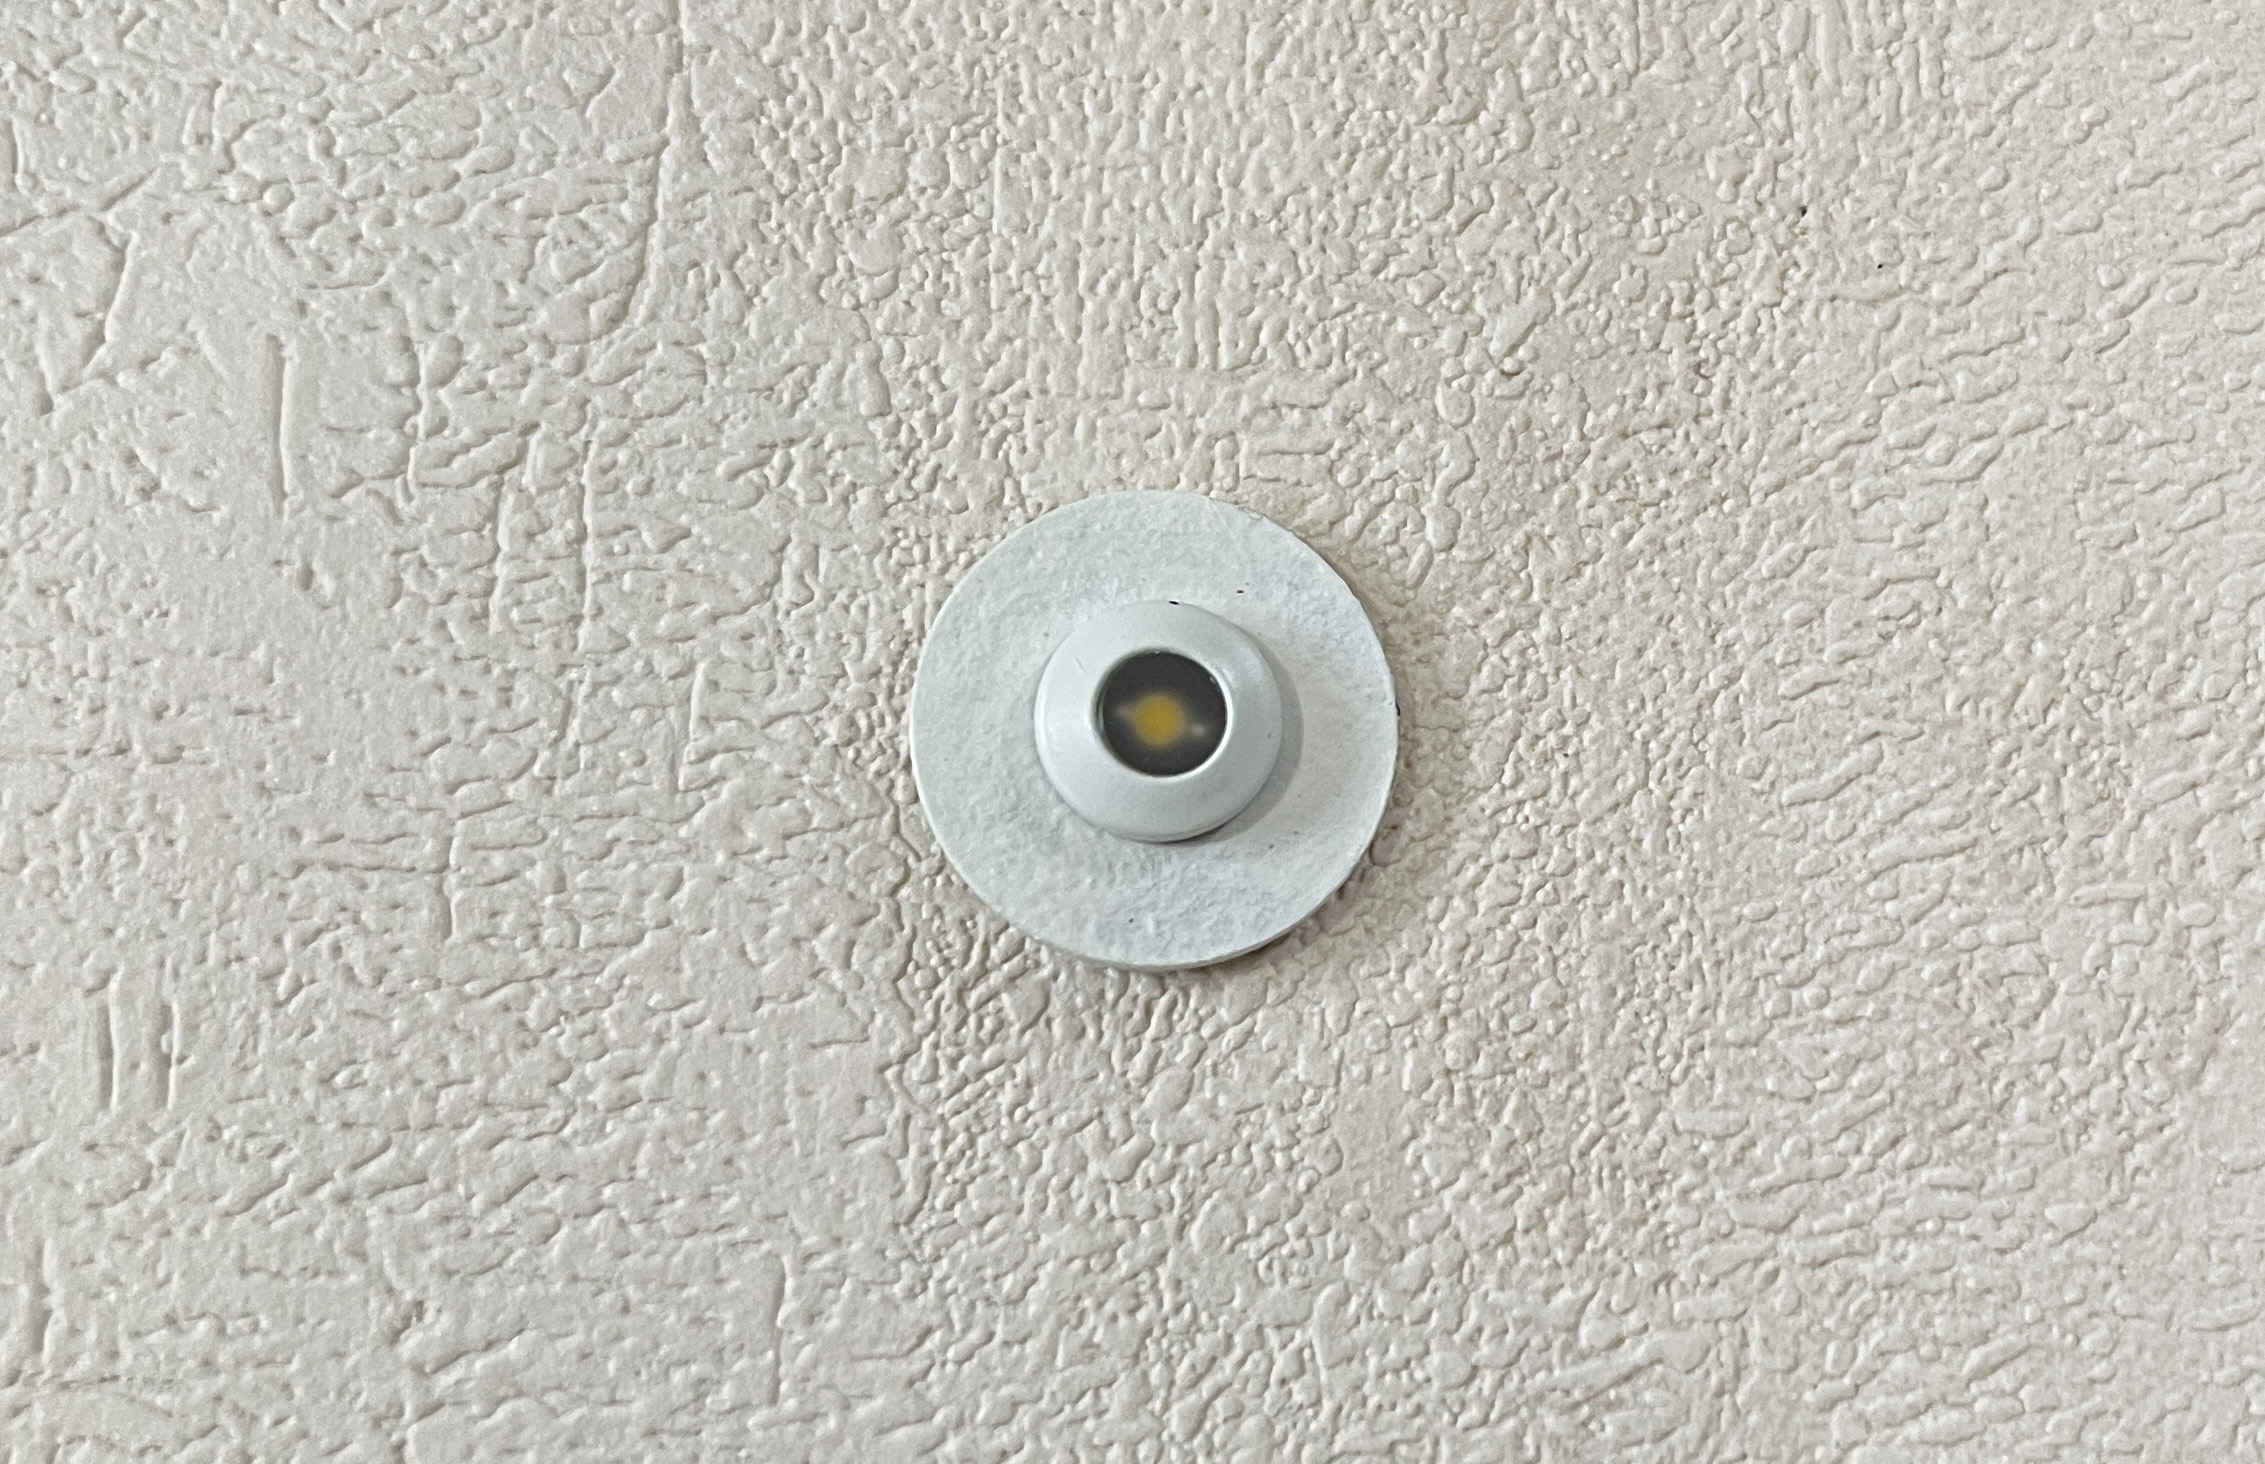
Since the holes are a little too big, I picked up two 5/16″ washers at the hardware store. These are a fiber material that seemed like it would be easier to paint than metal.
Here’s how the washer looks after painting it. I did a couple of coats and then finished it with satin varnish. You can sort of still see the gray behind the paint — I should have done another coat or two — but I was in a hurry to get the roombox done for Christmas and decided this was good enough for something that’s upside down on the ceiling.
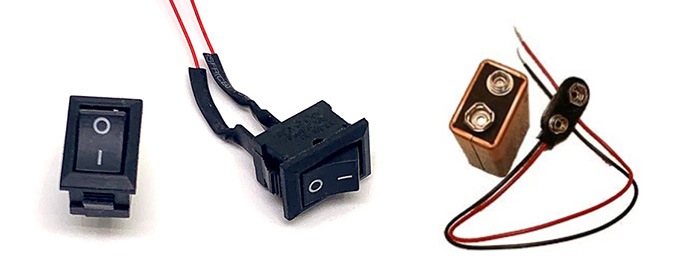
I neglected to take pictures of the rocker switch and battery snap before installing them, so here are the product pictures.
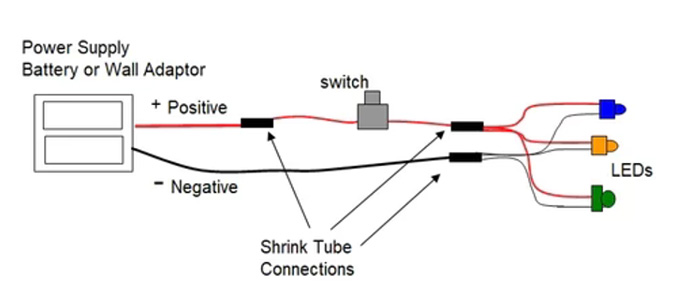
And this is the diagram for the switch. The red wires on the lights need to be wired to the switch, which then connects to the red wire on the battery. The black wires on the lights are attached directly to the battery.
I also bought a variety pack of heat shrink tube, which includes two sizes, to connect the wires. I didn’t buy any extra wire, thinking I could find some in the garage if I needed it, but it turned out the battery snap’s wire was much longer than it needed to be, so I was able to use that (as you’ll see below).
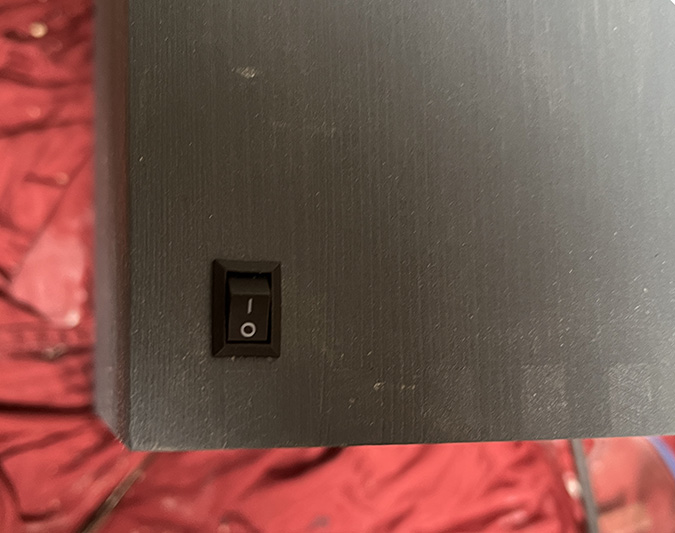
As shown here, I had previously inserted the switch through a hole in the side of the box.
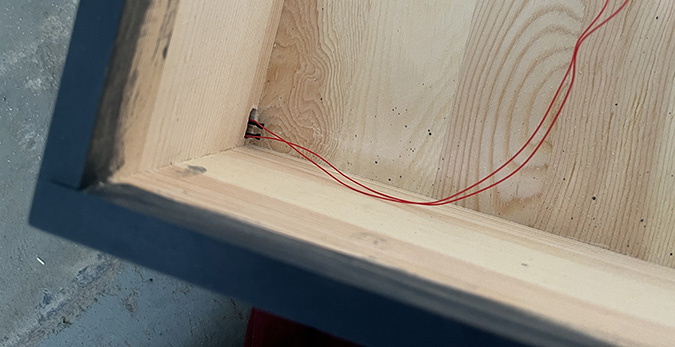
Here are the wires sticking into the room. These will be hidden under the removable floor.
At this point it was December 21 and I was working fast to get the electricity done while Geoff wasn’t around, so I didn’t document this process very well, but hopefully I took enough pictures for it to make sense.
The first thing I did was insert the 9V battery into the snap and test each light by touching the wires to the battery wires (red to red and black to black). The Log ‘n Flame’s wires were not red/black so I figured out which was the “black” one by touching each wire to the red/black on the battery to see when it lit up. I colored the tip of that wire with black Sharpie to keep track of it.
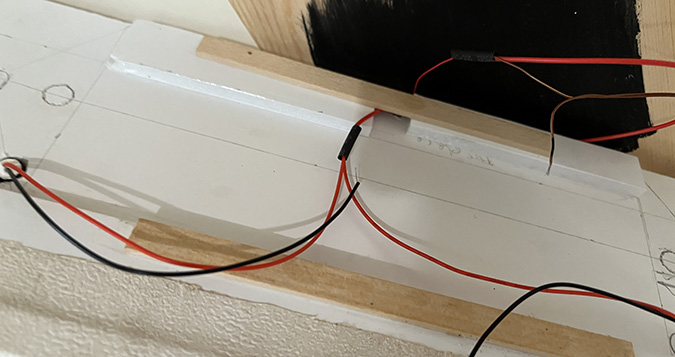
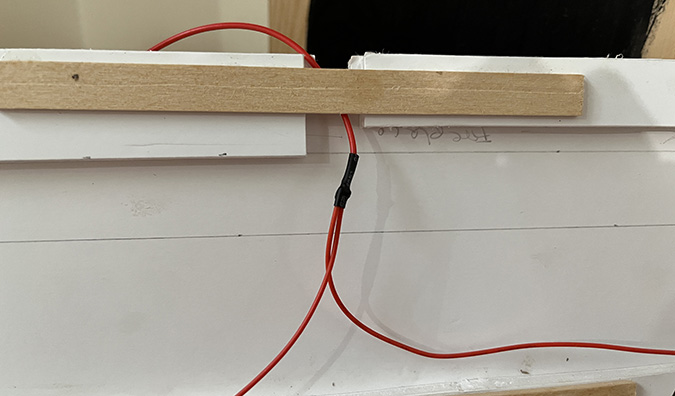
Next, I cut off most of the red wire on the battery snap, which was much longer than I needed. I slid a piece of heat shrink tube over the switch’s wire, twisted the metal ends of the switch and battery wires together, and then slid the heat shrink tube over the connection point. I didn’t shrink the tubing yet.
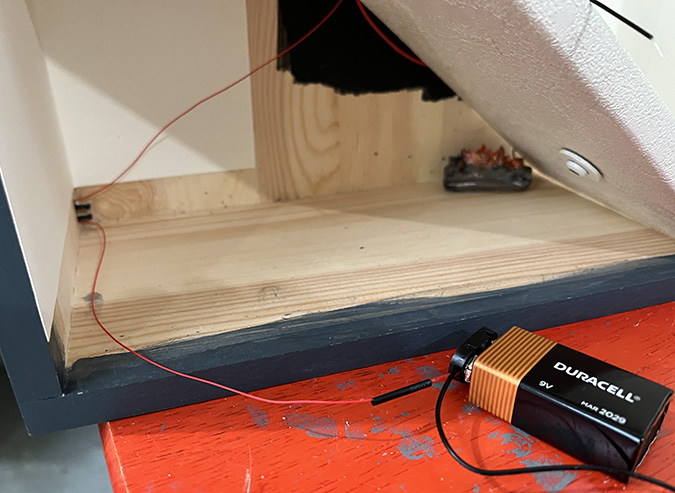
Under the ceiling, I bundled the two red wires for the can lights together and attached these to the length of red wire I’d cut off the battery snap. That red wire meets up with the “red” wire on the flickering log, and then attaches to the remaining wire on the switch.
I touched the black wire from each light to the battery’s black wire, to make sure they lit up.

Then I melted the heat shrink tube. Geoff does have a heat gun in the garage but I decided to try the hairdryer first, and it worked fine. I’ve always been intimidated to try this stuff, but now that I know how easy it is, I’ll use it again!
Here’s where the pictures aren’t quite adequate to remind me how I did this… pretty sure I next attached the black wires from the can lights to the black wire on the battery snap, which is why the can lights but not the log are lit up in this picture.
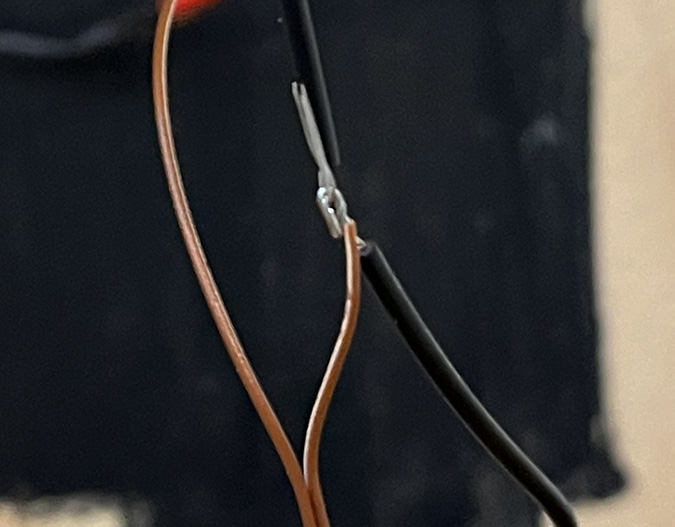
Then I cut the black wire closer to the battery in order to splice in the black wire from the log. This closeup shows how I attached the wires — I twisted them together and then bent them into hooks, which I then hooked and twisted together before sliding the shrink tube over the bundle.
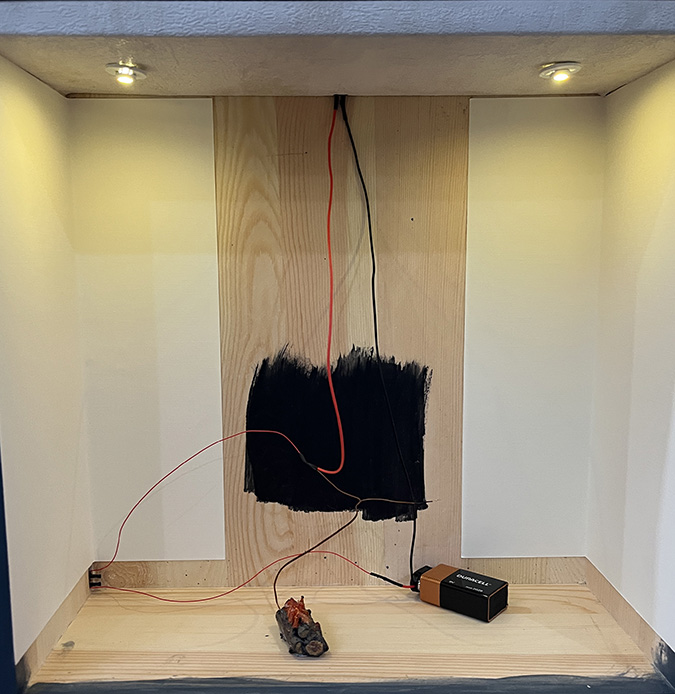
Now all three are lit up. The scrap of wire on the floor is excess that I cut off the fireplace log.
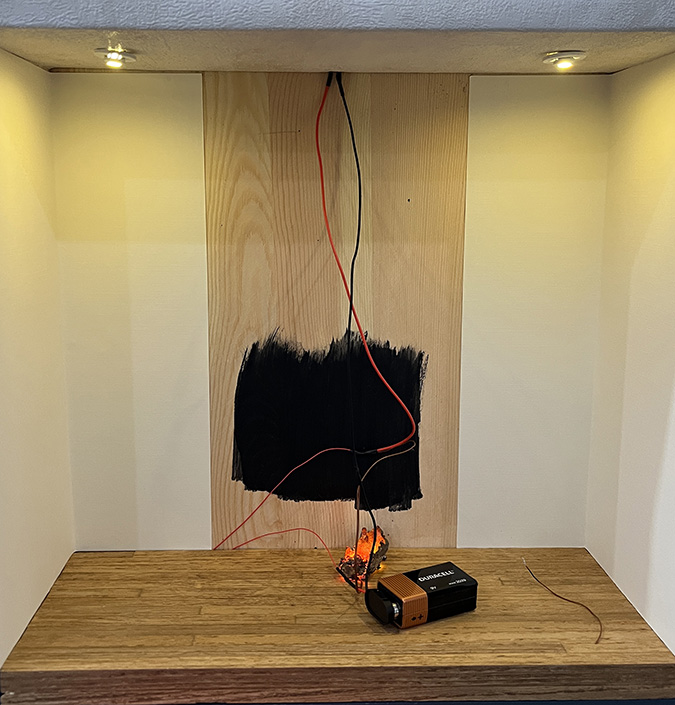
The battery and wires are hidden behind the fireplace. In this picture you can see the wires coming out of the log. After this I ran the Sharpie over them so they blend in with the black background.
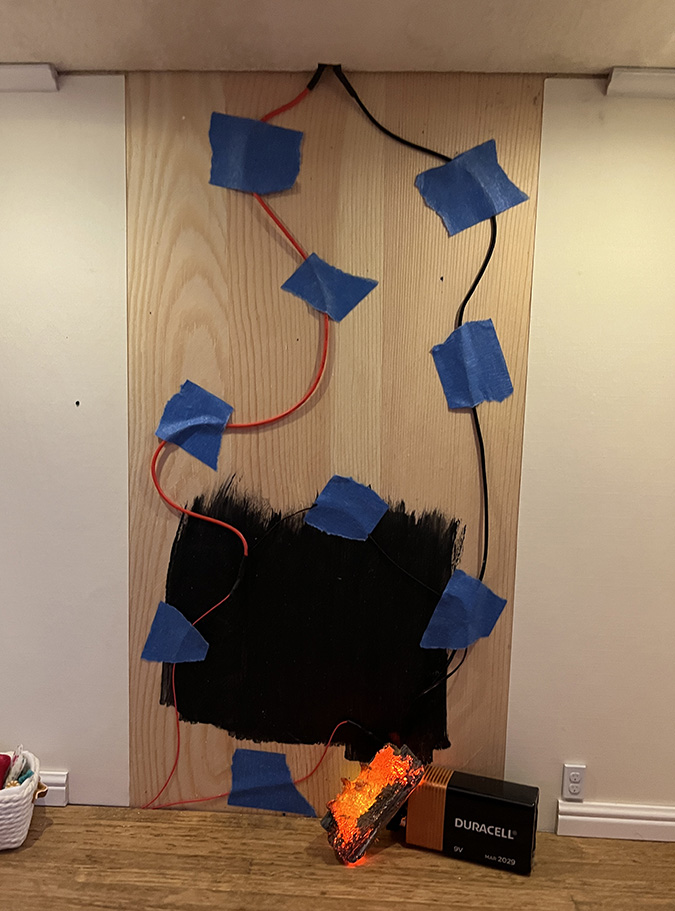
I didn’t take a picture of this at the time, but here’s one I that shows how I taped the wires up behind the fireplace. This keeps them out of the visible area.
This was one of my easier electricity experiences. I’ll definitely use LEDs again, and I’m already thinking about how I can use a rocker switch and battery in the Guys from Texas canisters, and CR2S also offers a 1/2″ scale Log ‘n Flame, which seems like something I need to try…
 Emily is a freelance writer, miniaturist, and adventure game enthusiast.


Leave a Reply