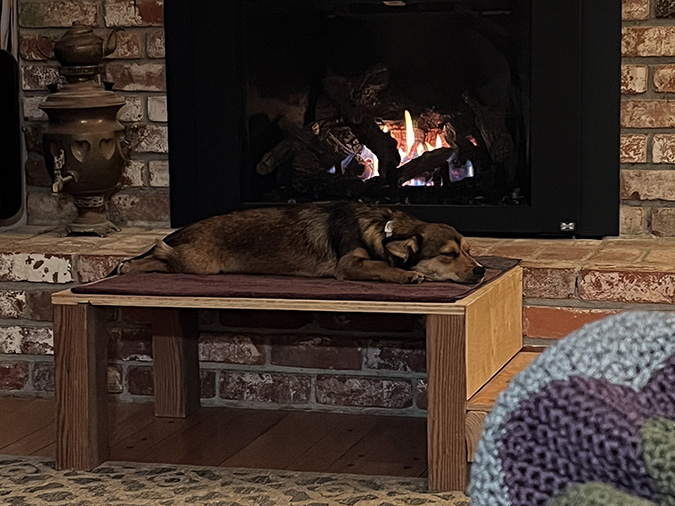
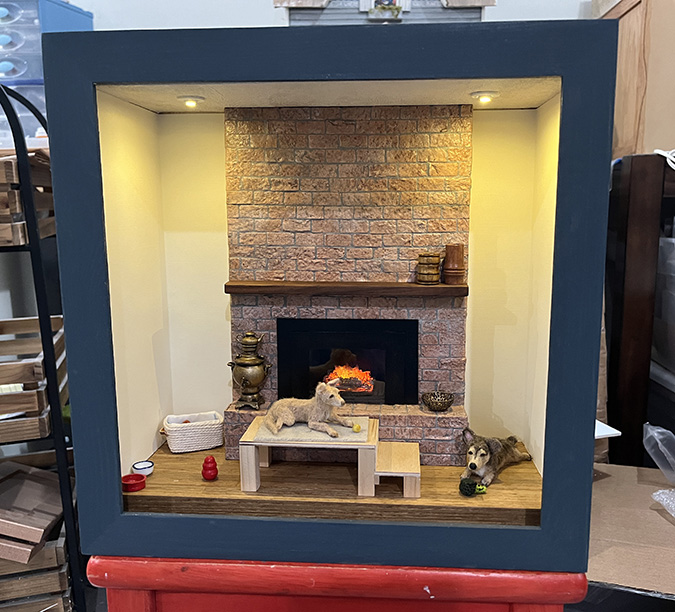
While I was (secretly) working on the dog roombox to give to Geoff for Christmas, the weather got cold and he got the platform down out of the garage so Daisy can lie by the fire. She likes splooting on it…
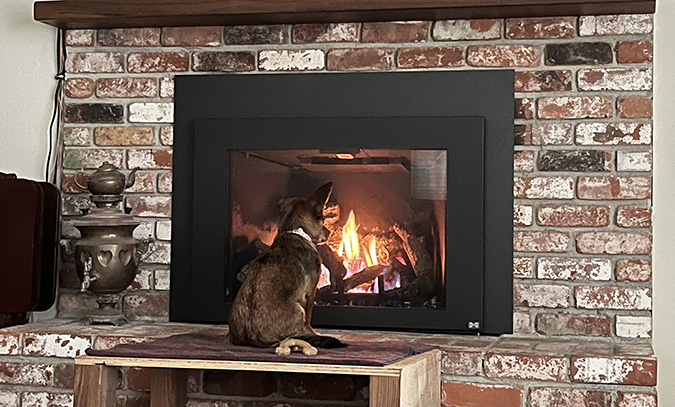
…but she likes staring into the fireplace even more.
With the false ceiling and floor finished, I was now able to make the fireplace. The fireplace needs to be removable so I can access the wires and 9V battery behind it. I started by gluing pieces of stripwood together to form the sides and front.
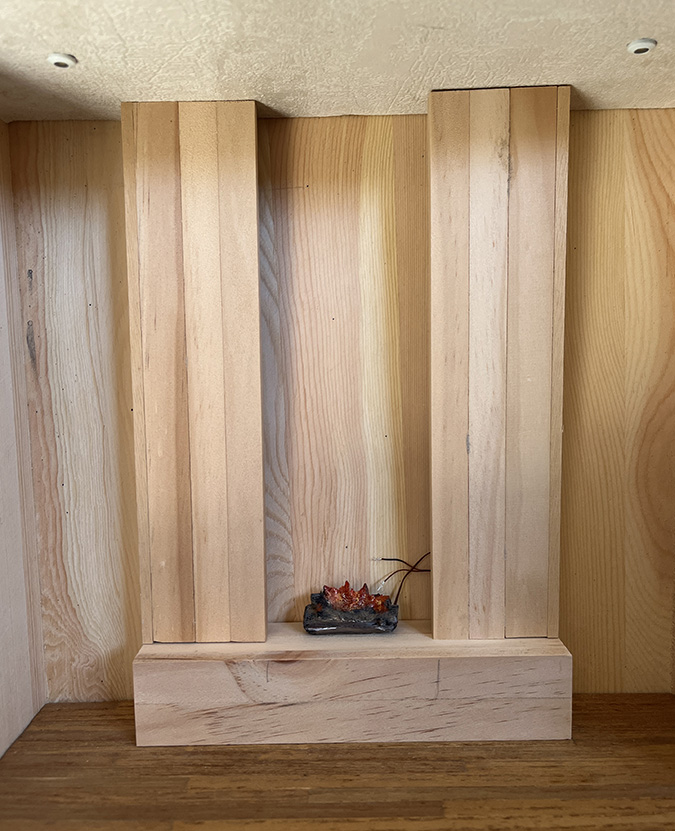
I glued a support strip inside the corners to keep them square.

I added shorter pieces to form the hole.
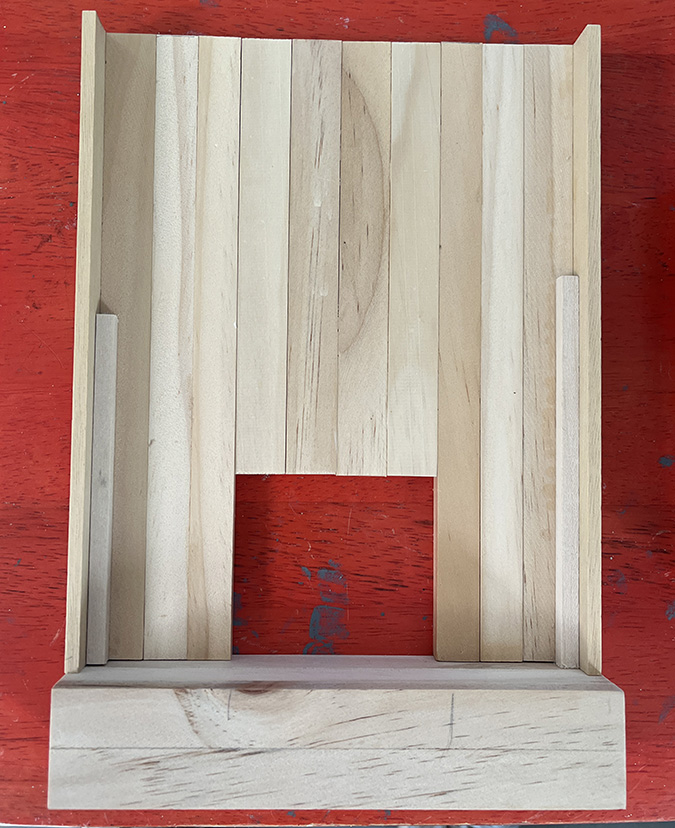
I glued in a couple of horizontal pieces to add stability.
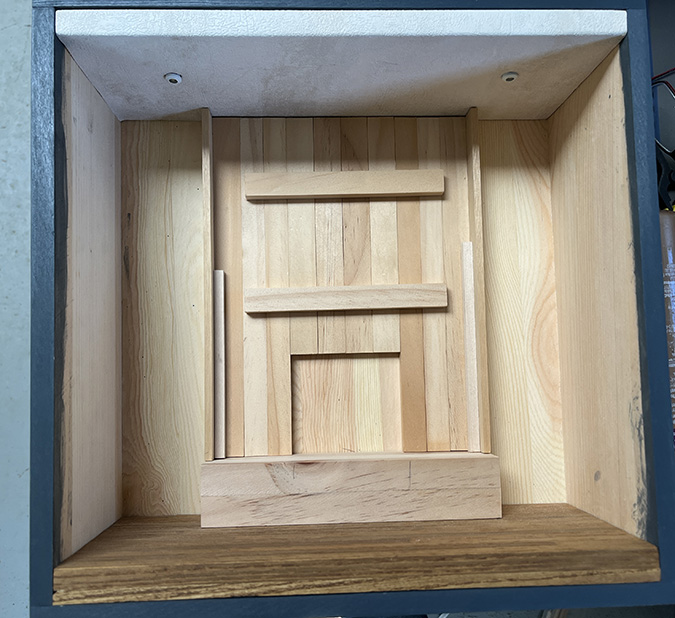
I prepared two pieces of scrapbook paper for the walls (but didn’t glue them in yet), and painted the area behind the hole black.
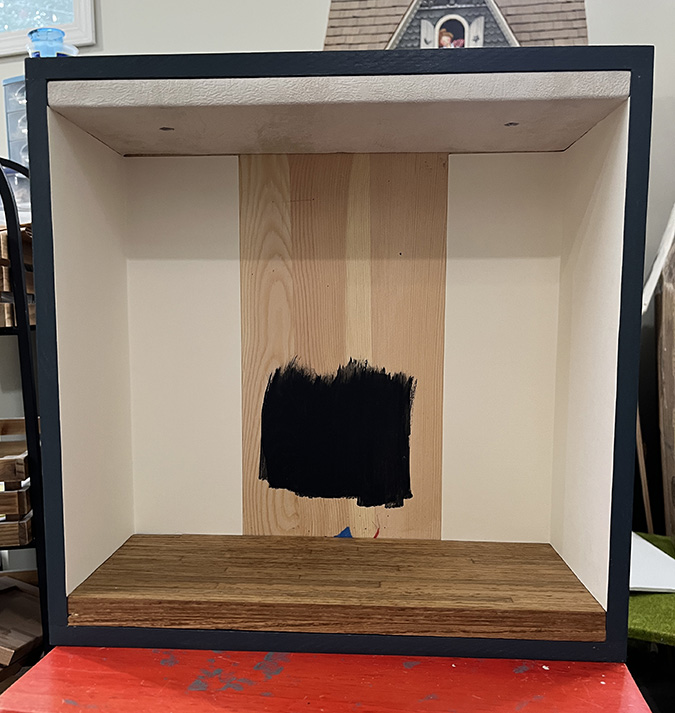
Here’s how it looks so far.
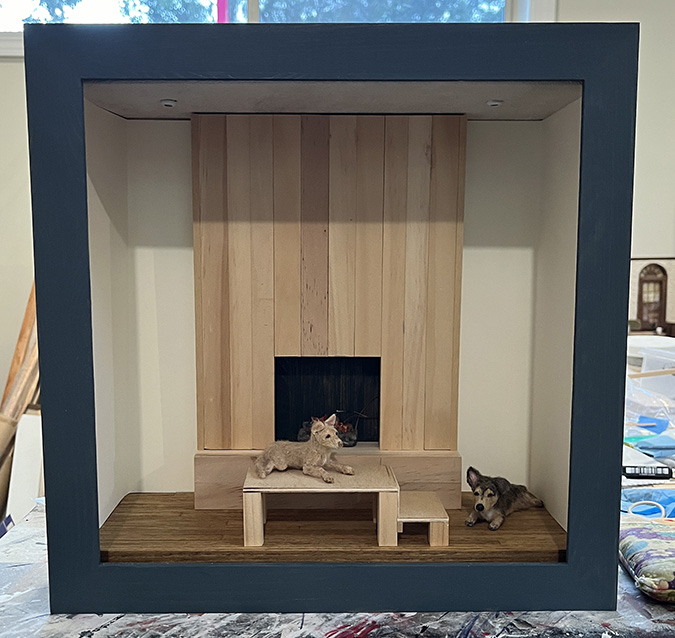
By this point I was planning to buy a samovar from DrevcaUs to put on the hearth, and I worried that my hearth wouldn’t be big enough. I messaged the seller and she told me the depth was 1″. My hearth was about 3/4″.
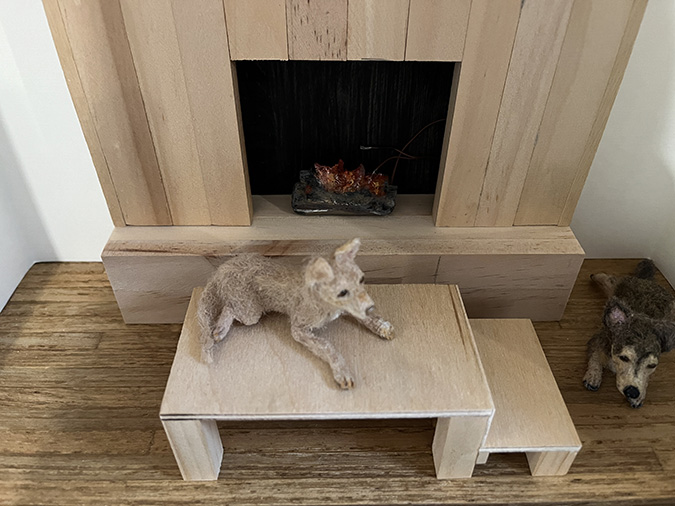
I added some wood scraps to the front to bring it out to about 1 1/8″.
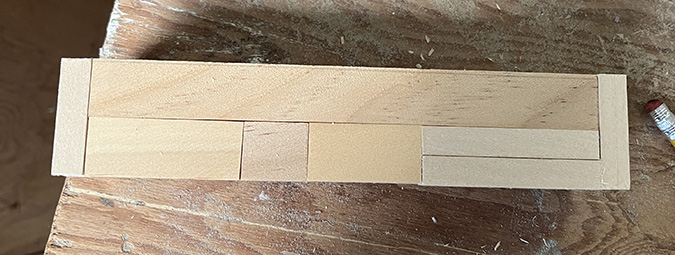
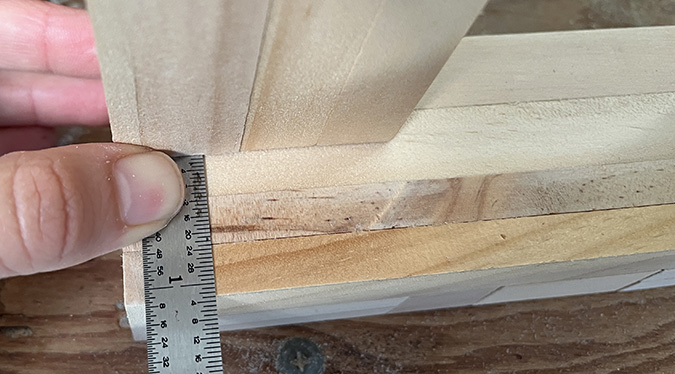
Then I glued the fireplace assembly to the hearth, with square blocks at the bottom for added stability.
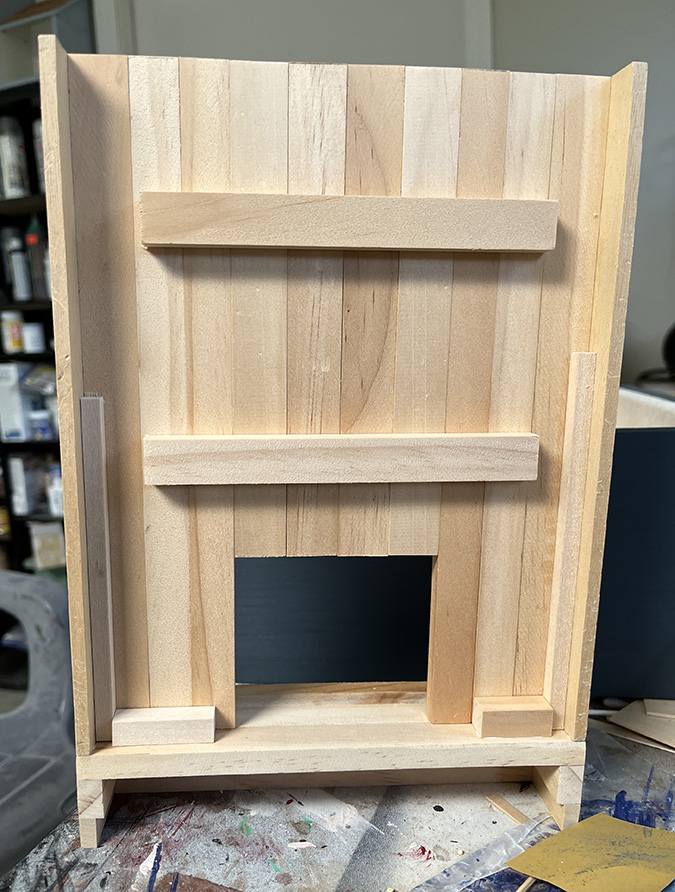
The vertical segment of the fireplace wanted to tip forward. With the box lying on its back, I placed the fireplace in the box, pushed it back so it was flush with the wall, and then glopped up the seams at the bottom with glue and left it this way to dry.
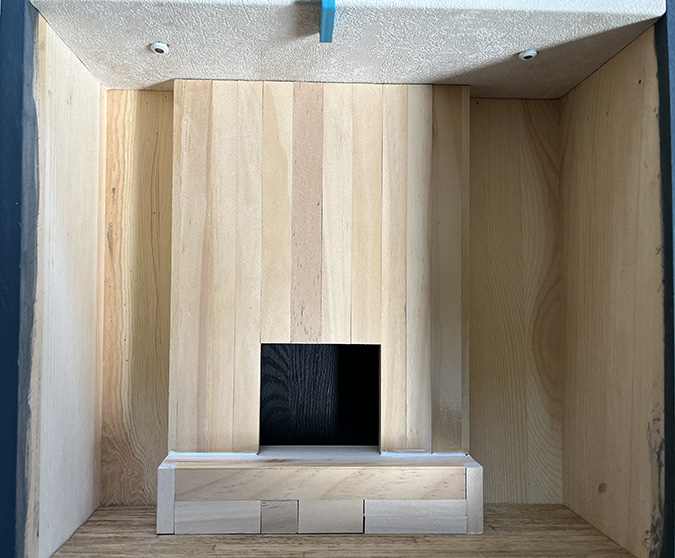
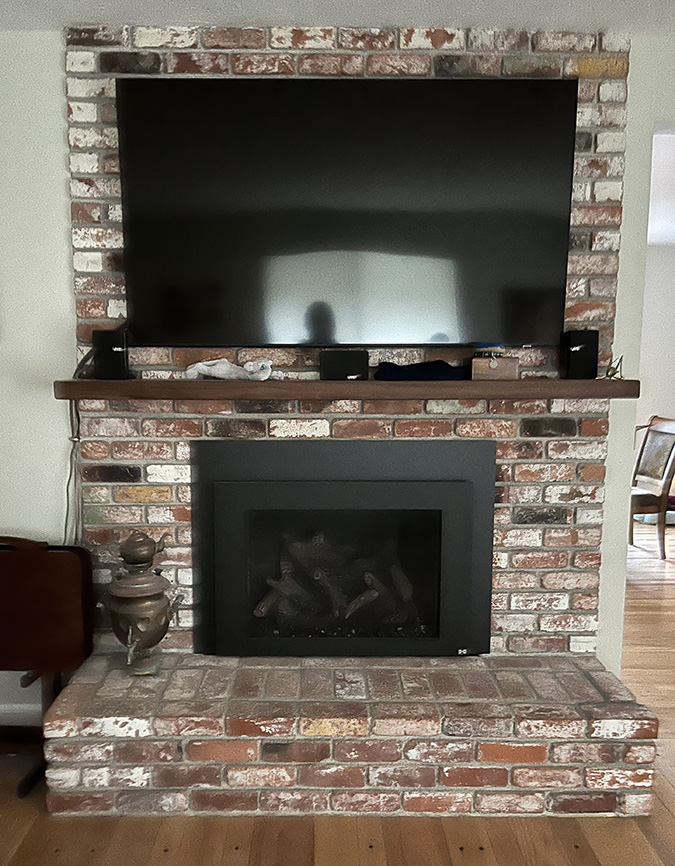
Rather than do the math to figure out what dimensions the bricks should be in this somewhere-between-1:12-and-1:6-scale roombox, I referred to my real fireplace, which has eight bricks per row. The hearth is four rows high.
I made my bricks from egg cartons, sizing them so the front of the hearth would have the same layout as in real life. The dimensions are about 3/8″ x 7/8″. Admittedly they’re not the right proportions — at that width they should have been more like 1/4″ tall — but I thought it was more important to match the real fireplace. Besides, if I’d made the bricks shorter I would have had to cut and glue even more of them, and time was of the essence.
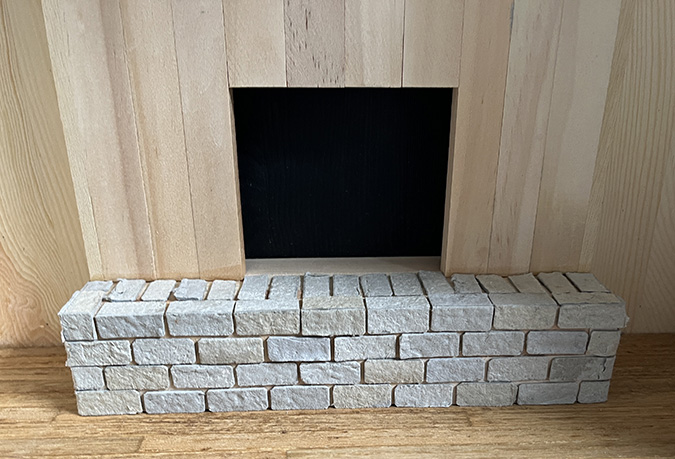
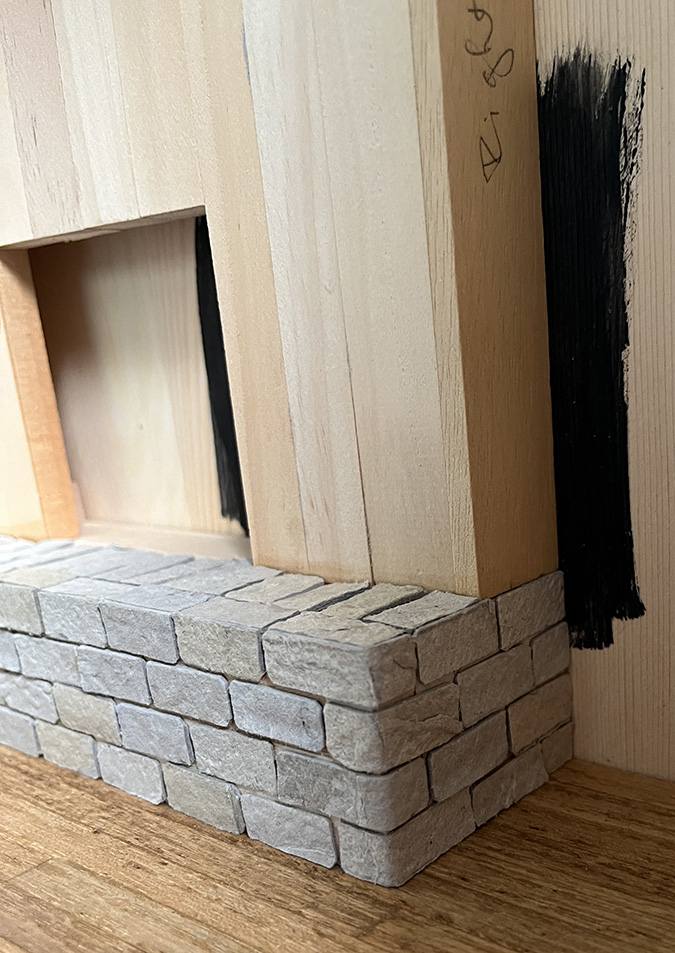
The vertical bricks on the top surface of the hearth also match my fireplace, although the real fireplace has one additional row of horizontal bricks behind the vertical ones. I could have made my hearth a little deeper to allow for this, but that would have put Rosy’s platform right up against the front of the roombox.
The bricks at the corners are longer and wrap around the sides. The bricks on top of the hearth butt up against the ones on the front.
I worked my way up one side of the hole, and then drew lines to make sure the bricks on the other side would line up.
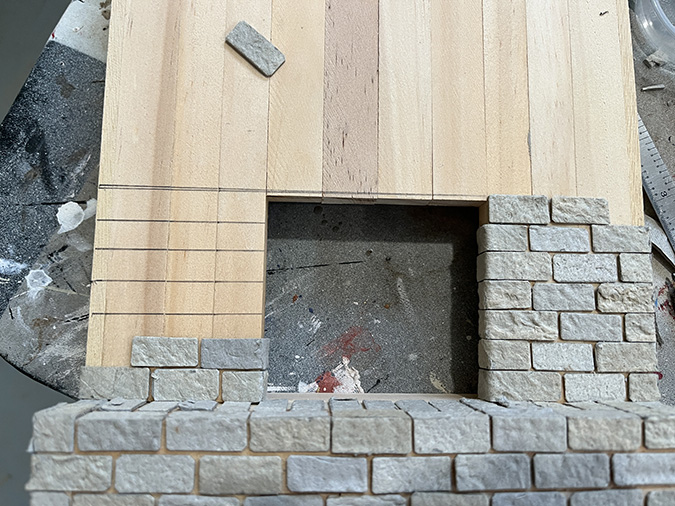
That worked, but there was something funky about the bricks on the left side of the hole — as I worked up from the bottom, the ones on the left edge got longer and longer.
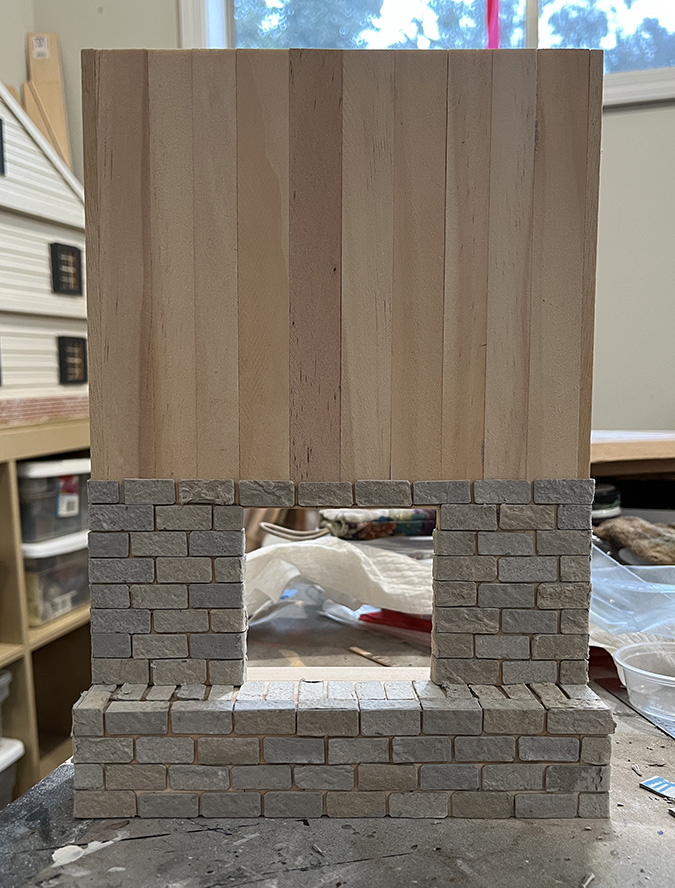
I was working quickly and running out of time before Christmas, but this bothered me enough to fix it. I cut the bricks on the left edge to a better length, and pulled up the rest of them.
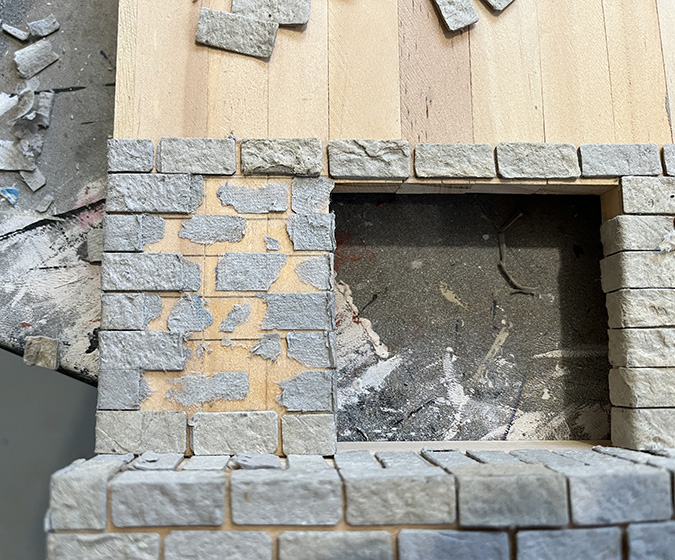
Okay, that’s better. Now some of the bricks at the right edge are too long, but those will be covered up by the front of the fireplace insert.
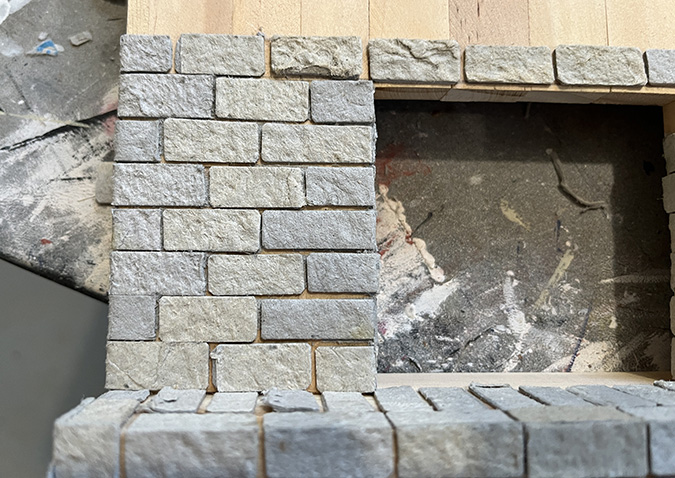
I glued on more bricks whenever I could get into the workshop without Geoff figuring out what I was doing. A few times he walked in on me and I very unsubtly moved the fireplace off the table and onto the floor where he wouldn’t see it.
From his perspective it was just “dollhouse stuff,” but since I usually work in half scale, the fact that I was making something so BIG plus the fact that it looked like our fireplace might have tipped him off.
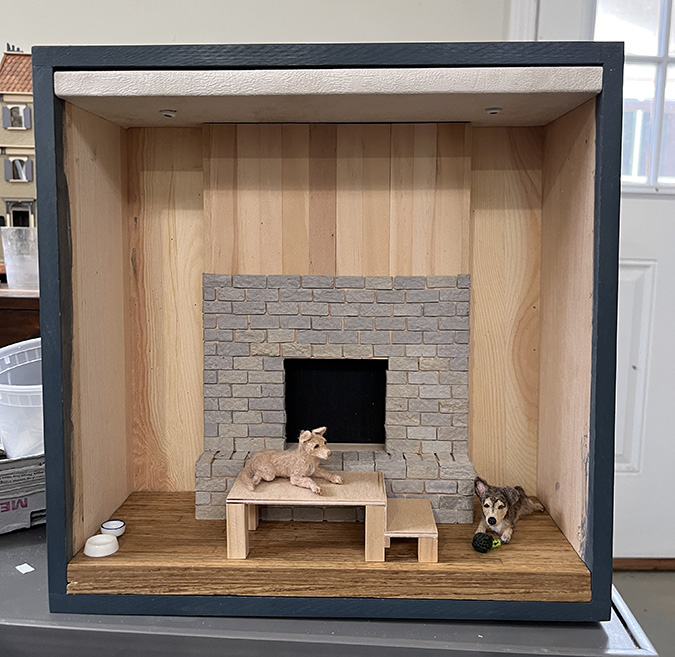
As I got up to the top, I laid out bricks going up to the top to see how they’d fit. Amazingly they just fit without needing a partial row at the top.
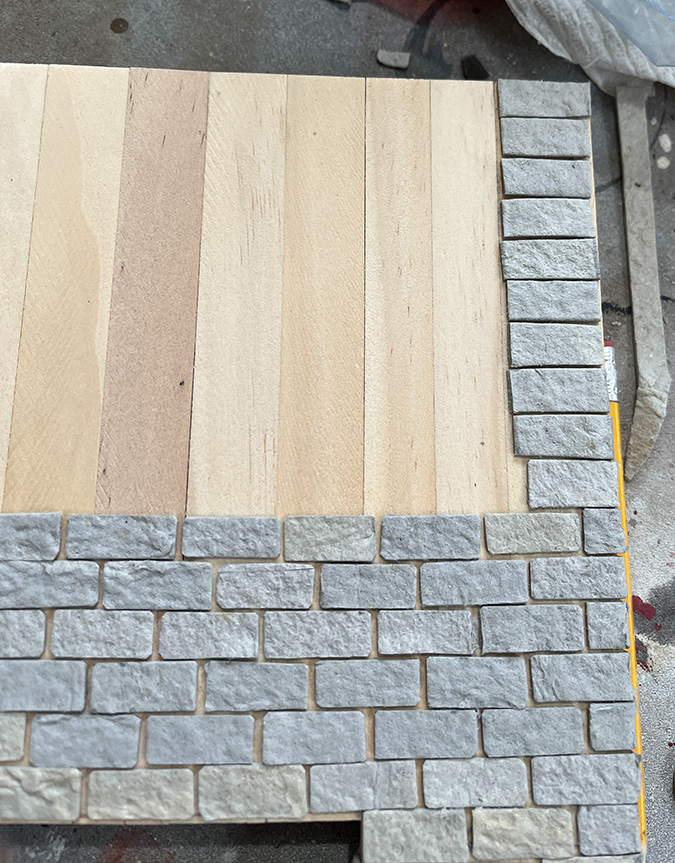
I did the corner pieces up to the top and then filled in the rows, to make sure I maintained that spacing.
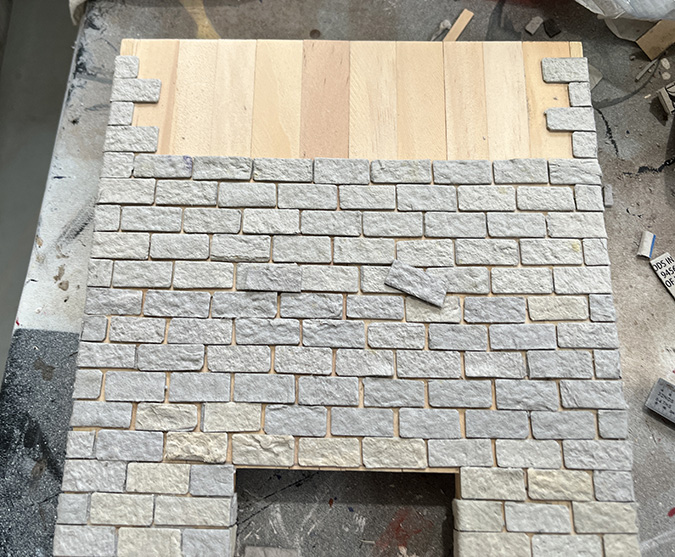
And voila! It was now December 15, so I was glad to finally have this done.
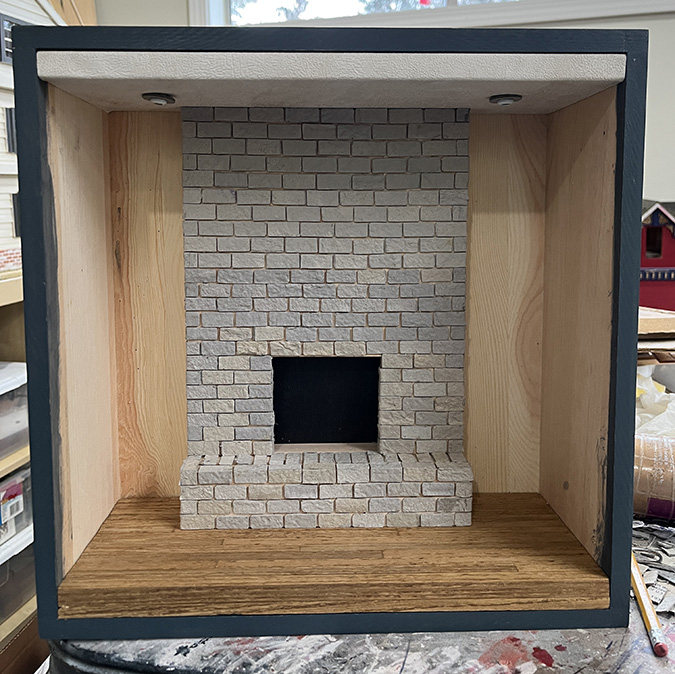
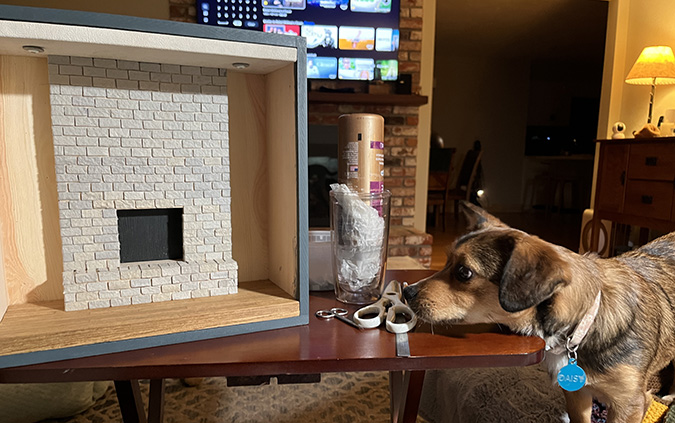
I had saved the sides for last, and brought the fireplace into the house to finish them while Geoff was out of town.
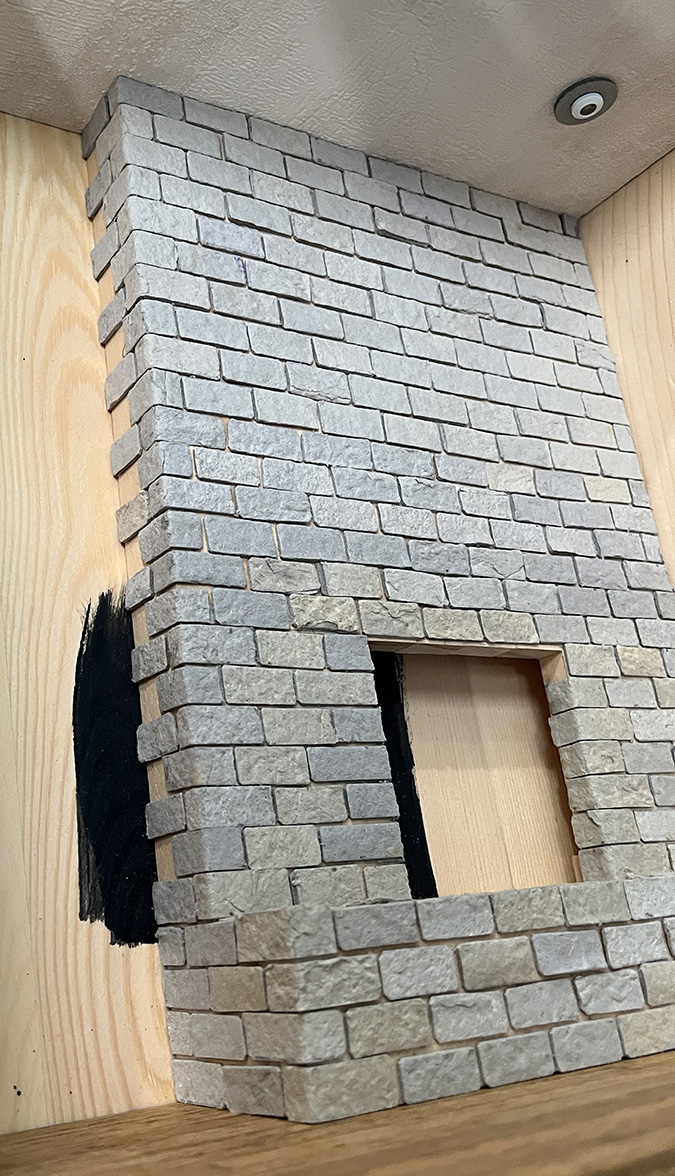
Daisy was curious.
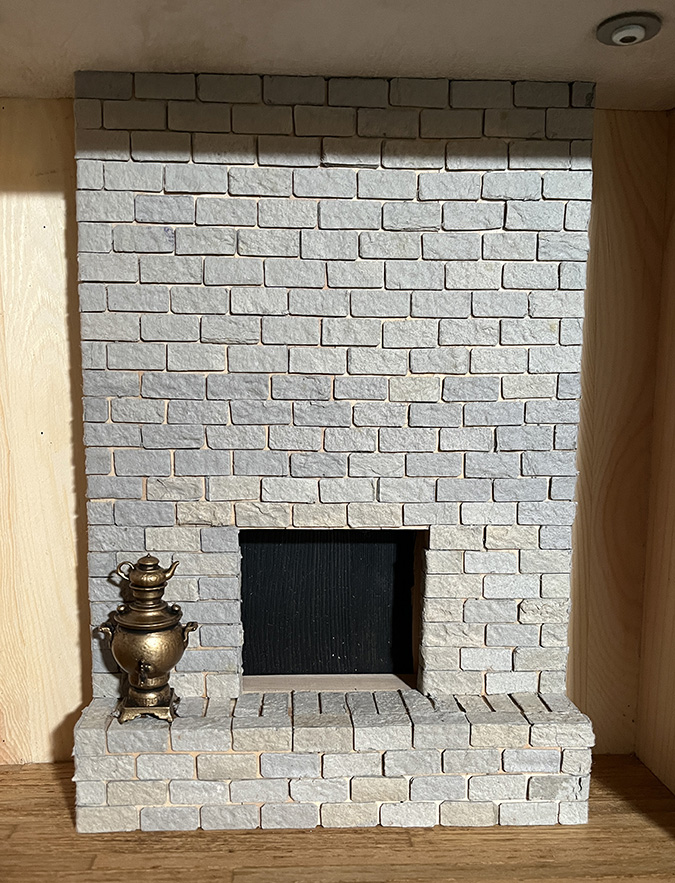
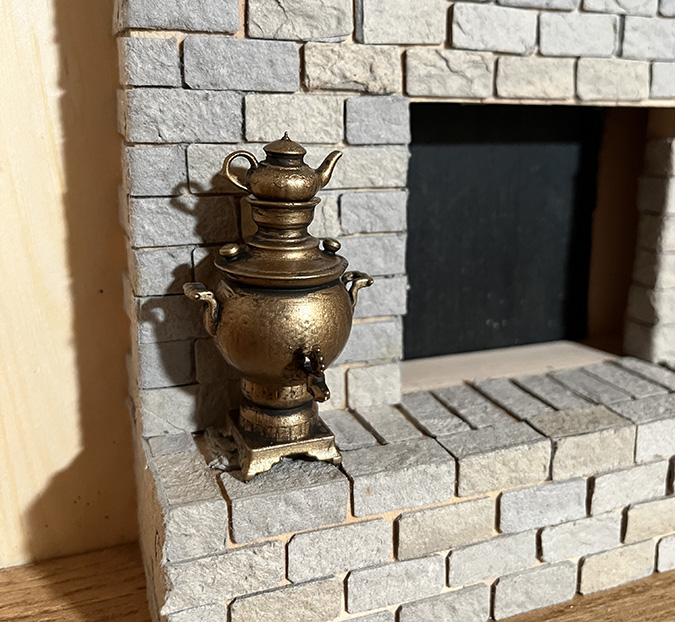
Meanwhile, I had been placing orders for accessories to go inside the roombox. The samovar arrived and fit perfectly on the hearth.
I also ordered a mantel from MiniLumber. Because I was short on time, I asked the seller, Neil, if he could finish it for me. I sent him photos of our real mantel for reference.

When we moved into this house, the fireplace didn’t have a mantel. Geoff and I bought it from a local salvage yard. I can’t remember the name, but it’s an exotic wood from Brazil.
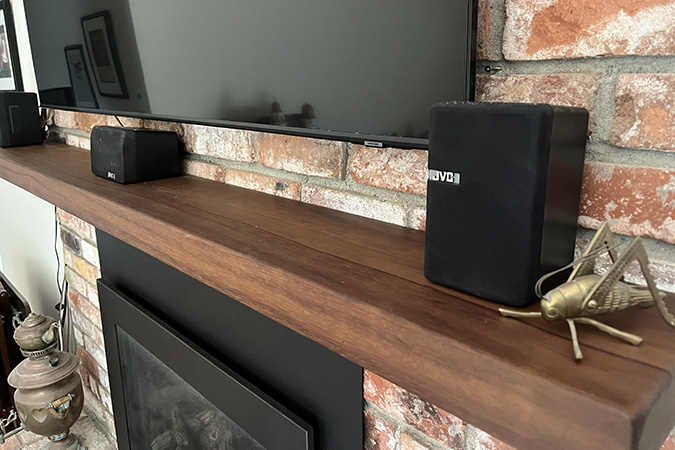
Neil used walnut, and he sanded and oiled the wood for me. I ordered two just in case I messed one of them up.
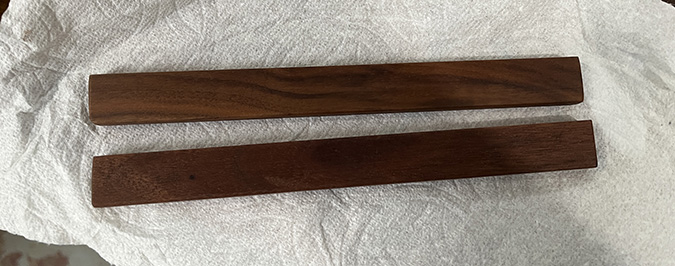
I laid the box on its back and placed the mantel on the fireplace to see how it would look. I’m so glad Neil finished this for me — I just didn’t have time and I couldn’t have done a better job.
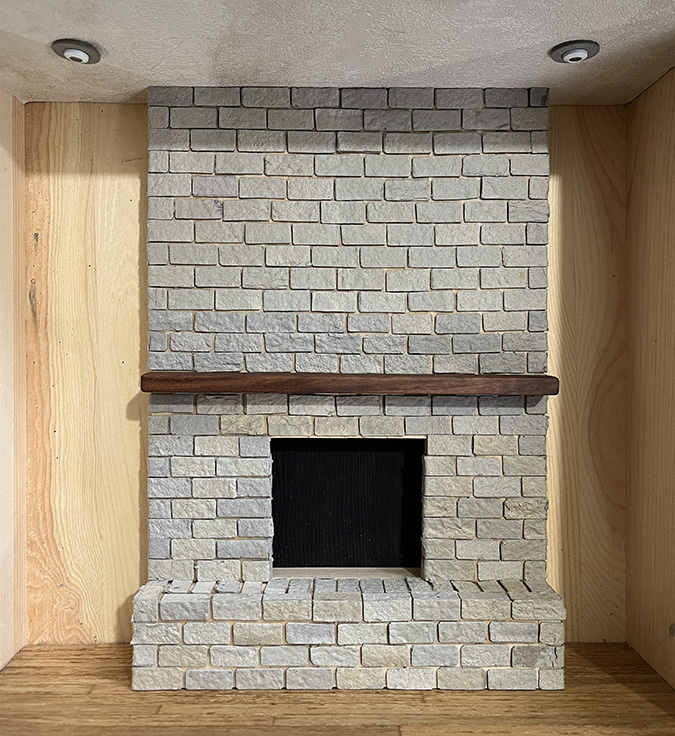
Now it was time to paint the bricks. I got out my trusty Brick Red paint for the base coat.
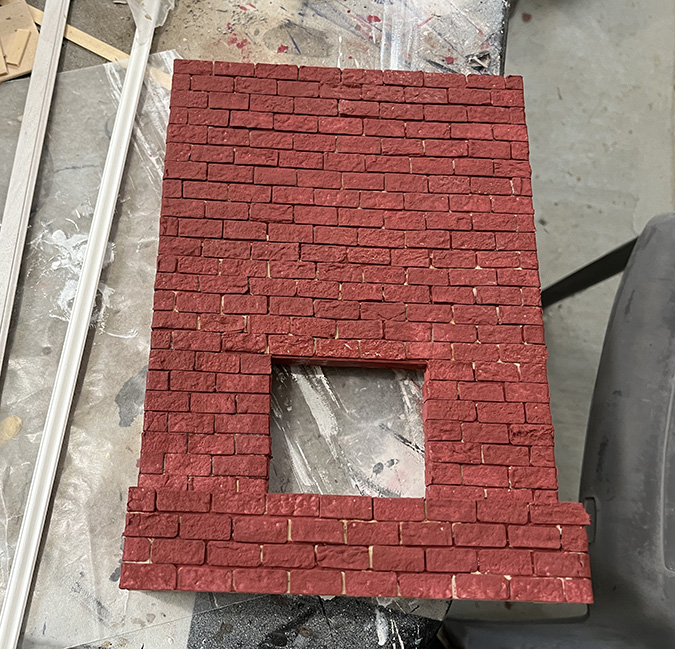
And then I splotched on various shades of red, brown, gray, black, and white with a dry brush.
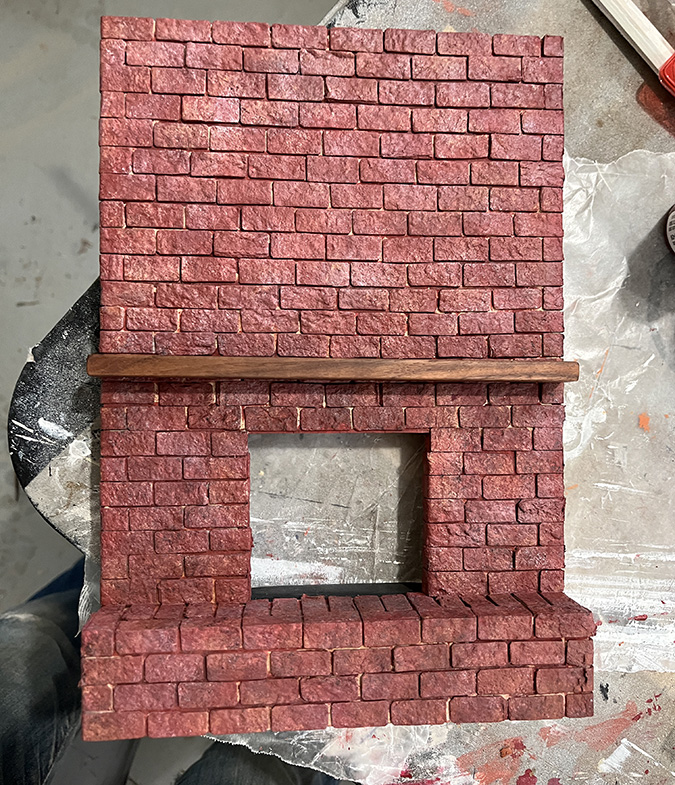
It didn’t look bad, but something about it just wasn’t right. I put it aside at the end of the day (now December 20!) and came in to spring Daisy from her crate. (She was spending a lot of time in there while I worked in the workshop, finishing as much as I could while Geoff was out of town. She was a very good girl.)
That night, staring at my fireplace, I realized what the problem was. Our bricks aren’t Brick Red.
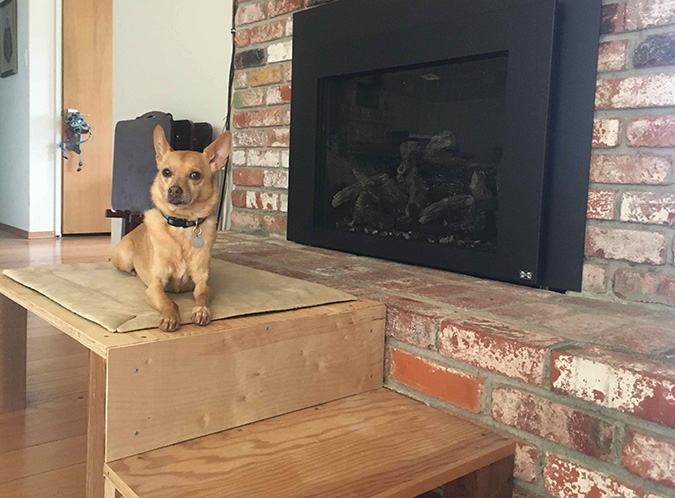
The base color of the bricks is sort of an adobe red/orange, as you can see on that one plain brick above the bottom step of the platform. They’re weirdly painted/splattered, most of them with white, which makes them look pink.
I’d already decided I didn’t want to replicate the weird finish on the bricks, because I don’t like it in real life, but I could at least make the bricks lighter and pinker to look more like the real thing.
I tried a white wash first, but it didn’t help, so I ended up doing a new pink base coat.
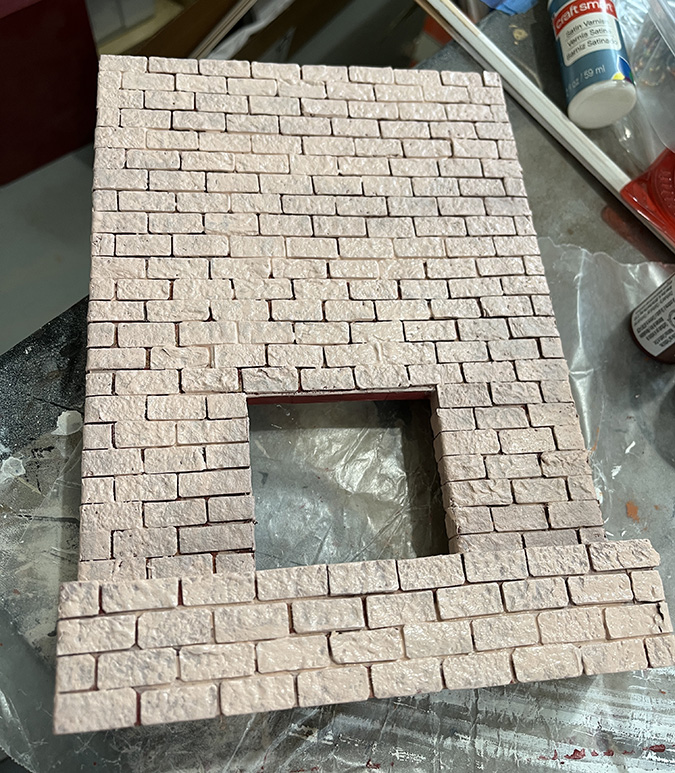
Then I added washes — brown, red, gray, maybe some orange? I can’t remember everything I used now.
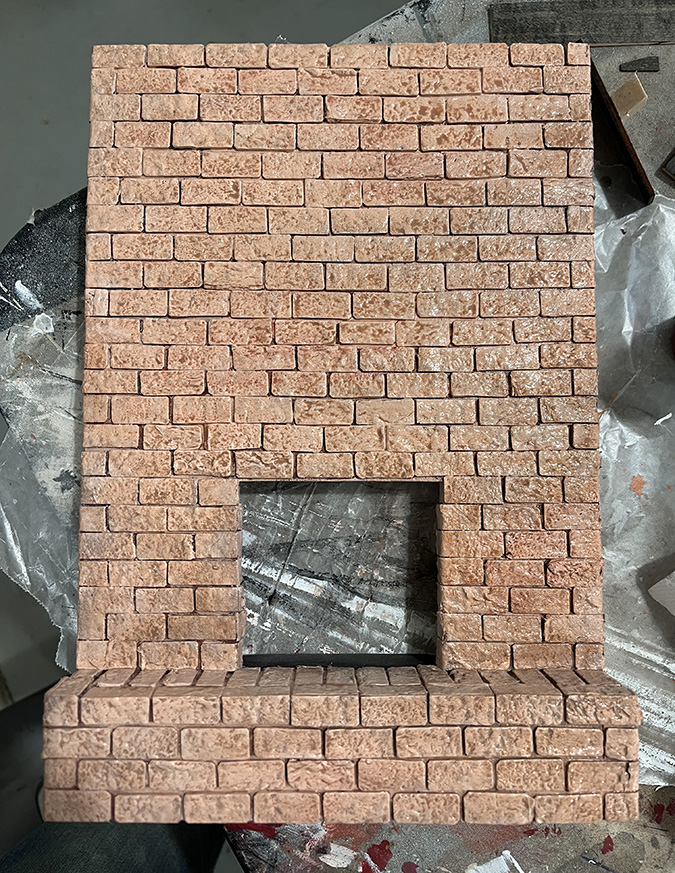
Next I used the dry brush to apply some white and black. I decided to call this good enough and added a coat of satin varnish.
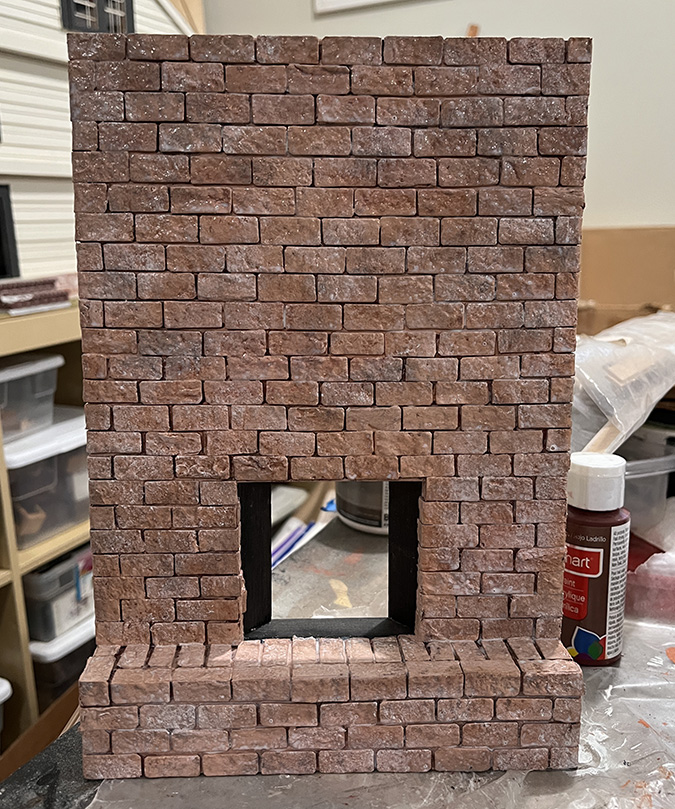
When the varnish was dry, I added grout. This is Andi Mini Brick & Stone Mortar Mix.
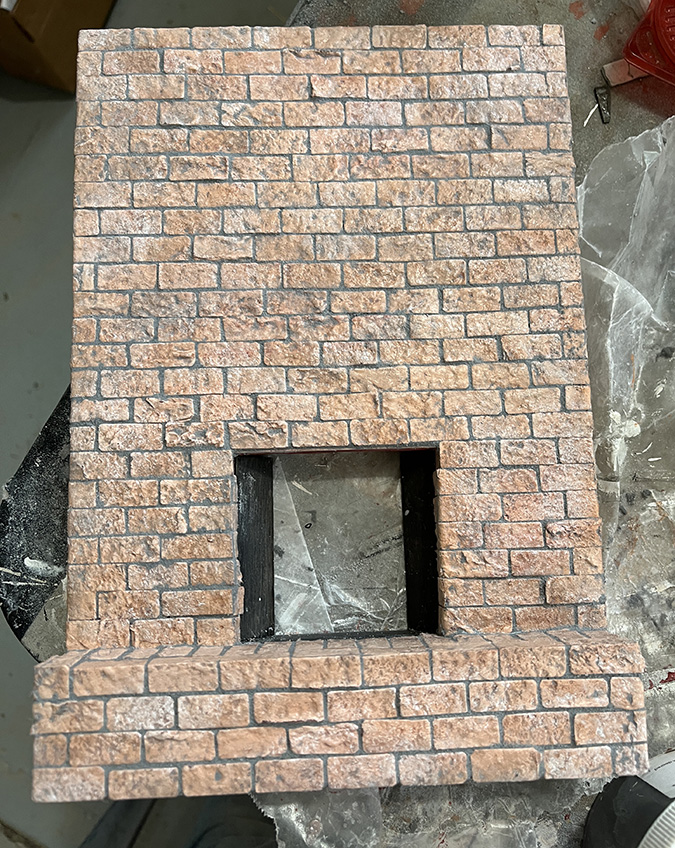
After the mortar dried, I added another coat of satin varnish. Bricks complete! (It was now December 23…)
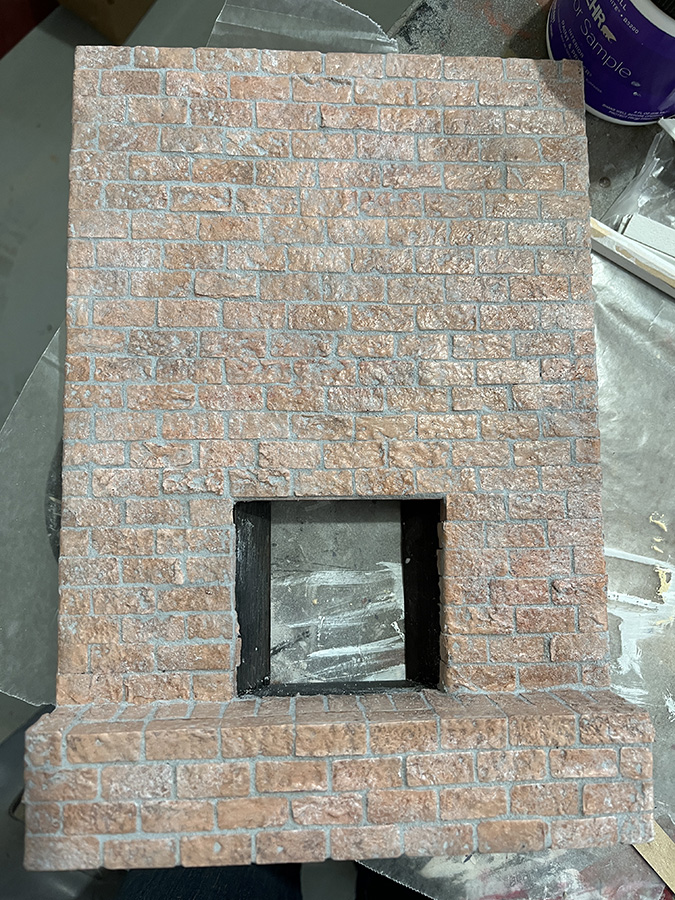
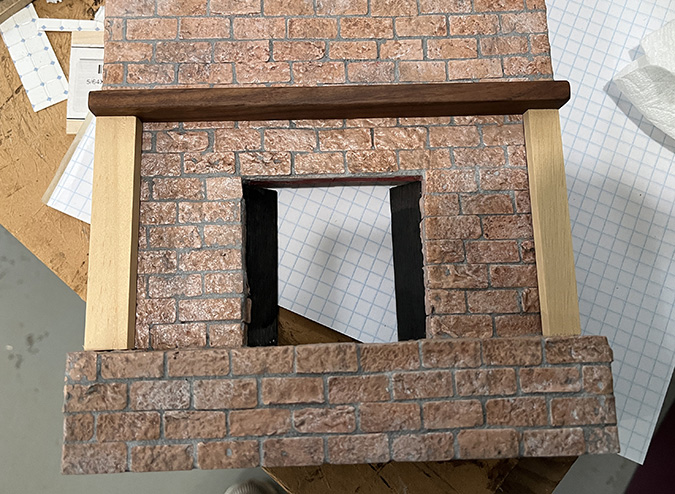
While I was waiting for the bricks to dry at various stages, I cut and painted two pieces to form the sides of the firebox. I attached these to the back of the fireplace using wood scraps that I cut at 45 degree angles.
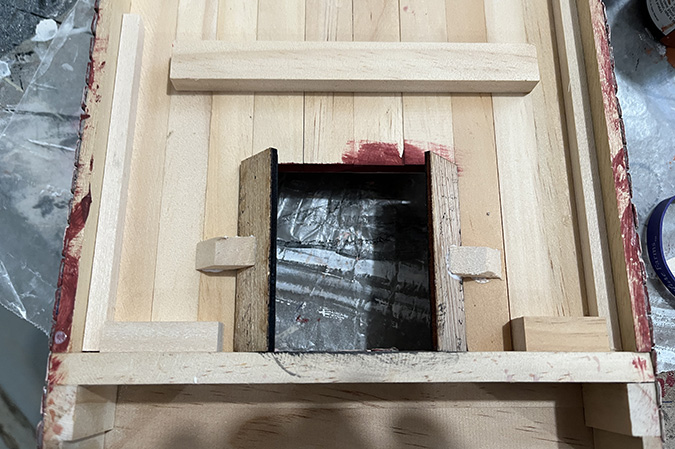
In the roombox, up against the painted back wall, it looks like this.
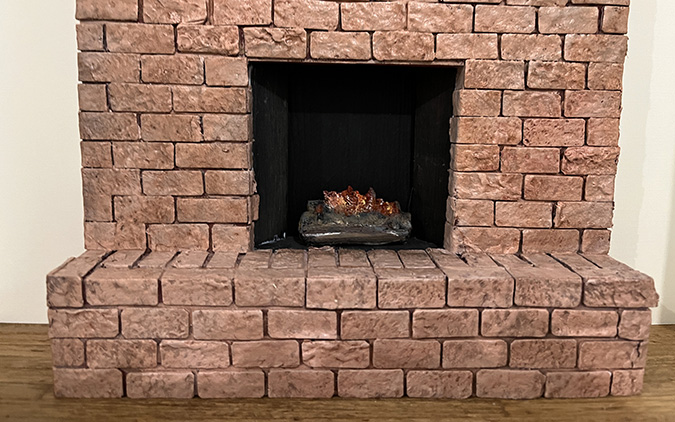
(The log is a Flickering Log ‘n Flame from Creative Reproductions 2 Scale. I’ll give more details in my next post, where I’ll show how I did the electricity.)
Our fireplace has a gas insert, which has faux burning embers at the bottom. The base of the insert is a few inches higher than the floor of the firebox. To emulate this, I made a floor piece out of a piece of 1/4″ tall strip wood.
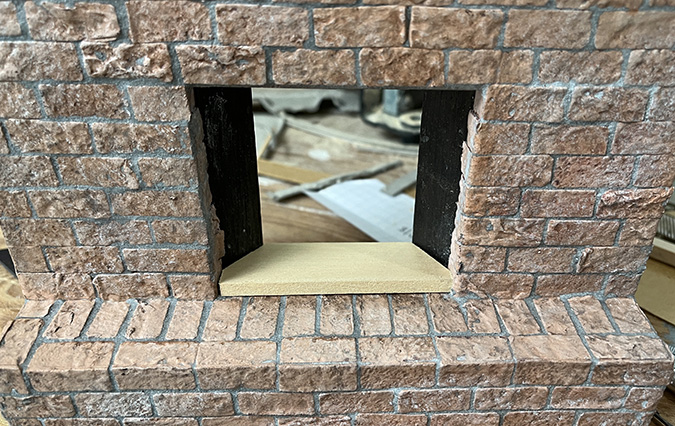
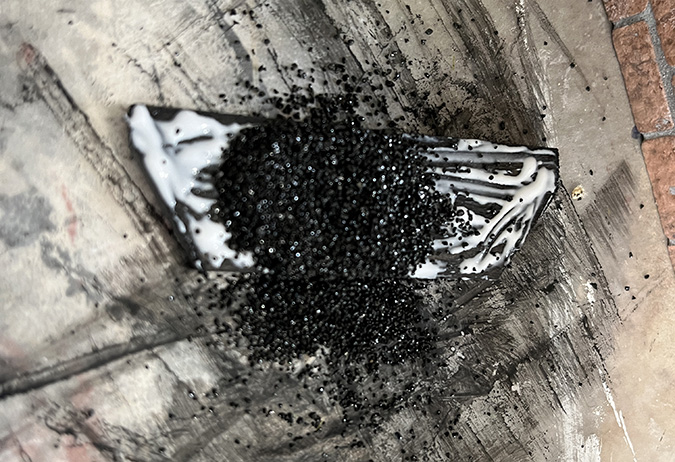
I painted this black, then smeared it with glue and sprinkled black sand over it. (Not shown: I also cut and painted a piece to form the top of the firebox.)
To create the outside of the insert, I decided to use cardboard instead of wood because I didn’t want any seams, and didn’t think I’d be able to cut a clean enough hole in a piece of wood using a utility knife.
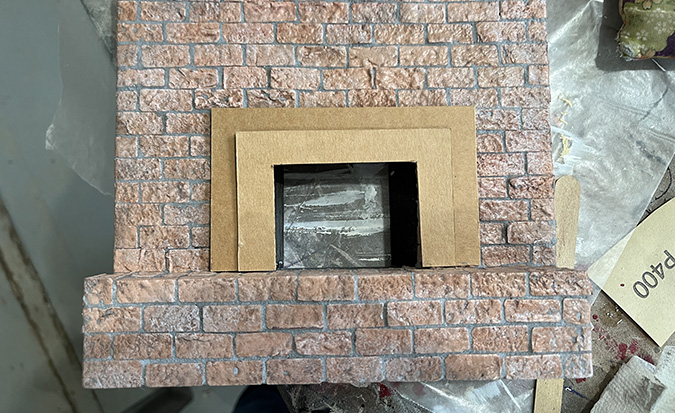
I painted the two pieces black. I painted both sides to try to prevent the cardboard from curling.
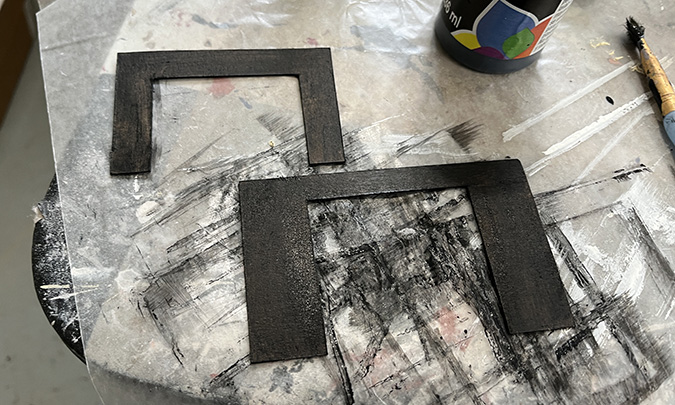
And then I applied satin varnish (which has white streaks when it’s wet, but dries clear).
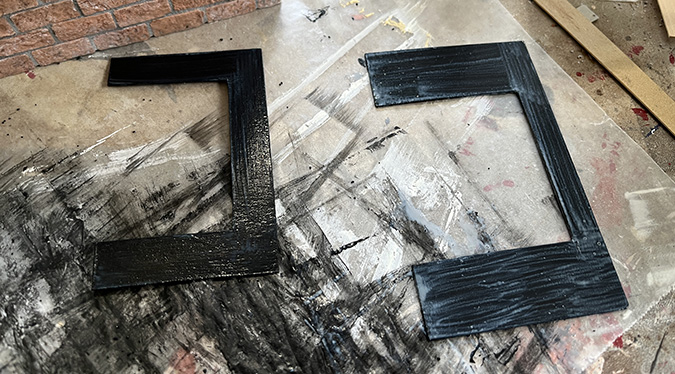
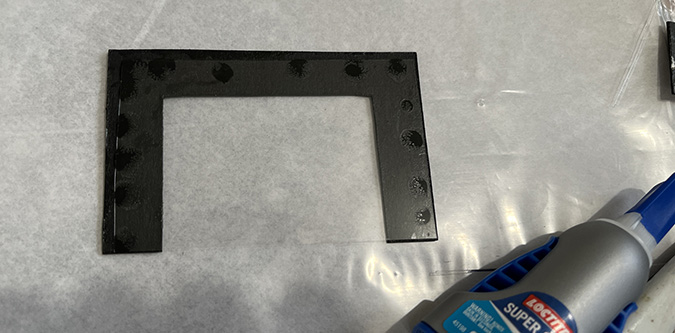
When that was dry, I super glued a piece of acetate to the back of the smaller piece, and then glued the smaller piece to the larger piece.
This needs to be removable so I can reach through the hole to position the log, so I attached it to the fireplace with wax.
(An observation three weeks later: it turns out cardboard wasn’t the best choice for this, because it’s now bending and popping off the fireplace. If I’d glued it on, it probably would have been fine, but the wax isn’t strong enough to keep the cardboard from warping. Maybe thicker cardboard or mat board will work better, or I might have to remake it out of wood after all.)
Finally, I glued the mantel to the fireplace, using two pieces of scrap wood as spacers to keep it straight.
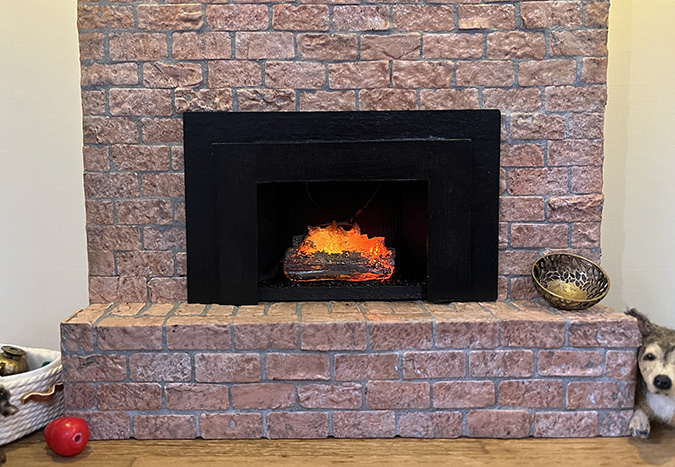
And here’s the finished fireplace. I was working on electricity concurrently — I’ll show that next time.
 Emily is a freelance writer, miniaturist, and adventure game enthusiast.


Wonderful work as always! Daisy is adorable!
Awesome, just awesome!
Outstanding…..breathtaking……as I’ve learned to expect of your projects! I’m always delighted to see them and read your commentary! It must have been a major challenge, in itself, to keep the project secret for a Christmas surprise.
Thank you for continuing to post your progress on projects and sharing your successes and occasional difficulties.