Yikes, it’s been a while. I haven’t been working on anything lately, which depresses me because it’s been almost a year since I started the Mansard Victorian’s bathroom… at this rate that house will be finished in 2040 or so! But I also need to finish posting about the dog vignette I made for Christmas and I just haven’t felt like it. To all of you who have been waiting with bated breath, sorry.
I finished the electricity on December 21. By this point it was pretty clear I wouldn’t have the roombox finished for Christmas, since Geoff was home again and I couldn’t get everything done that was left to get done while he was around. So I accepted it would have to be a post-Christmas gift.
He left town again the day after Christmas which gave me a few days to get everything done before his return on the 29th. By the end I was really rushing and didn’t take good pictures, so apologies in advance for that.
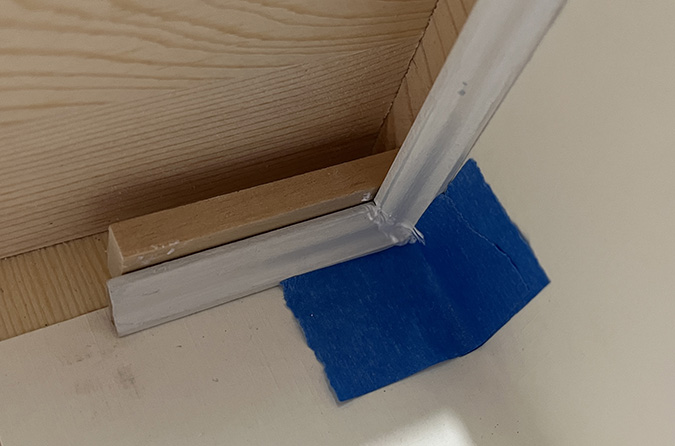
I had purchased 1:12 baseboard and crown molding, but the baseboard was the kind that had a slot in it to hide a wire behind, and that didn’t look nice where you see the edge of the baseboard at the front of the roombox. I tried filling in the slot with wood filler but it looked bad. Also tried adding a return but it didn’t work out for reasons I can’t remember now (probably because I was in a hurry and got overly annoyed).
Luckily I had some 1:12 baseboard in my stash that didn’t have a slot in the back, and as an added bonus it was already painted.
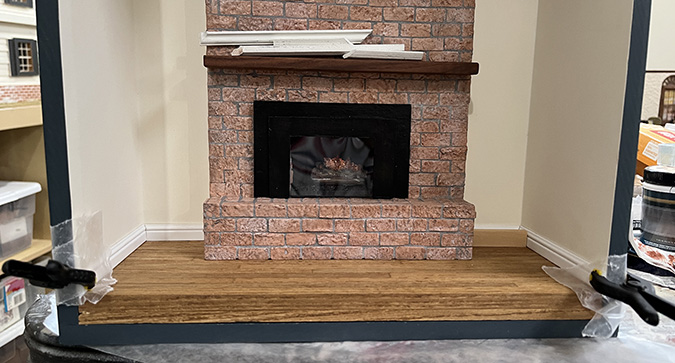
I think that spacer to the right of the fireplace was in there because the baseboard was warped, and the spacer pushed it flat. Don’t remember.
I did add a return on the exposed ends of the crown molding.
I turned the roombox upside-down to glue in the crown. One of the pieces was warped and I used tape to force it into place.
(I should mention that the ceiling and floor are not glued in. I left them removable so I can access the wiring, just in case the electricity stops working. See, I’ve learned from past mistakes!)
Normally I would fill the seams with wood filler and then paint over them. Since I was in a hurry, I used white grout instead.
The piece of wood on top of the crown is preventing the underside of the trim from getting globs of grout on it.
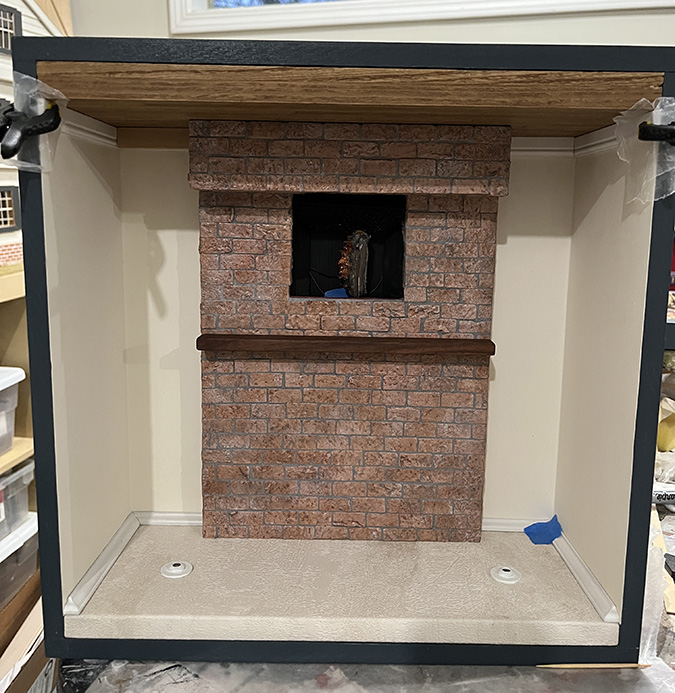
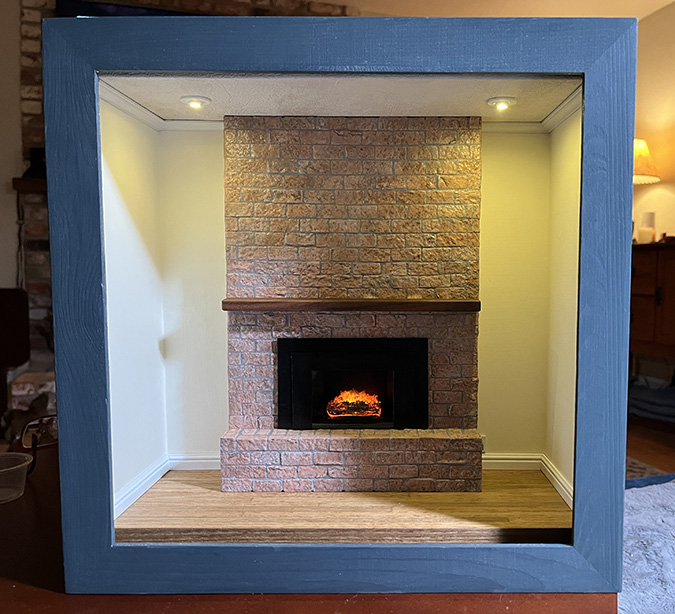
While that was drying, I finished up the fireplace by gluing in the top and bottom pieces I’d prepared a few days earlier.
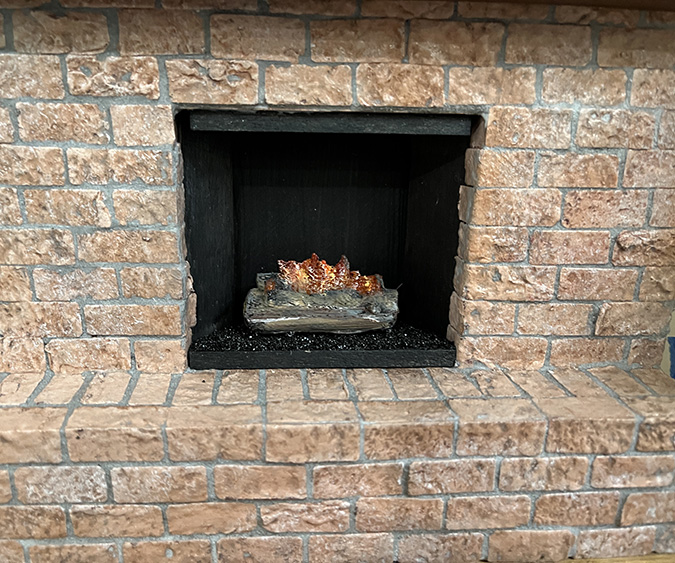
Then I added the front piece, using a spacer to make sure it’s centered. This is just held on with wax, so I can remove it and reach in to position the log.
I bought the outlet and light switches from JW3DFORGE. I couldn’t decide which light switch style to use, so I got both. (The light switches in our house are rocker switches and JW3DFORGE doesn’t carry that style.)
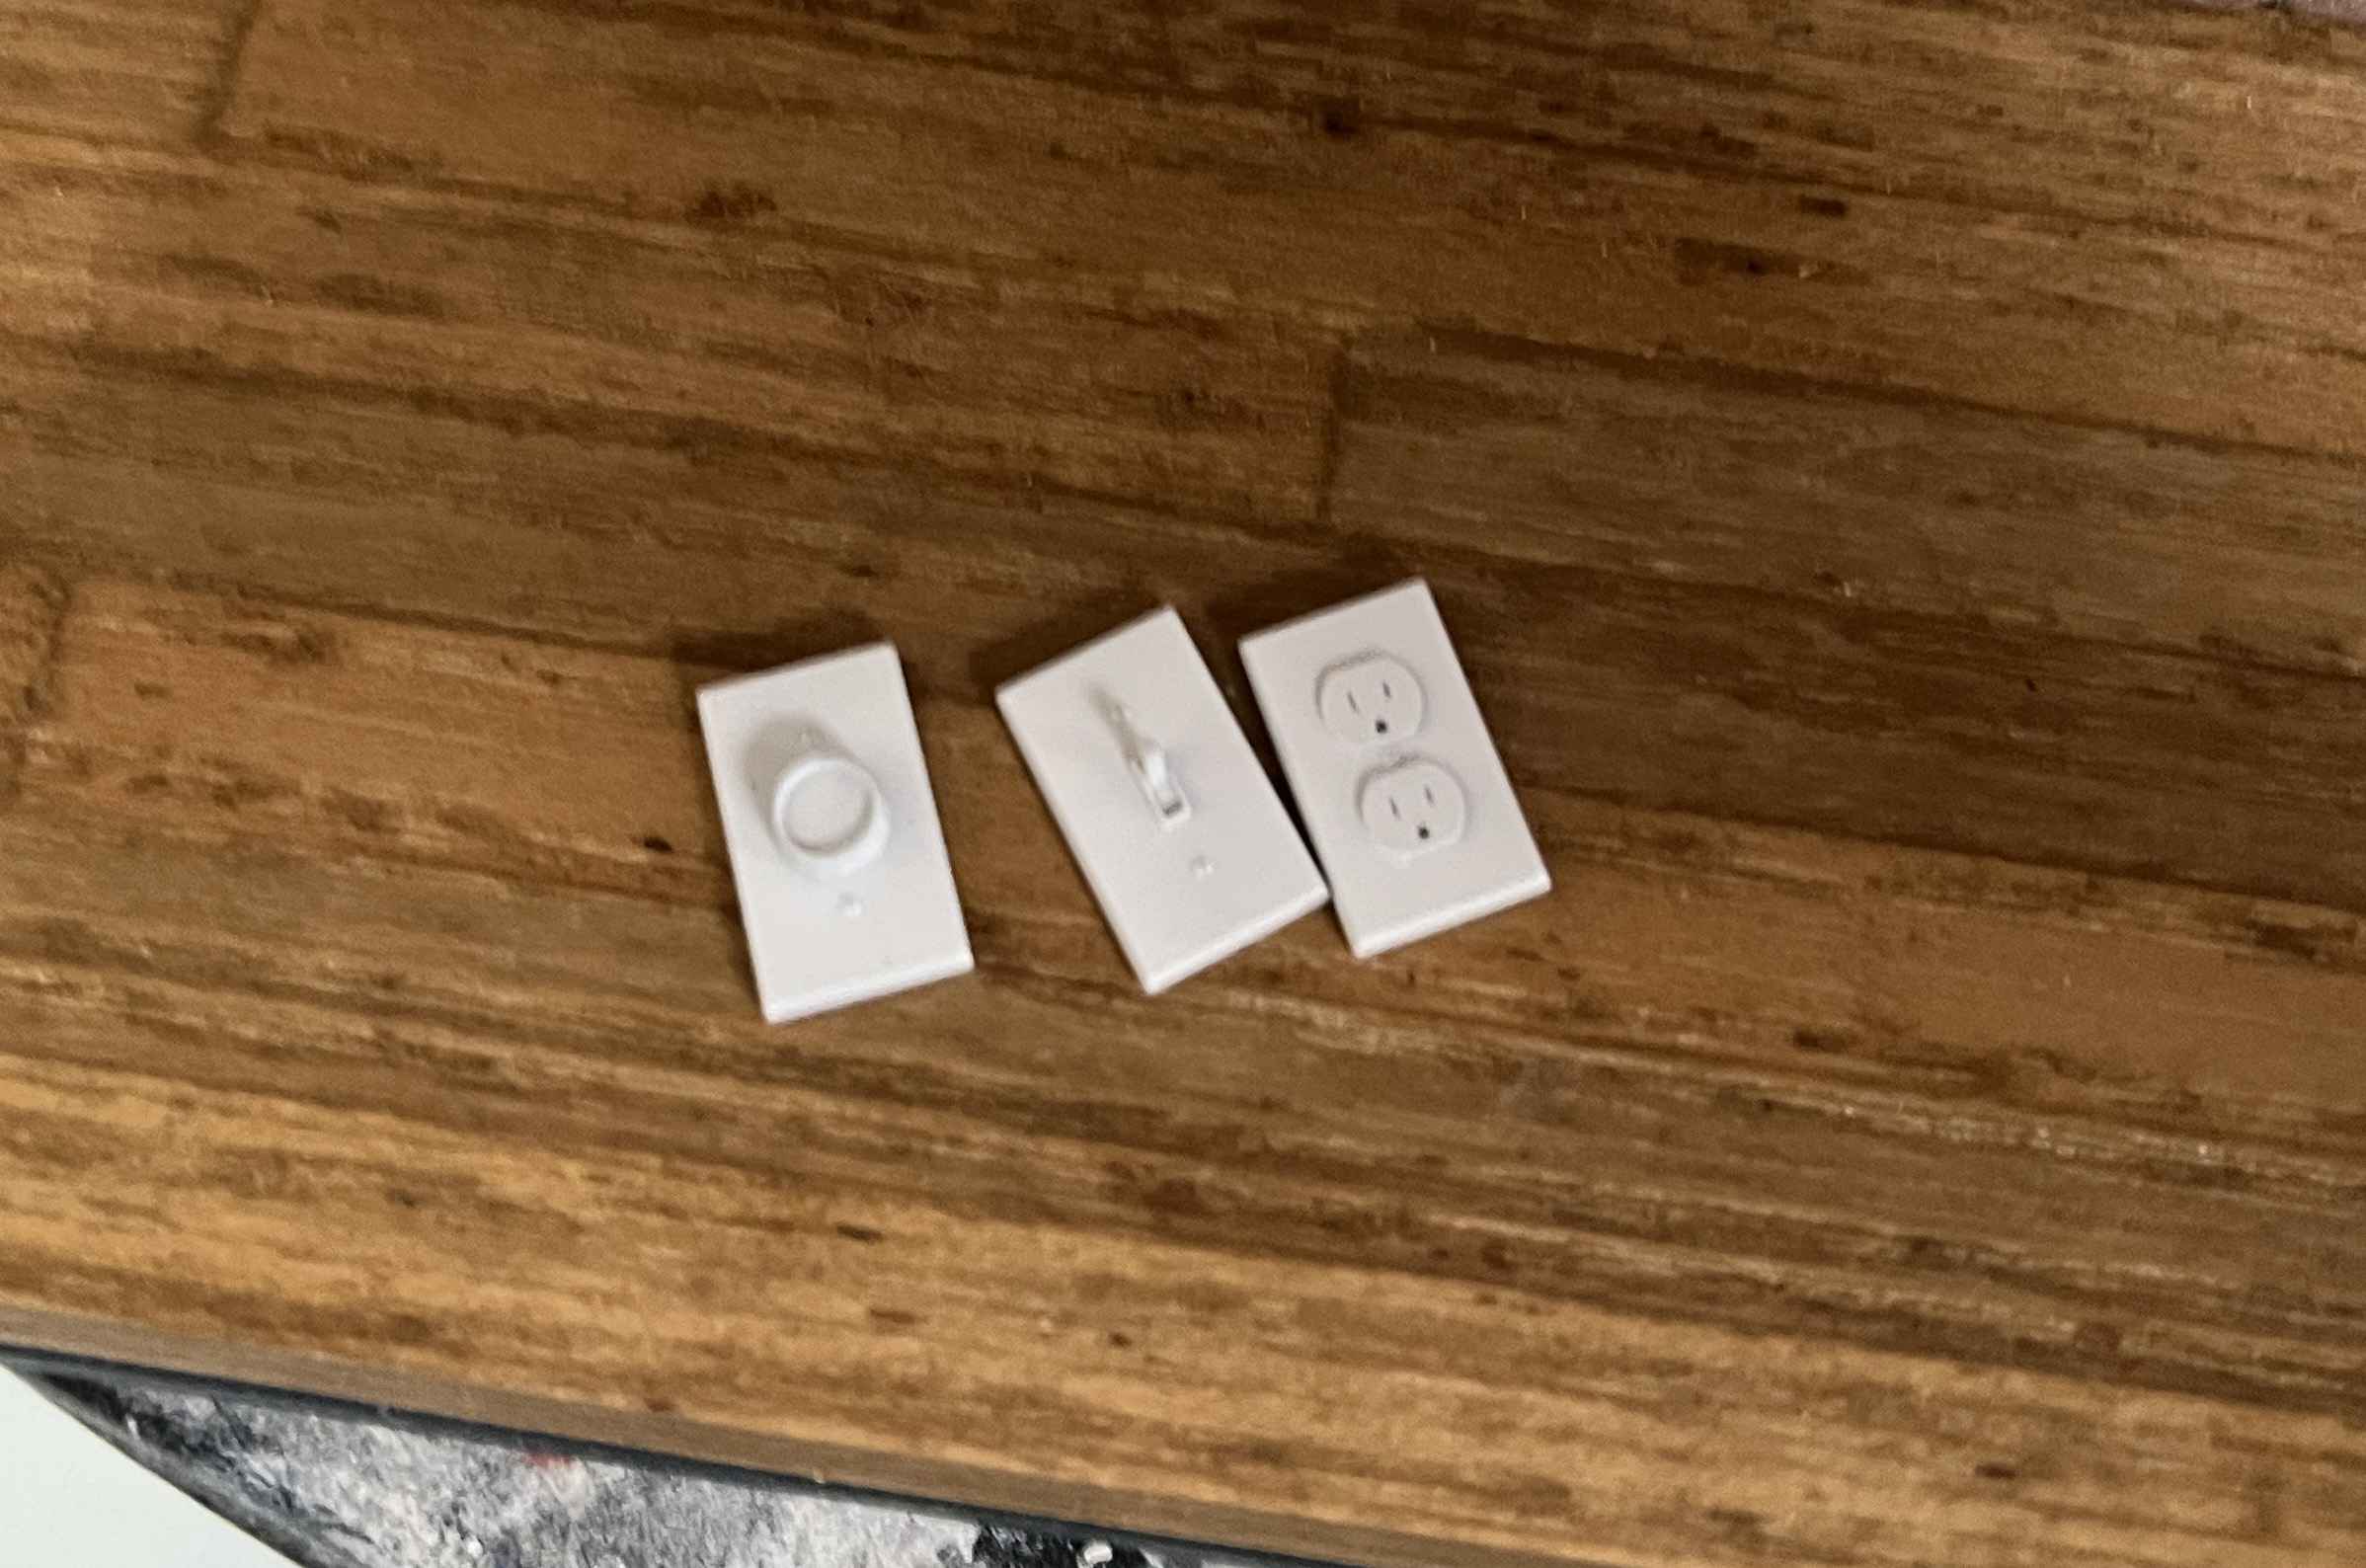
In our living room, the outlet is on the left of the fireplace, but I put it on the right so it wouldn’t be hidden behind the toy basket.
And I decided to use the dial style of light switch.
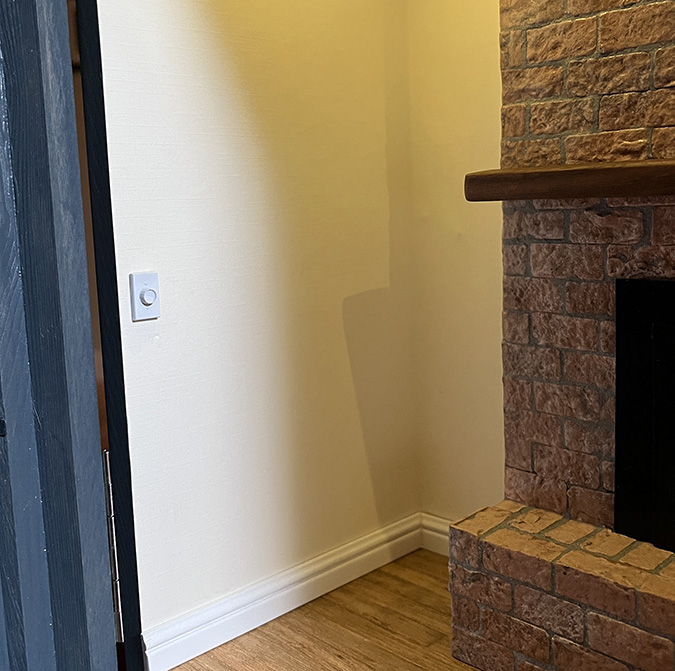
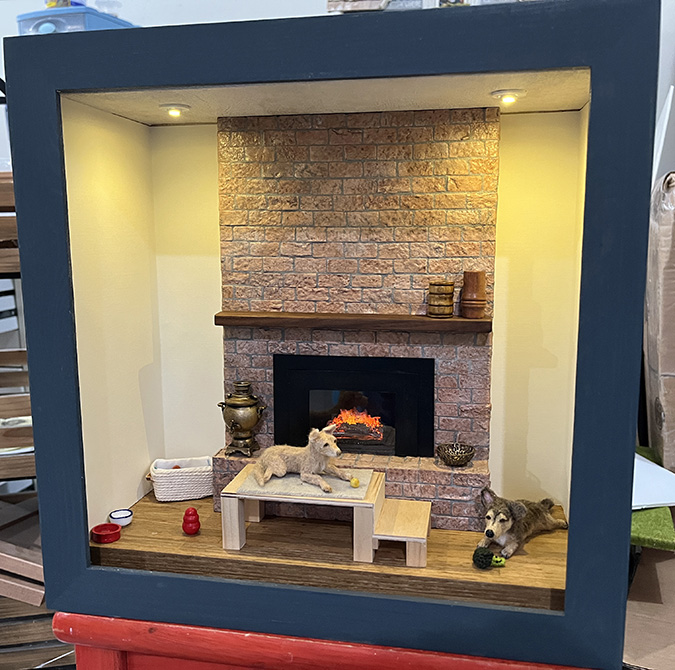
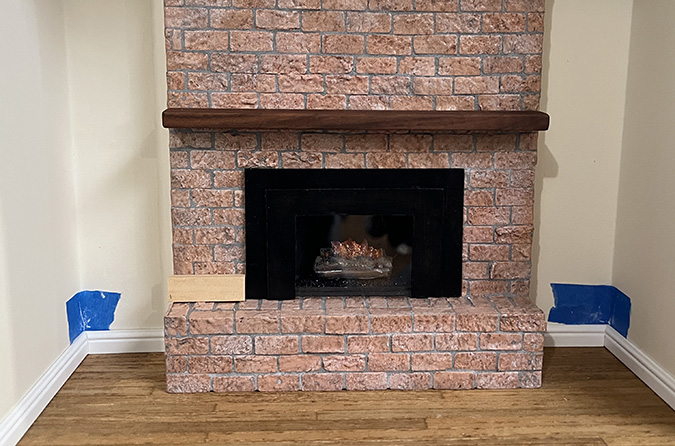
Here it is with the trim in. (And the outlet and switch, but you can’t see them in this picture.)
Now on to the accessories. The clock was the most complicated and I’ll cover that in another post on its own (someday, probably), but here’s how I made the rest of this stuff.
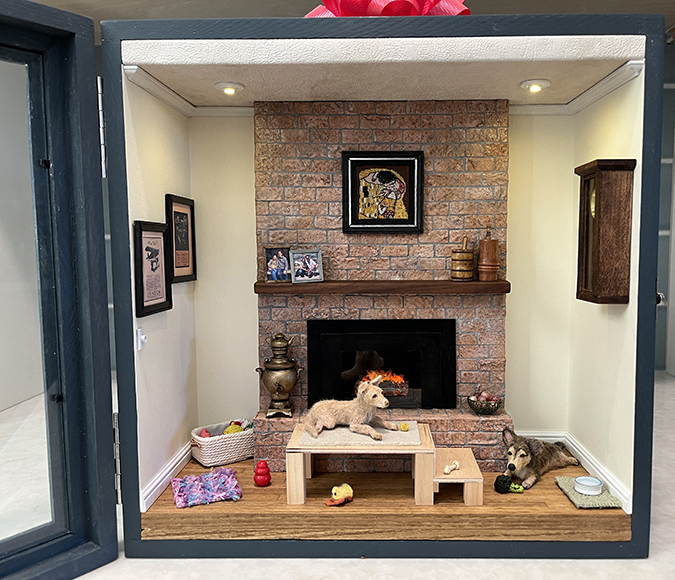
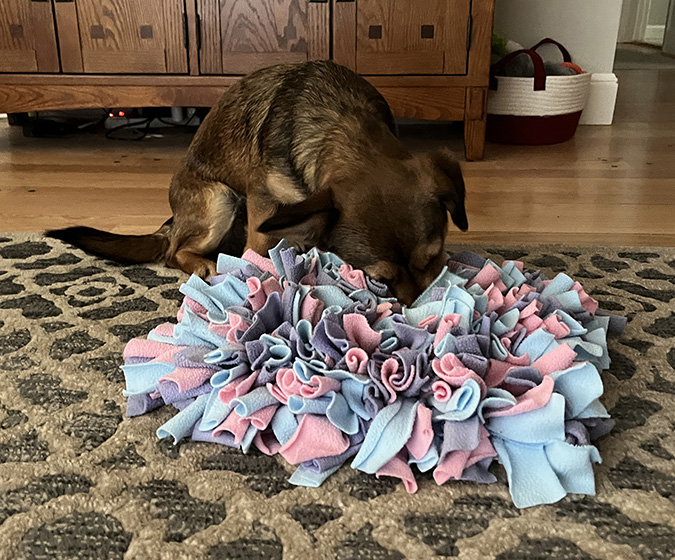
If I’d had time, I would have made a Kong Wobbler by gluing beads together and painting it red, but because I didn’t have time I bought one from MiniPetsAndEffects. Daisy’s snuffle mat is made out of needlepoint canvas and DMC floss. The floss is just looped through the canvas and then cut short.
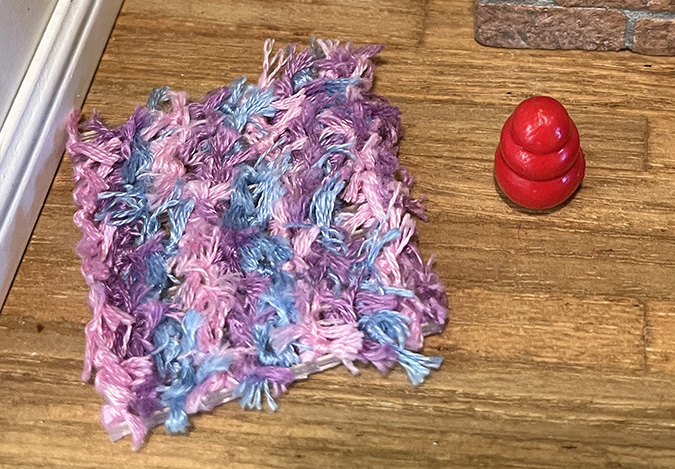
If you’re not familiar with a snuffle mat, you toss kibble in this thing and then make the dog work for their dinner. She loves it!
It would have been easy enough to make a basket that looks like ours, but again I didn’t have time, so instead I bought a basket off Etsy (handmade by someone else).
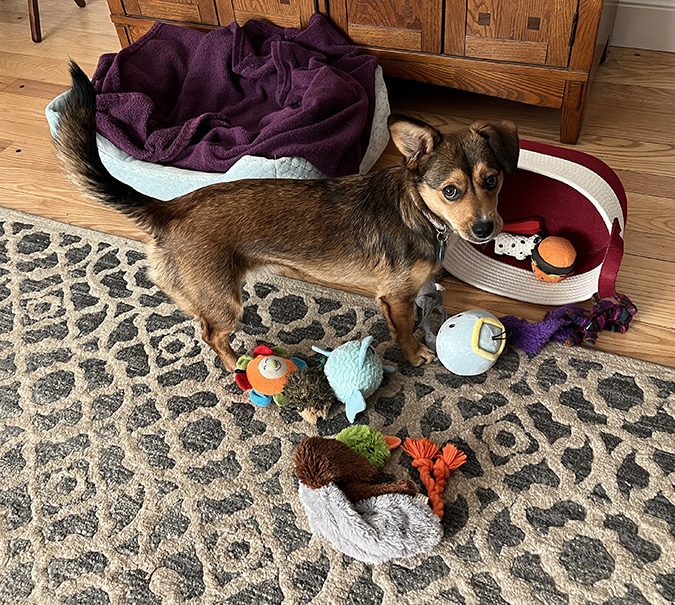
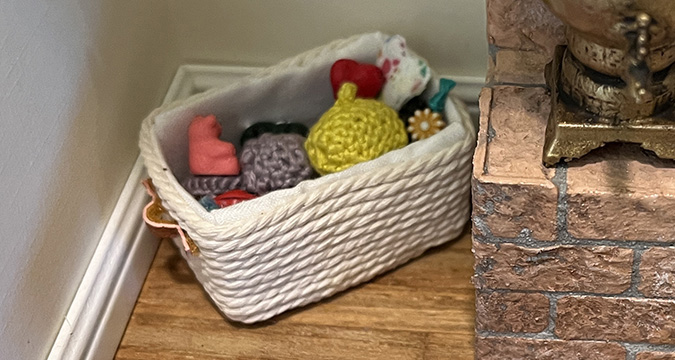
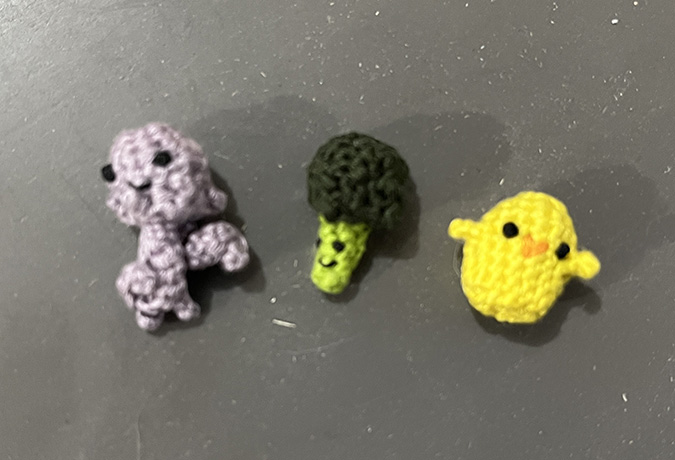
As you can see, Daisy loves her toys, so I wanted to give mini Daisy a nice assortment. These three were crocheted by RiaArtWorld.
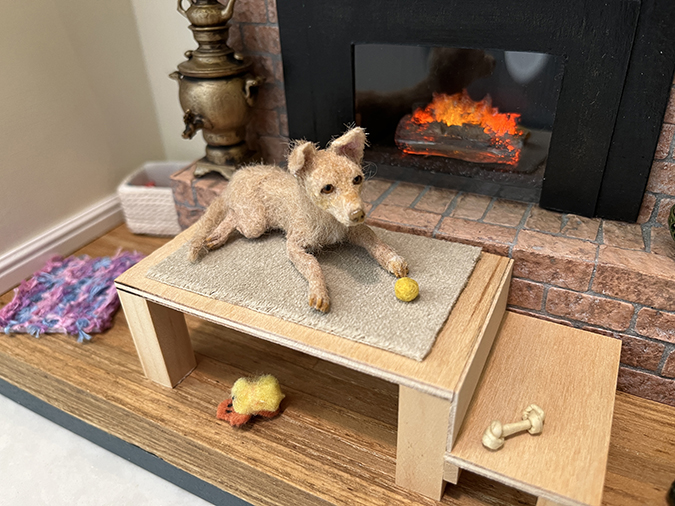
And here are a few toys I made. The tennis ball is a bead covered with yellow nail art flocking.

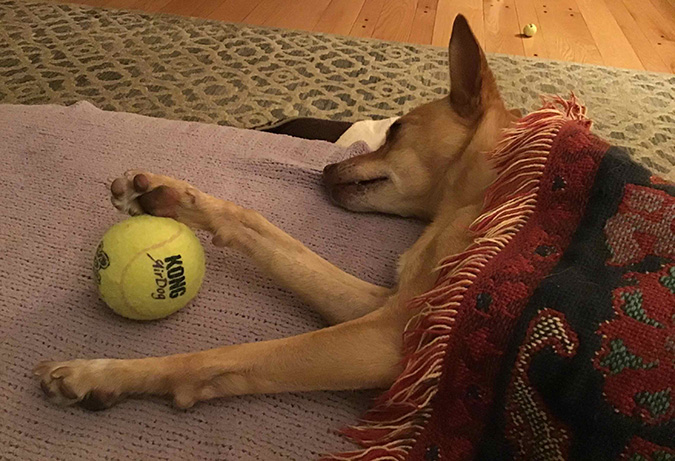
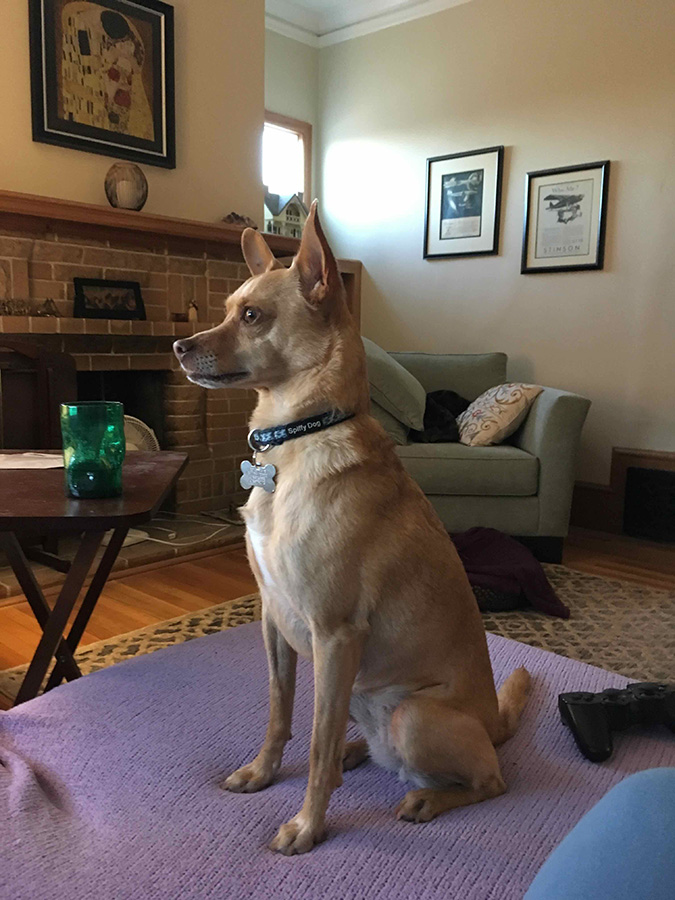
Rosy LOVED tennis balls.
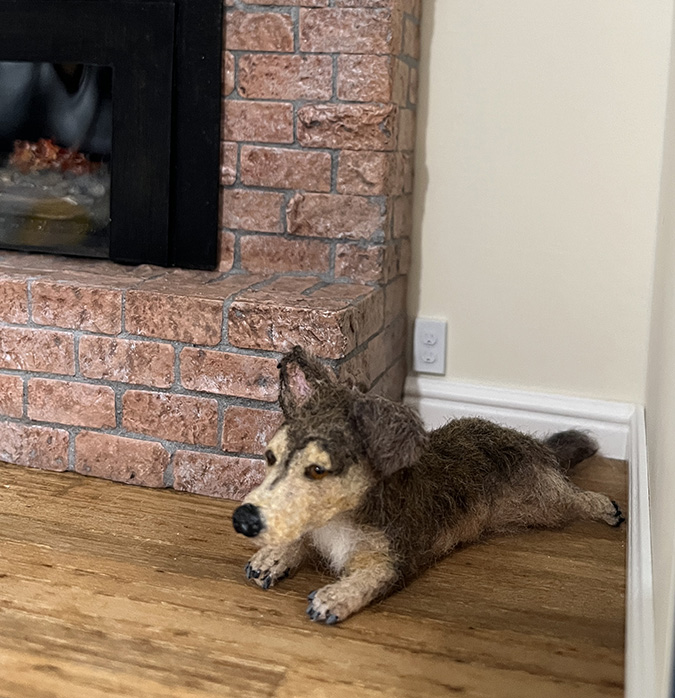
So mini Rosy gets the tennis ball. Also shown in this photo: a rawhide I bought and a duck made by Lucy Francis, the artist who made the dogs.
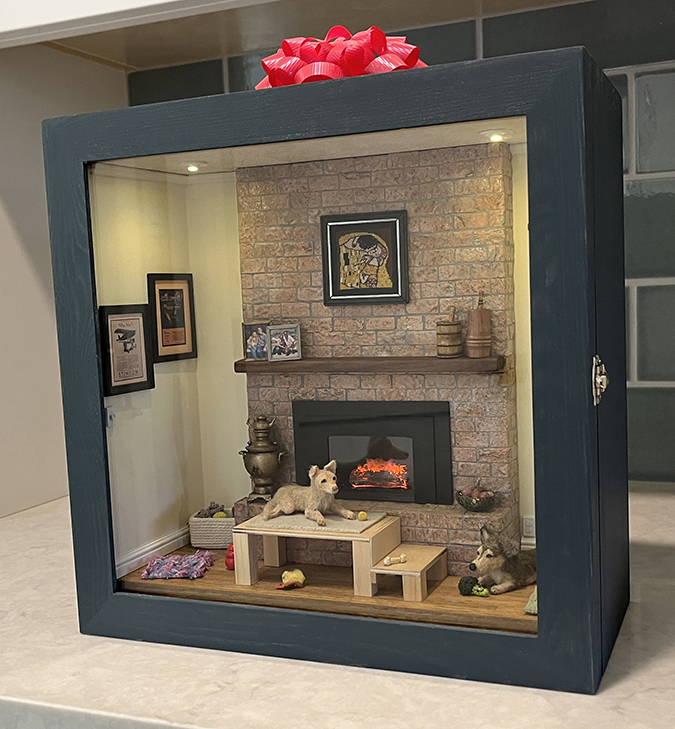
I also wanted the scene to have the samovar, bowl of marble eggs, and mortars & pestles from our real living room.
These are dreadlock beads purchased from SunshineDreadBeads. The long ones came as a pair and I cut one of them down.
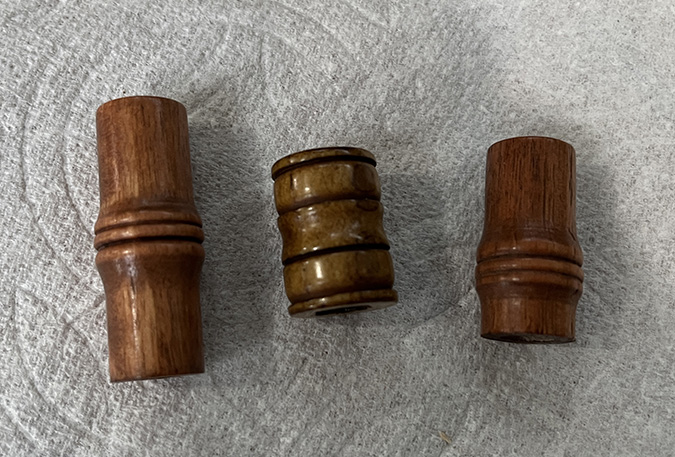
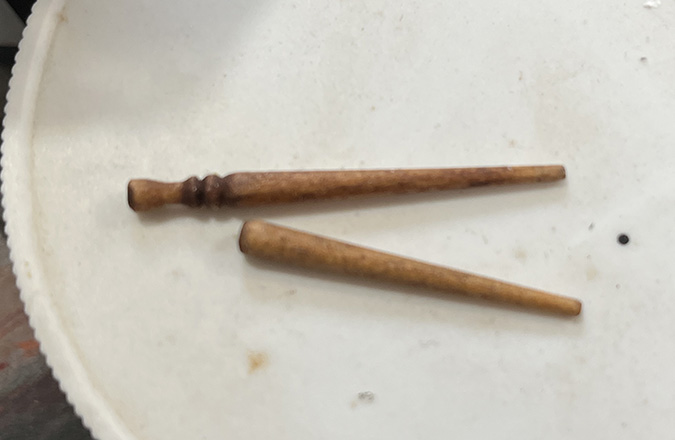
The pestles are made from Houseworks spindles that I cut down and stained.
Ta da! They’re not exactly like the originals, but close enough.

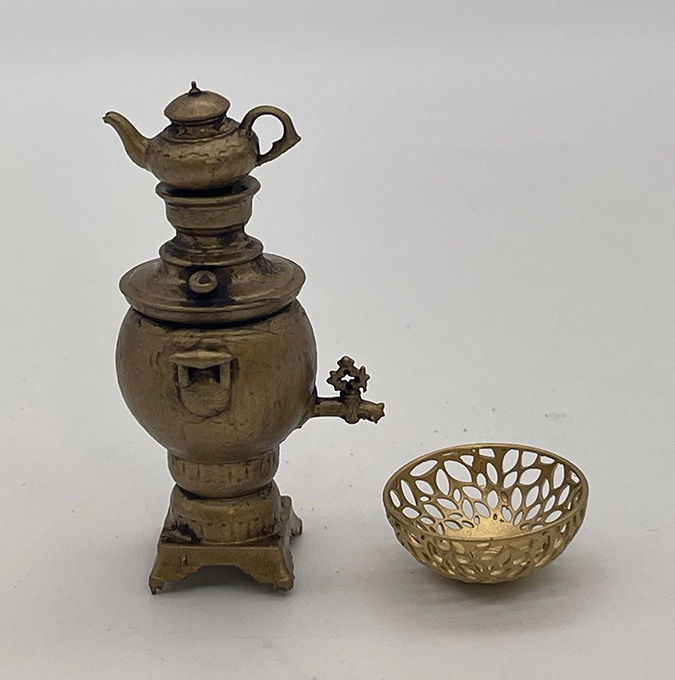
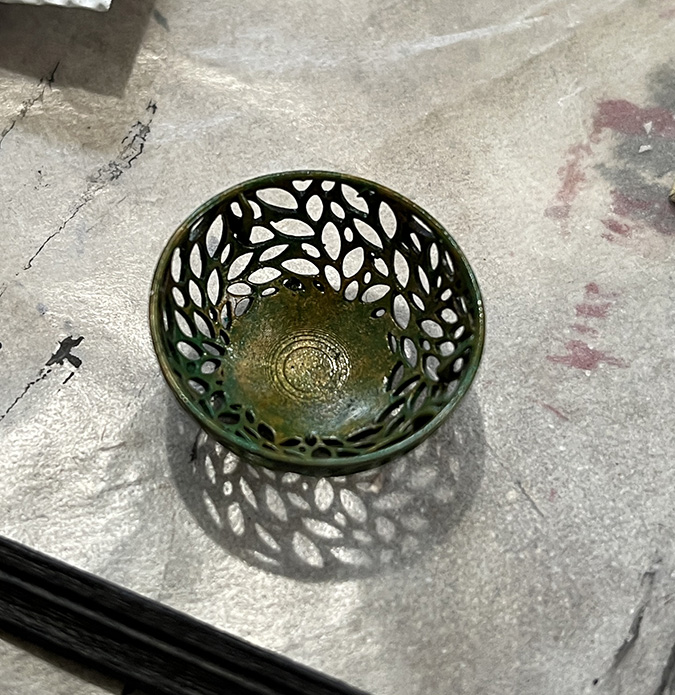
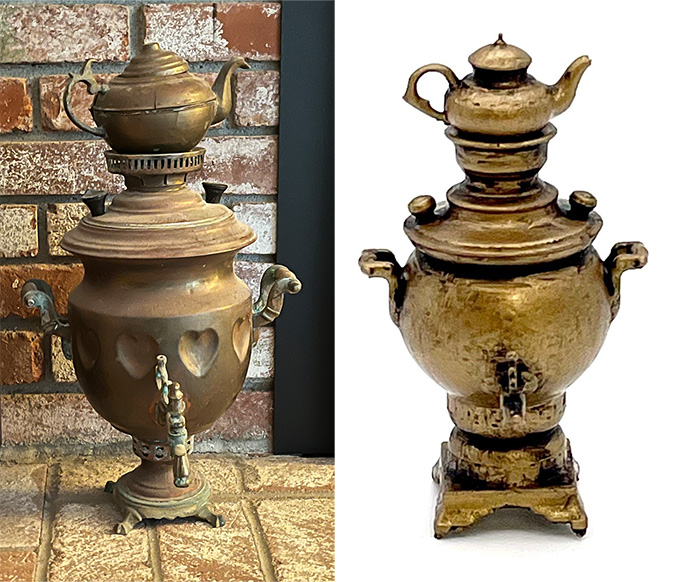
I purchased the samovar and egg bowl from DrevcaUS.
I had planned to make my own eggs, and even bought some 1:12 eggs to paint, but the ones I got were too small. I briefly thought about making some out of Fimo, but to save time I bought these beads at Michaels instead. They’re not egg shaped and not quite the right color, but close enough.
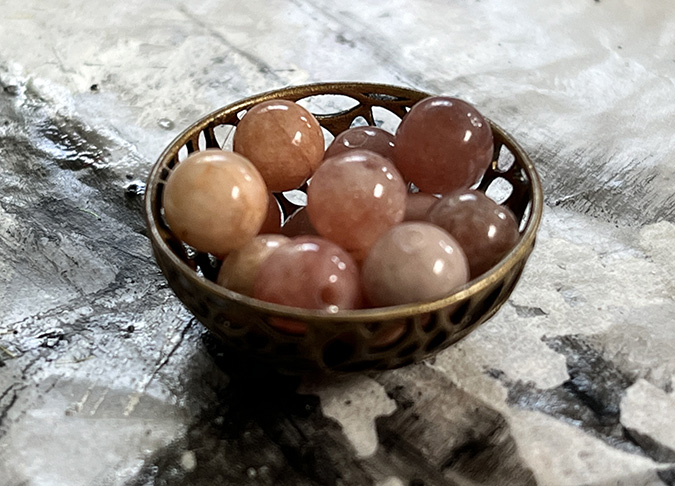
I aged the bowl with the Vintaj Patina paints I bought years ago for the Victorianna’s copper tower roofs. As far as I can tell these aren’t available anymore.

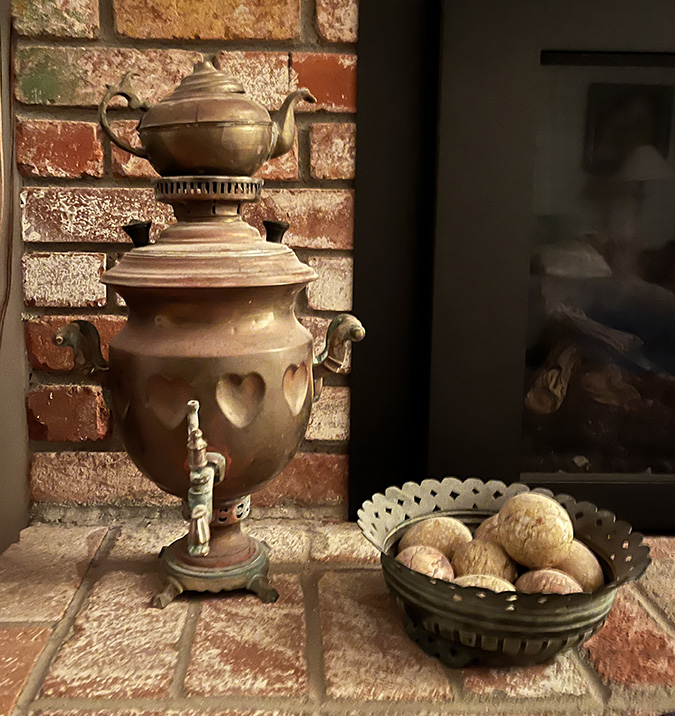
And here’s a side-by-side comparison of the samovar we have and the one I bought.
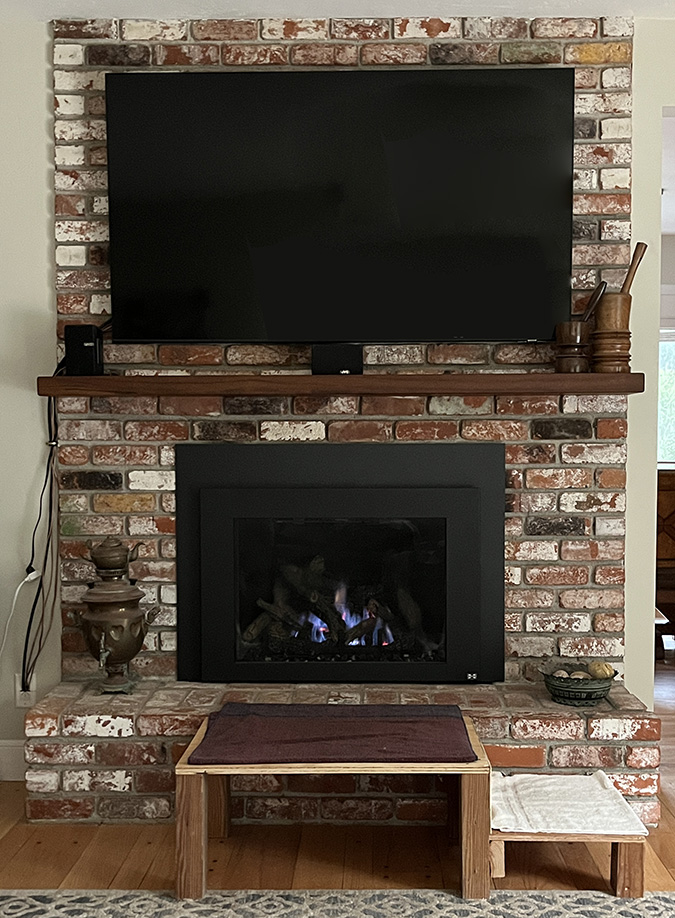
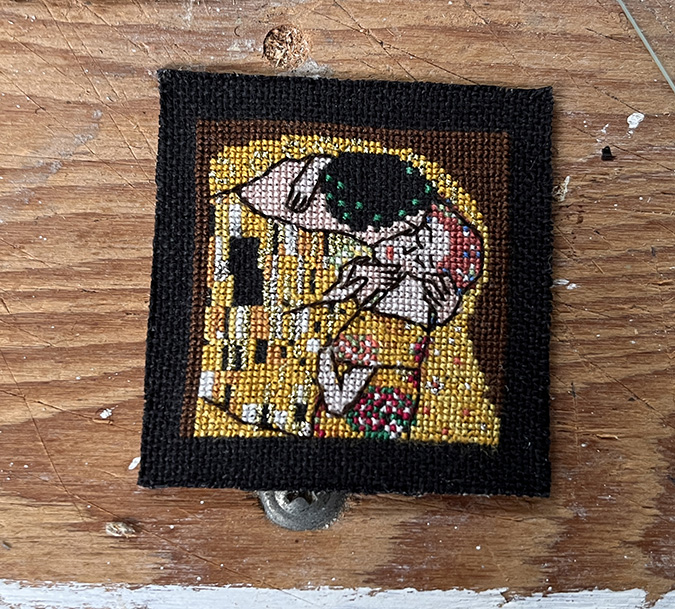
For the Kiss cross stitch that hangs over the fireplace, I got a mini pattern from 4StitchLV and left off a few rows at the bottom to make it square like the one we have in real life (as seen below, hanging over a different fireplace).
To frame it, I first glued a square piece of cardboard to the back.
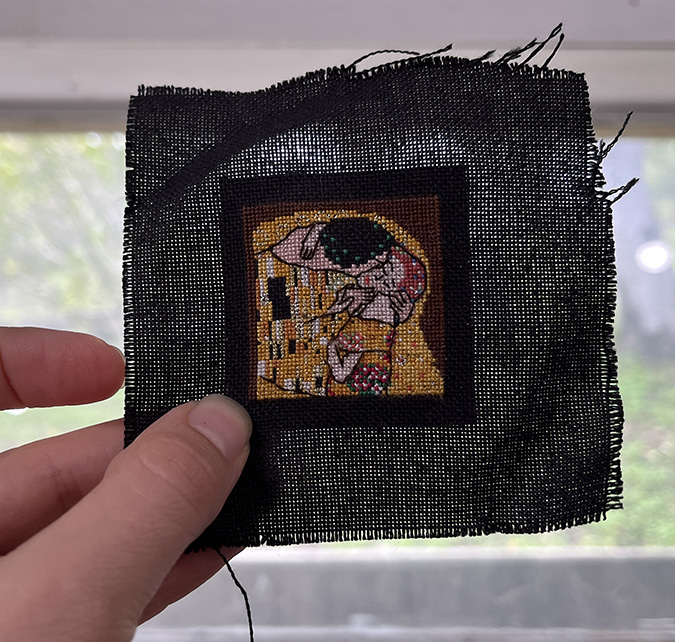
Then I trimmed off the excess fabric.
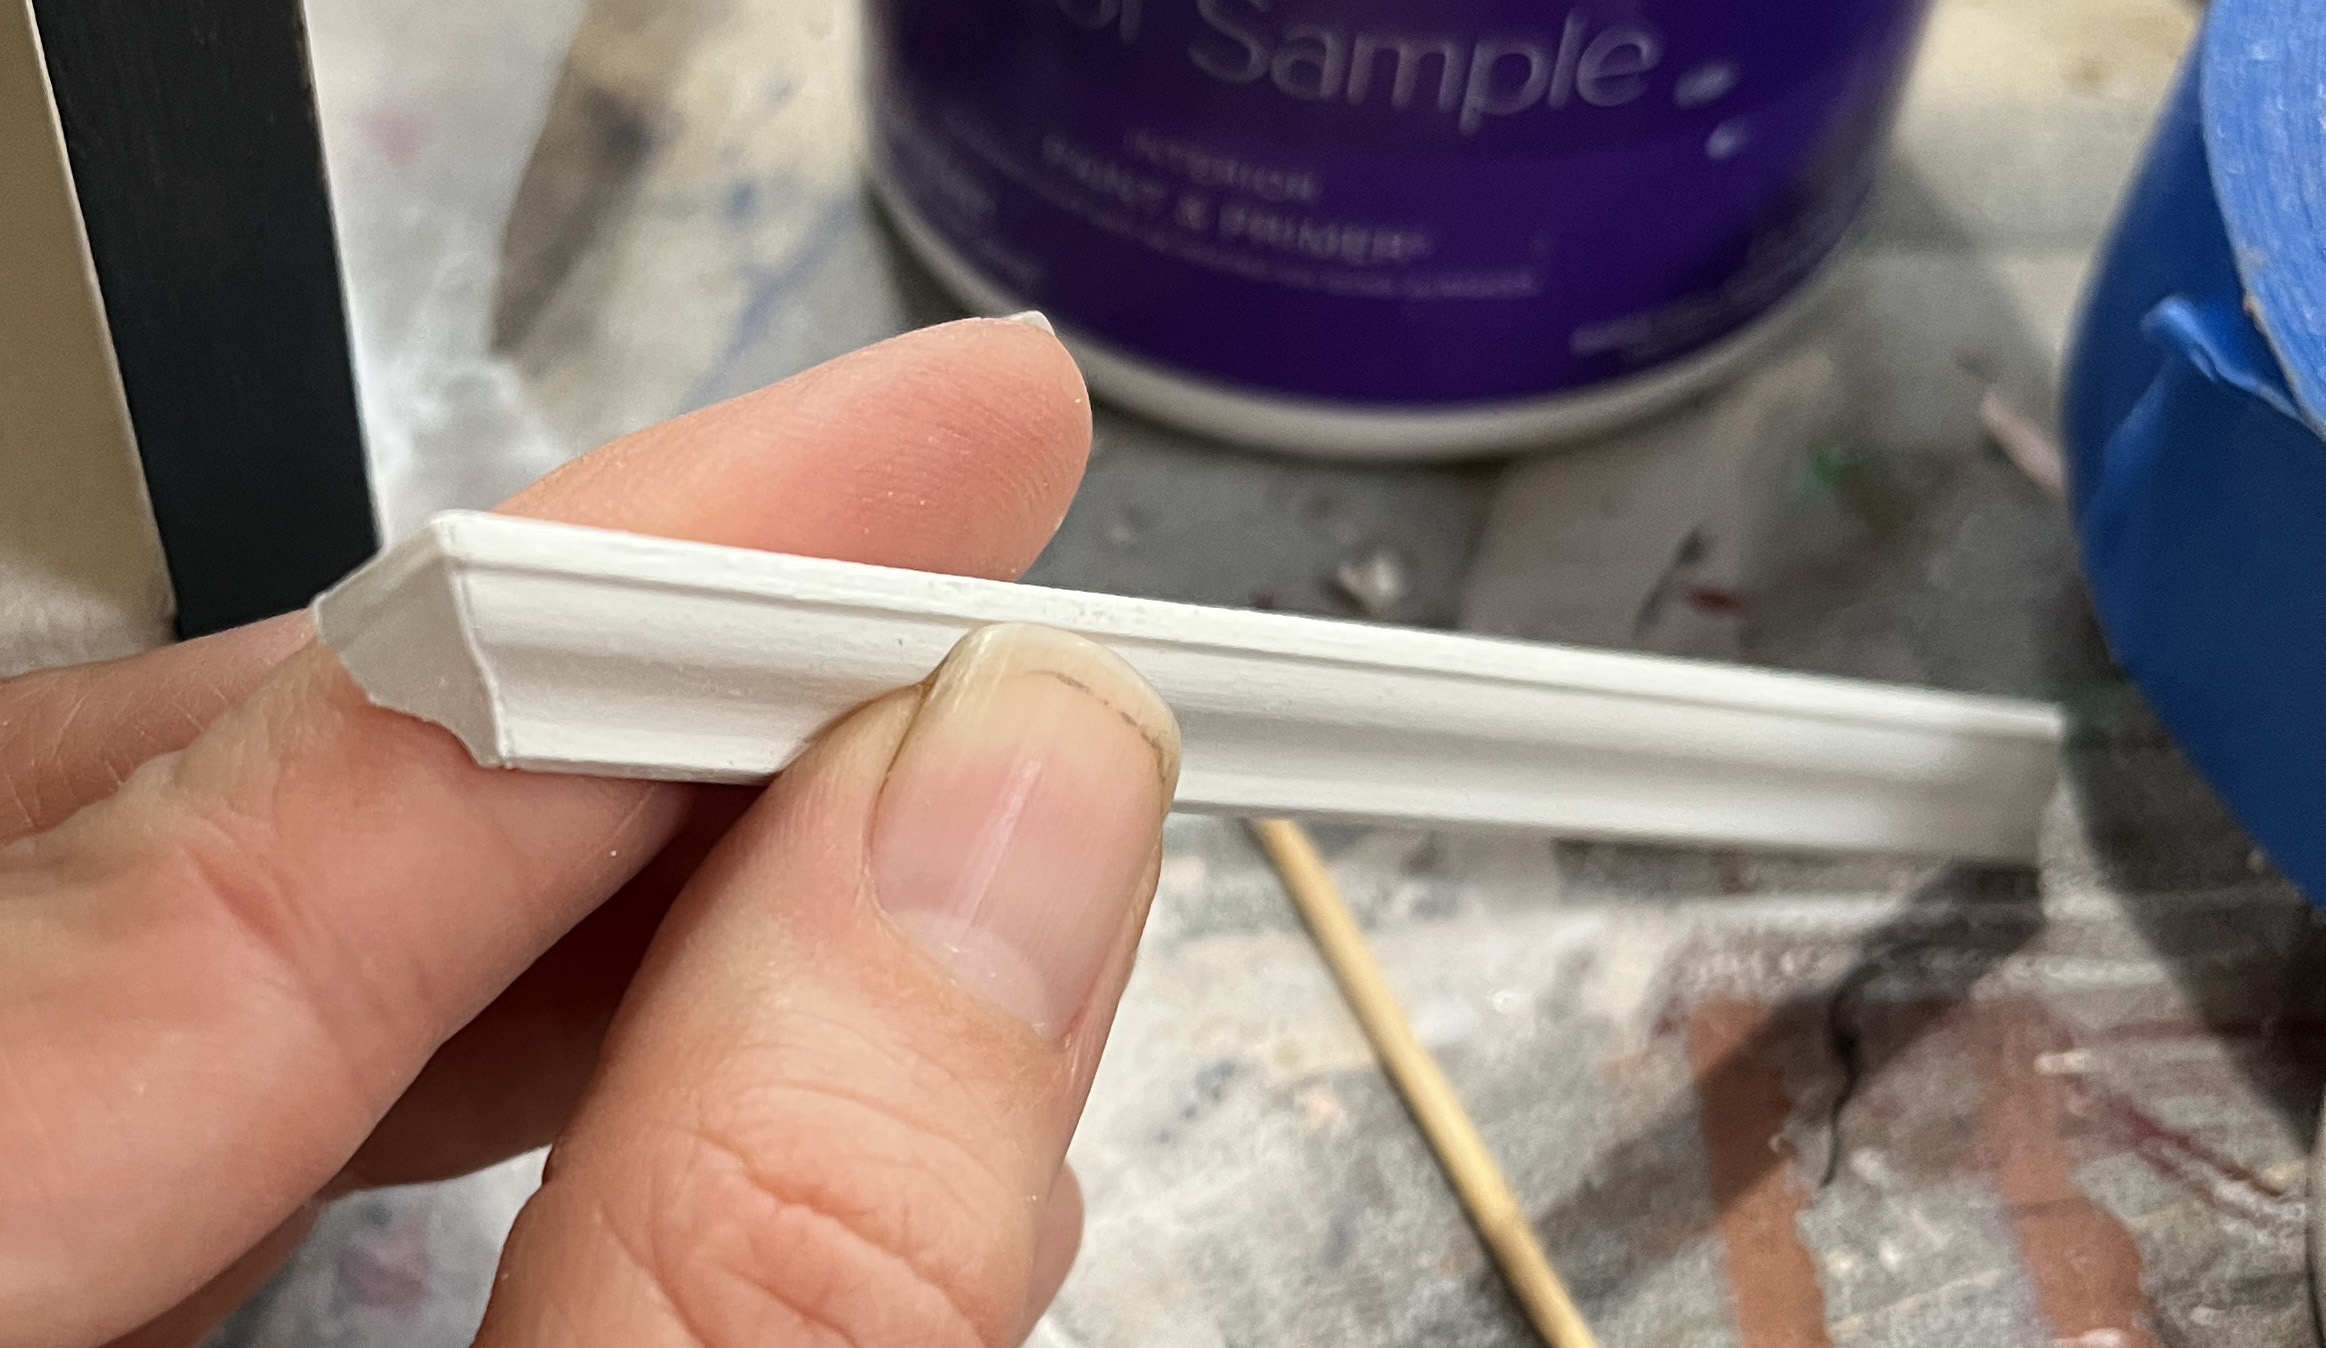
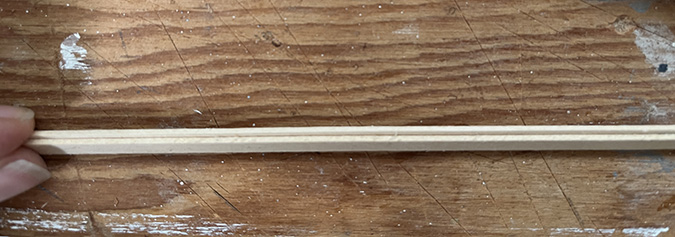
I didn’t buy any picture frame material because I figured I could scrounge some up in my stash, and then of course I didn’t have any. So I made some by gluing together a piece of casing and a slightly narrower piece of basswood.
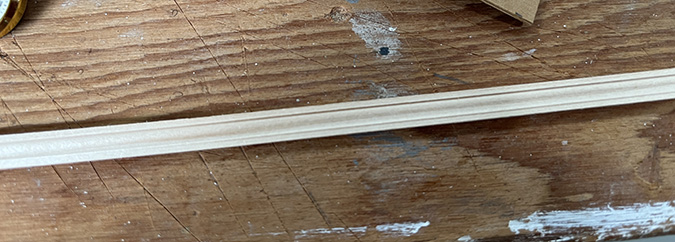
This creates a lip for the frame to extend over the edge of the fabric.
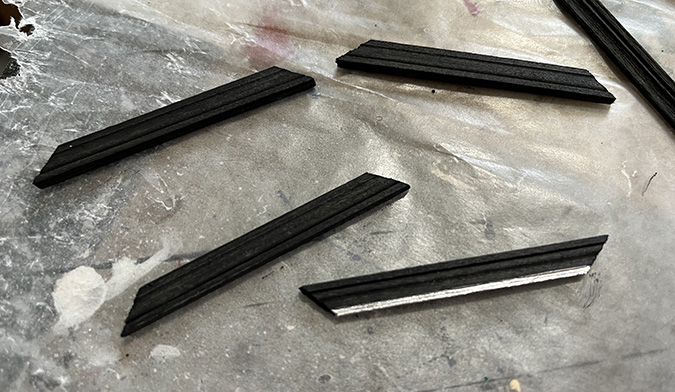
I cut the pieces, painted them black, and then painted the inner-most stripe silver, to match the frame we have. The silver paint is Craftsmart gilding paint from Michaels and I spread it on with a toothpick.
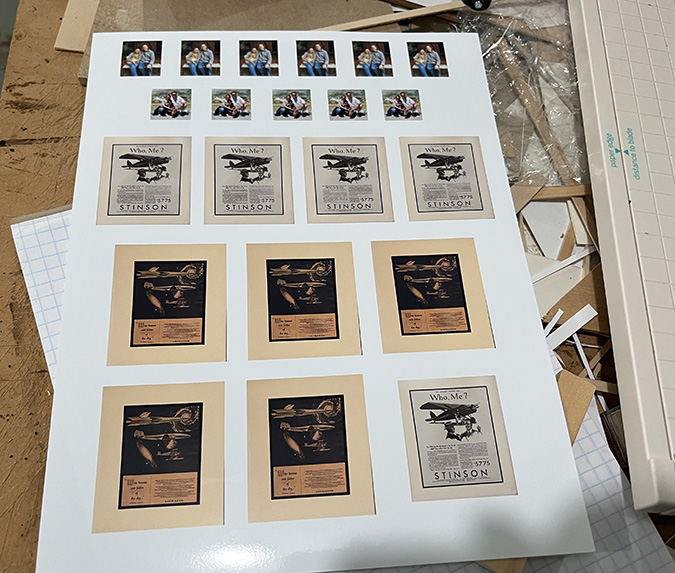
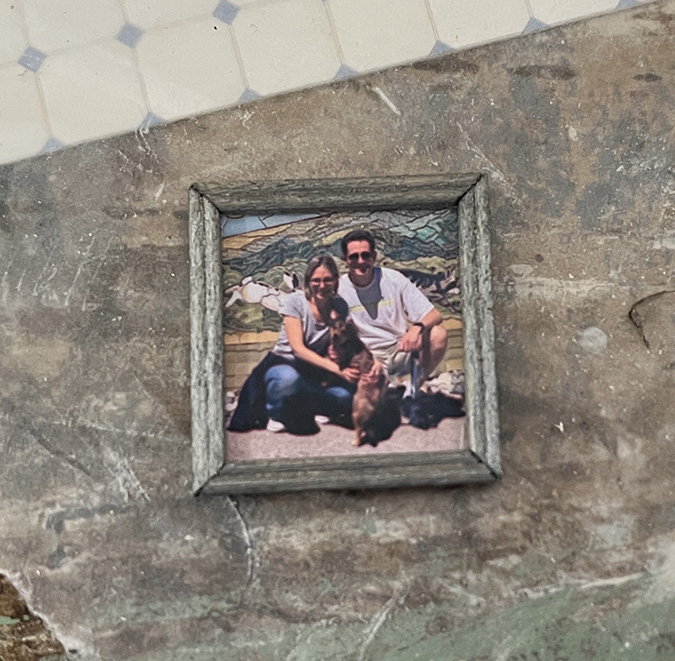
I printed out photos of me and Geoff with the two dogs, and two vintage airplane ads that hang on our wall. Originally I wanted to put a whole bunch of dog pictures on the wall and even had this elaborate idea to make the walls and pictures magnetic so the pictures could easily be rearranged, but once the scene came together there wasn’t as much wall space as I’d expected.
Framing the airplane ads was the same process as framing the cross stitch: I glued them to cardboard and made the frames with casing glued to a narrower piece of basswood. Here they are before the one on the left is framed.

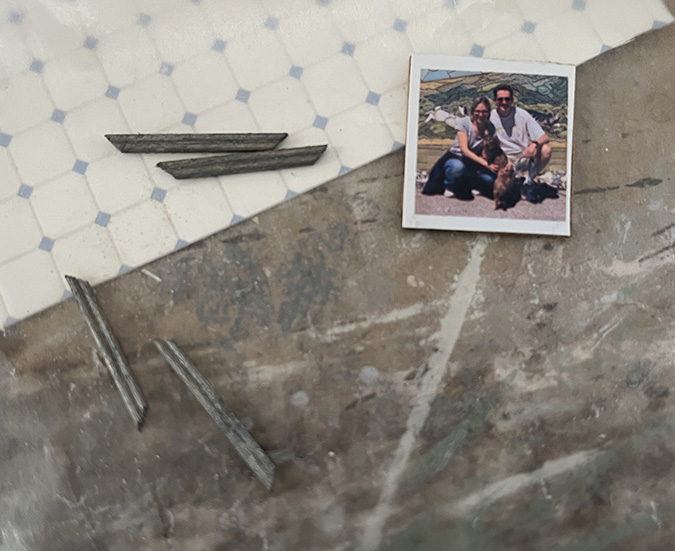
Same process for the photos too. I colored this double bead trim “silver” with a Molotow Chrome Marker because it was quicker than using the silver paint. They’re not as shiny, but that’s okay for this frame.
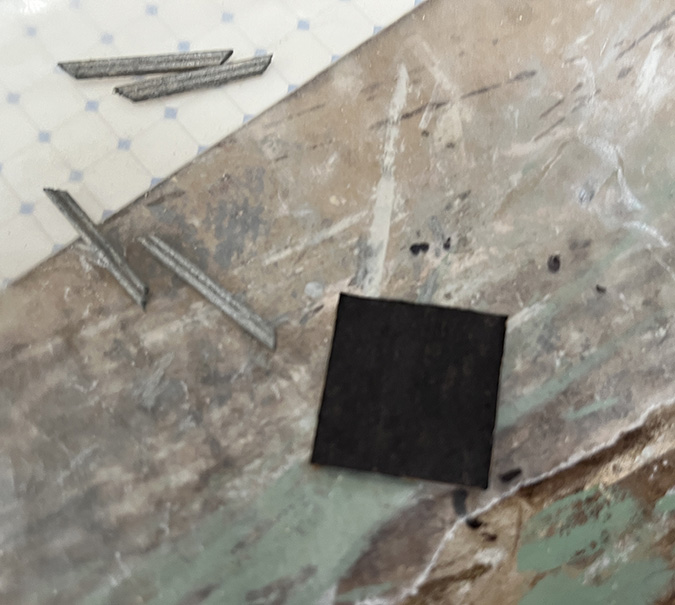
I colored the back side of the cardboard with a black Sharpie.
I had printed these out on glossy photo paper, but then sprayed them with matte UV sealer, which kind of dulls the picture. I might try it with gloss sealer next time.
I didn’t attempt to add a lip to these tiny frame pieces, and instead colored the exposed edge of the cardboard with the silver marker.
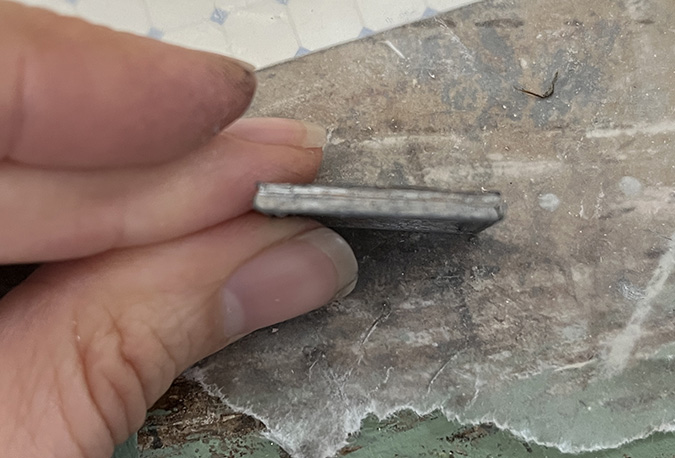
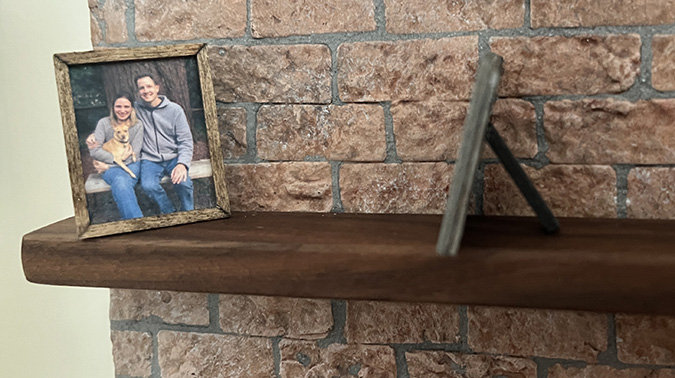
I glued on a little back piece with a slightly beveled top, to prop the picture up at an angle.
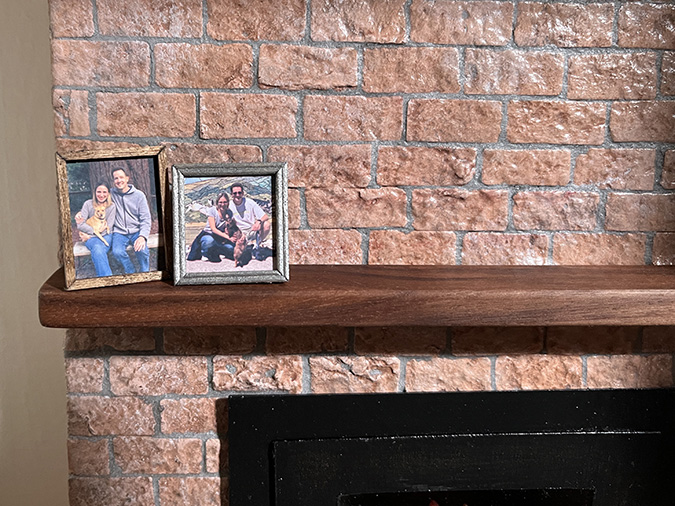
For the other photo, I used a mullion piece out of a half scale Houseworks window for the frame, stained with a Minxwax stain pen. On that one I colored in the edge of the cardboard black rather than trying to make it blend in with the stained frame.
So that’s a wrap on the dog vignette! I promise I will show how I made the working clock at some point, but maybe not right away. I have some new half scale goodies I want to show off first…
 Emily is a freelance writer, miniaturist, and adventure game enthusiast.


Looks fantastic! I love all the details – those toys are so adorable. Great work as always!
INCREDIBLE! This is truly a work of art. You’re amazing! Thanks so much for continuing to share your creations!