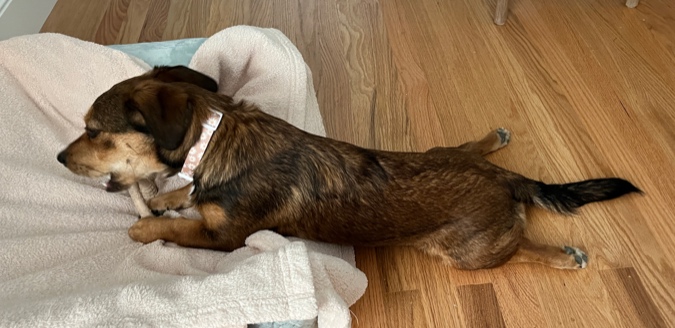
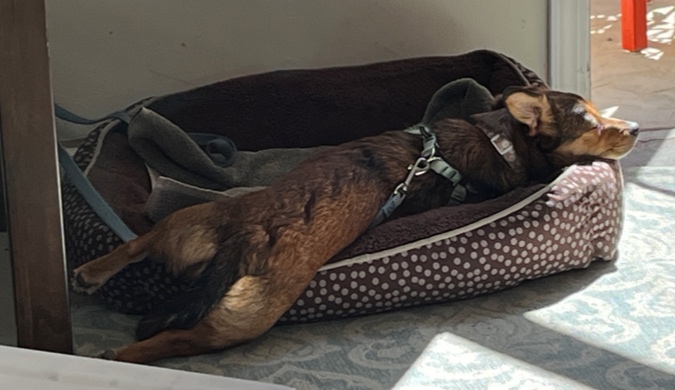
Oops, how is it fall already?! The Mansard Victorian has been sitting neglected all summer, but I’ve finally made a little progress on the bathroom. My excuse for the delay is this little bundle of joy.

Her name is Daisy and she was estimated to be 6–9 months old in July. We’ve been working on things like potty training, sleeping through the night, not eating acorns and plum pits off the ground, not cowering in fear when a stranger says hi, and not chewing on carpets and furniture.
But look at that face!

And that sploot!
Anyway, it’s been hard to get into my workshop for any length of time, but she’s settling in, and today I was able to get back to the Mansard and figure out where I left off. Back in May, the bathroom floor was next on the to-do list. Here’s how I left it.
I made this floor using the same scrapbook paper / Gallery Glass method as the kitchen countertop. Cutting, gluing, and Gallery Glass-ing these tiles took a loooong time.
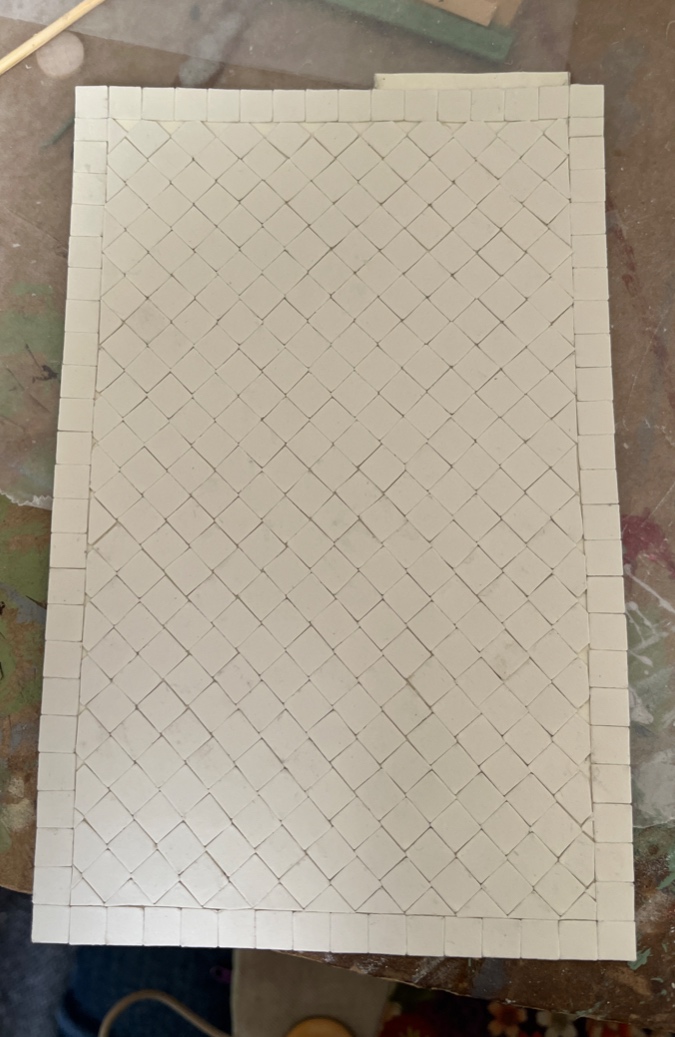
And… meh? After all that work, I’m not feeling it.
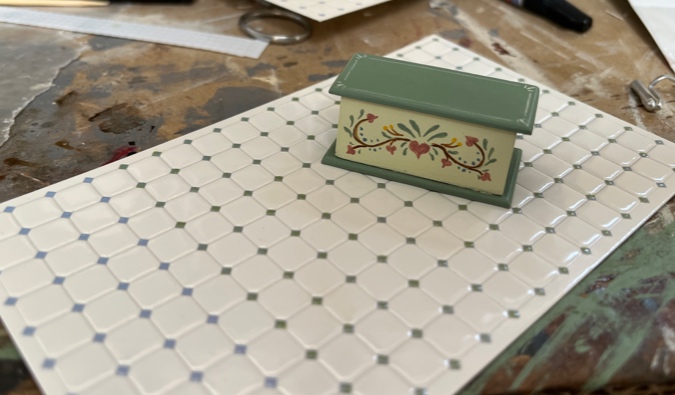
I considered a few other options (which I won’t bore you with) and then got my hands on a few sheets of this embossed blue and white tile. I like it, but the blue wasn’t quite right for the green trim in my house.
Did somebody say Gallery Glass? A dot of light green on top of the blue tiles comes close to the Bauder-Pine green color I’m trying to match. I still have more dots to do (these also take a long time!) but the end is in sight.
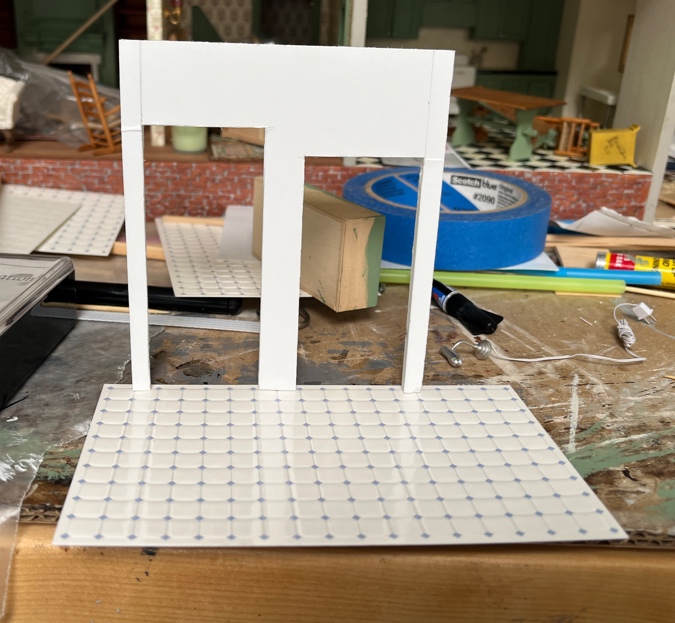
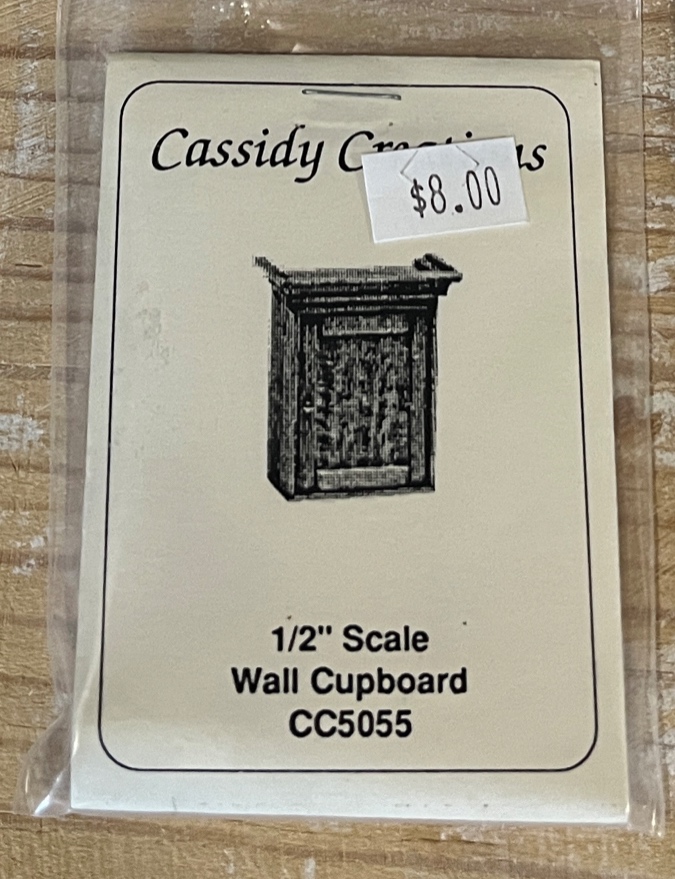
I have a Cassidy Creations wall cupboard kit to use as a medicine cabinet. When I was making the false wall and ceiling for this room, I got the idea to recess the medicine cabinet into the wall.
I created a new wall with foam core. The last half inch of the wall is shorter (because of the “bulking” I did early in the build). Rather than notch the wall, I cut a piece of basswood for that piece. This way the visible outer edge of the wall will be nice and smooth. The foam core wall doesn’t go all the way to the back, to allow electrical wires from the bedroom to plug into the outlets that will be hidden behind the bathroom door.
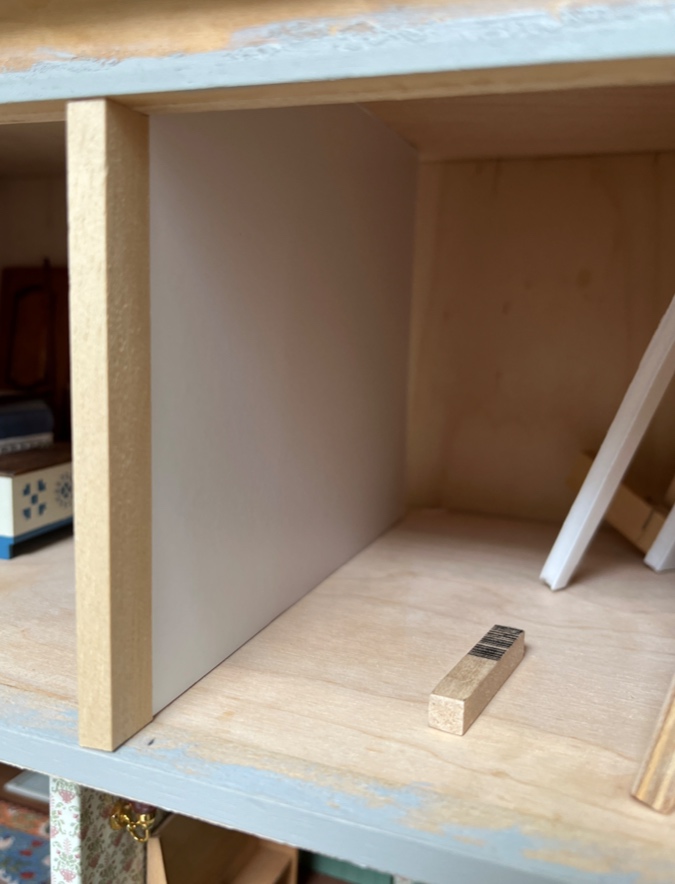
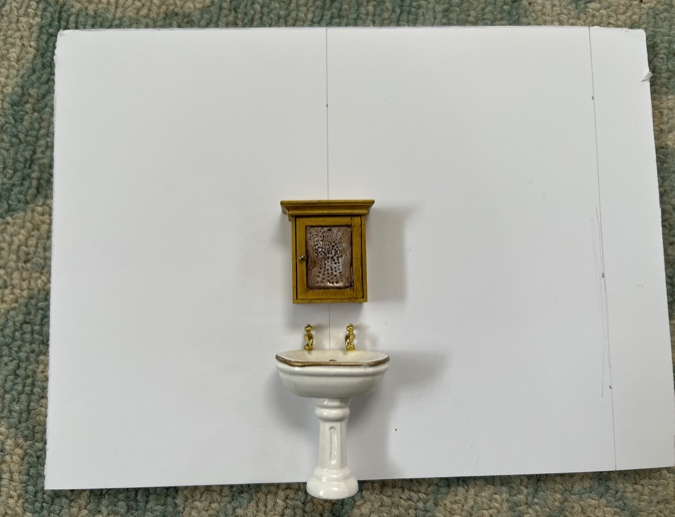
I found the center of the wall and drew a line. (The line on the right is the back corner of the room — the little bit of space beyond that will stick into the empty area behind the false wall.) I’m planning to use a wall-hanging sink in here, so I needed a reference for how high a sink should be. This is a sink from another house and the Bauder-Pine wall cupboard I’m using in the kitchen (which is a finished version of the Cassidy Creations kit).
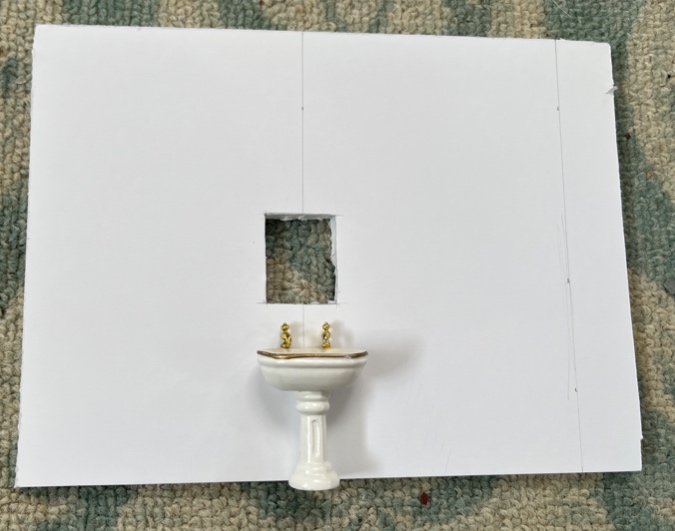
I drew around the cabinet and then cut the hole with a utility knife.
I was stumped on where to get a thin mirror the exact size I needed. Fortunately, this week was bathroom week on the Half Scale Facebook group, where everyone shares pictures of their half scale bathrooms. I was looking for a picture of my Rosedale bathroom and came across this blog post about how I made mirrors for that bathroom out of 1mm thick acrylic “mirror material.”

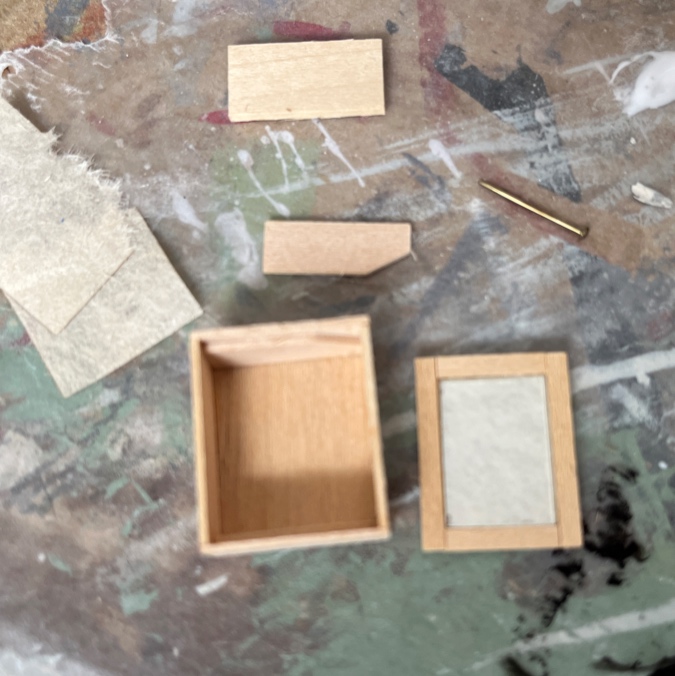
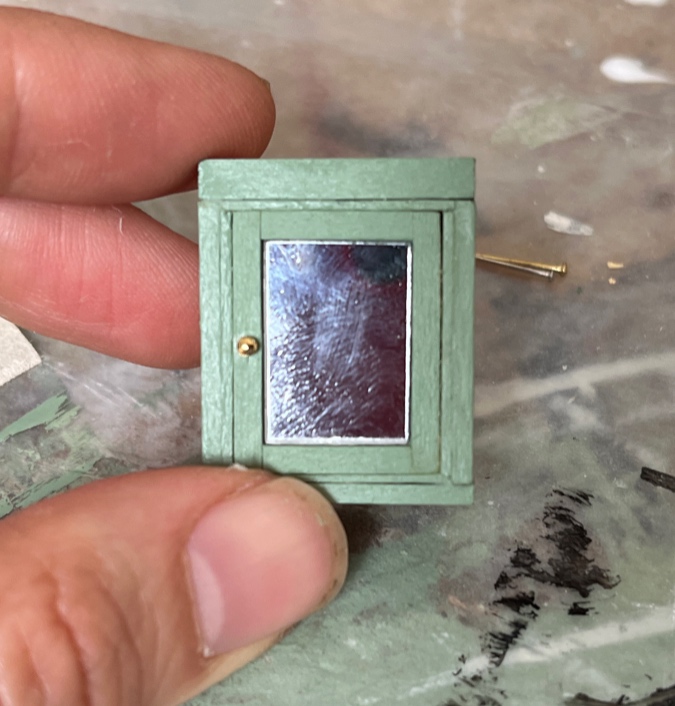
I didn’t even remember I had this stuff, but (somewhat miraculously) I found it pretty quickly. Following the steps I’d laid out in the previous post, I cut it slightly too large with scissors, and then sanded it down using the disc sander. (Thank you, past-me, for having the foresight to document that!) I used the Bauder-Pine cabinet to figure out the size. The white paper gets peeled off to reveal the mirror.
I assembled the cabinet and the door, using the mirror piece I’d cut to position the slats on the door. (Sorry for these blurry pics, my phone never focuses in the right place and I don’t notice it in the moment.)
Here’s how the cabinet looks in the wall. It sticks out 3/16″ — a bit more than I’d like, but c’est la vie.
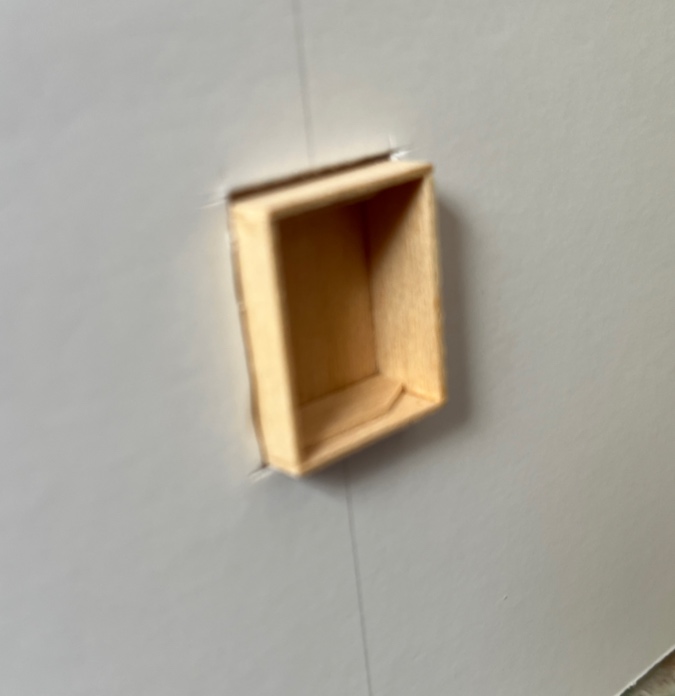
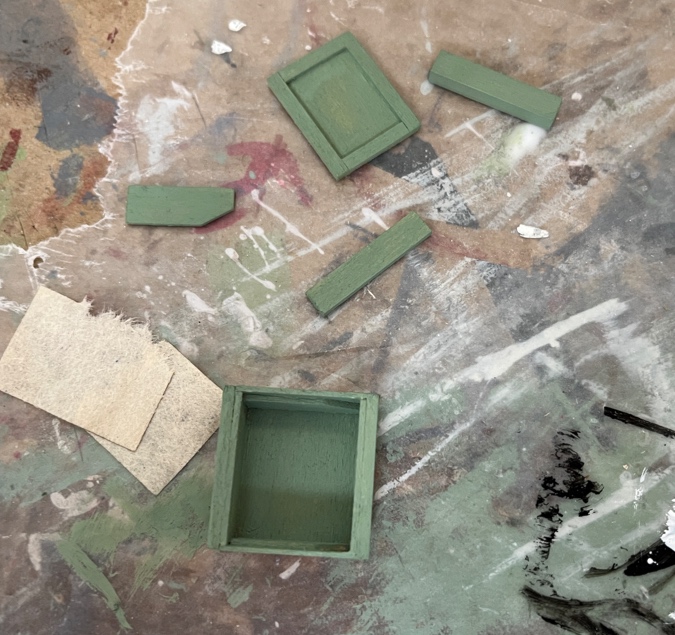
I found some 3/16″ wood scraps to use as trim.
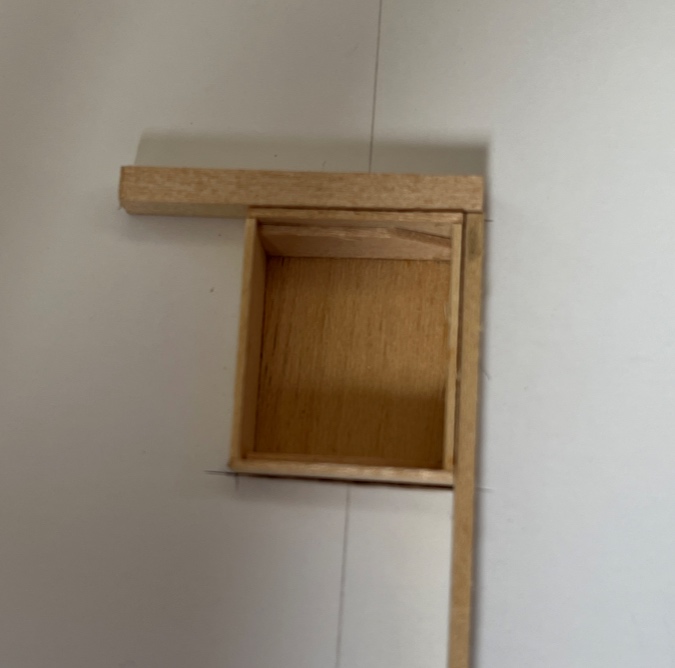
I glued the side pieces on at this point. The top and bottom pieces needed to wait until after the door was hinged.
The trim will hold the cabinet in place inside the wall hole.
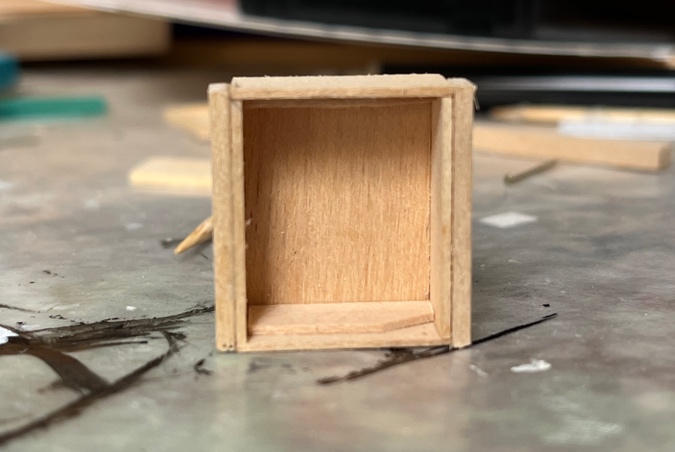
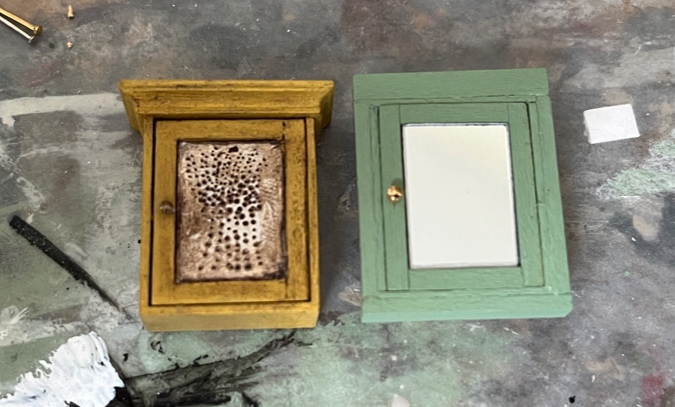
Then I painted everything. I remembered too late that I’ve been staining the insides of the cabinets in this house. Oh well, not this one.
Skipping ahead a bit because the pictures were bad. Here’s the assembled cabinet. The mirror fits snugly between the slats, so I didn’t bother gluing it. (I actually couldn’t pry it out once I inserted it.)
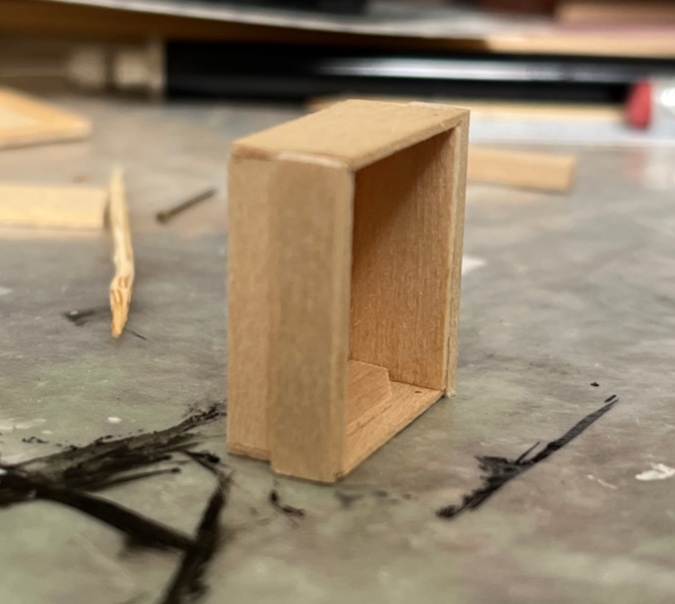
I added wood filler to the seams where the trim pieces were attached.
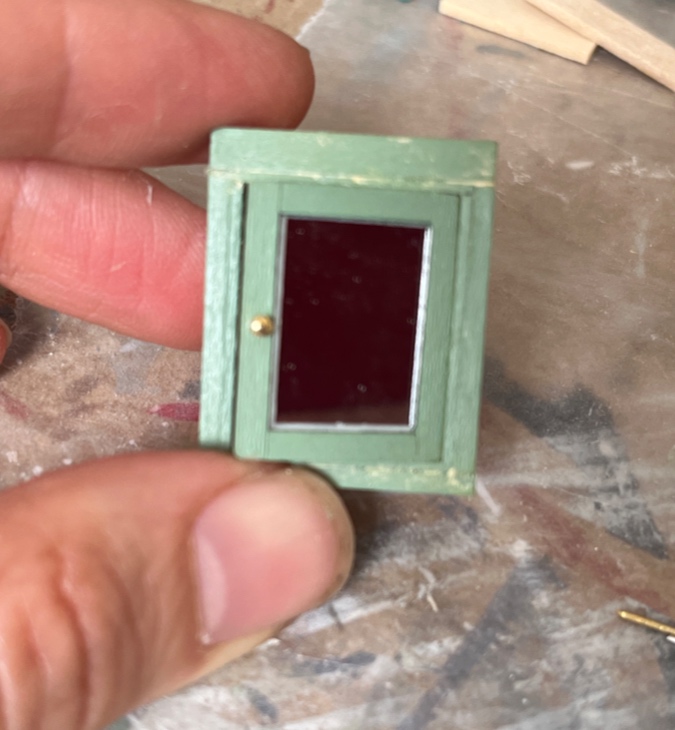
And then carefully painted over the wood filler.
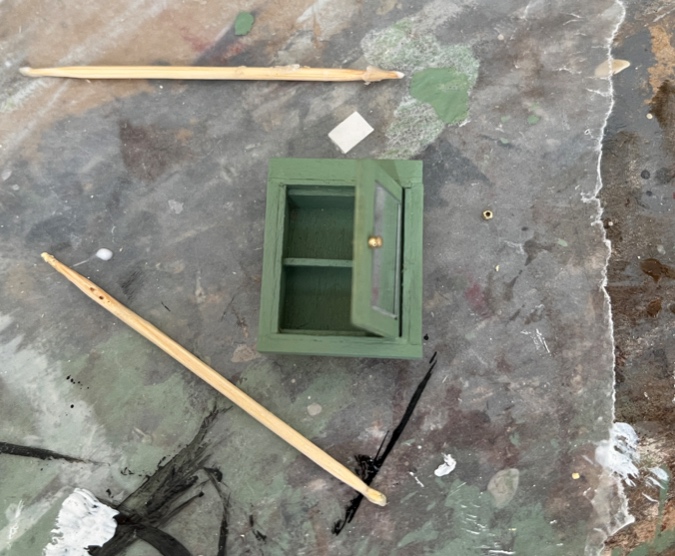
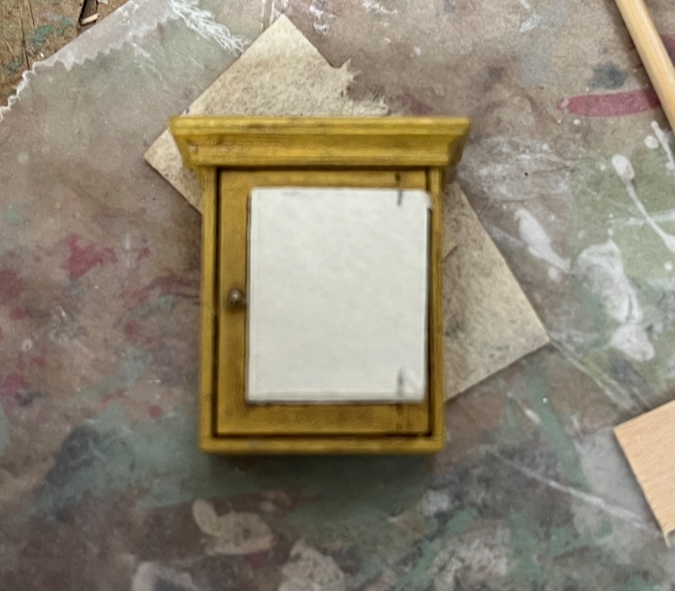
Here’s how the cabinet looks compared to the Bauder-Pine version. I’m planning to add crown to the top, but it was missing from the kit, so I have to find something else that will work.
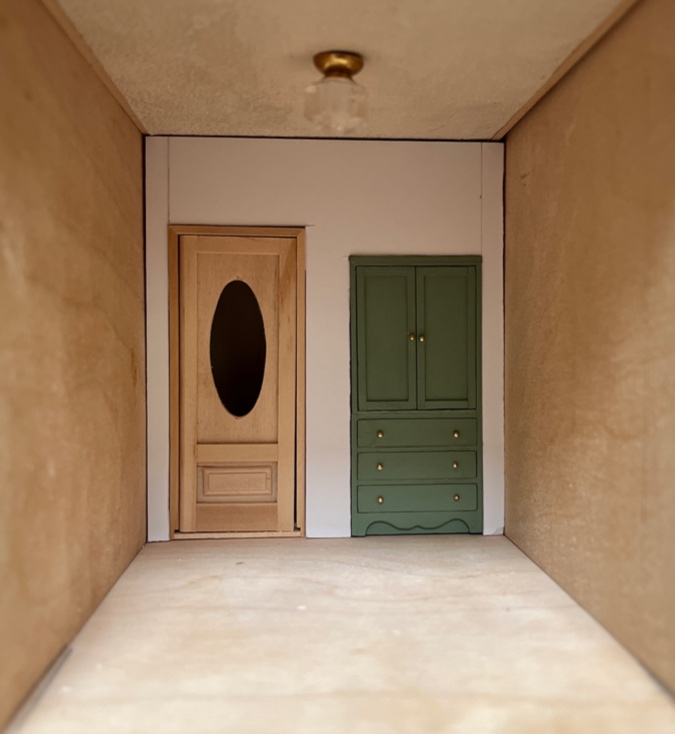
And here’s how it looks in the wall. (The door into the room isn’t going to look like that — it’ll look like this. But now that I found that mirror material, I’m tempted to put a mirror in it…)
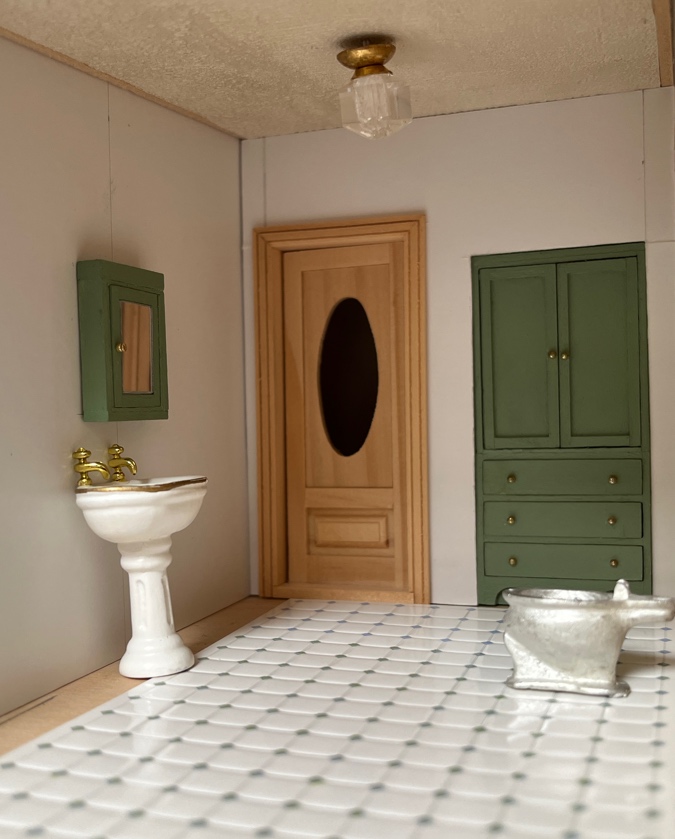
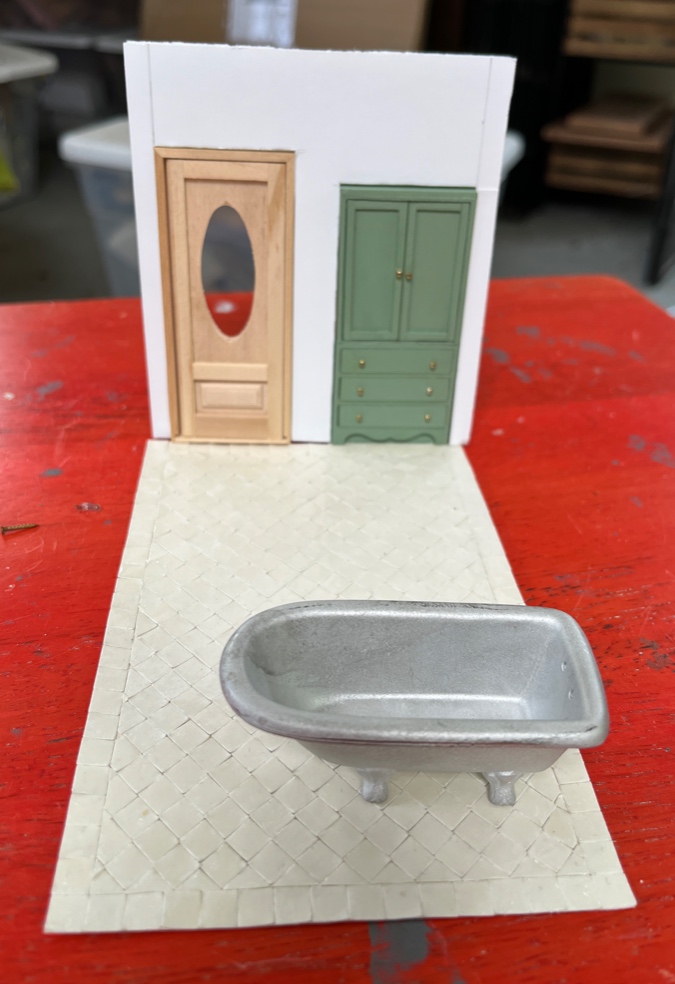
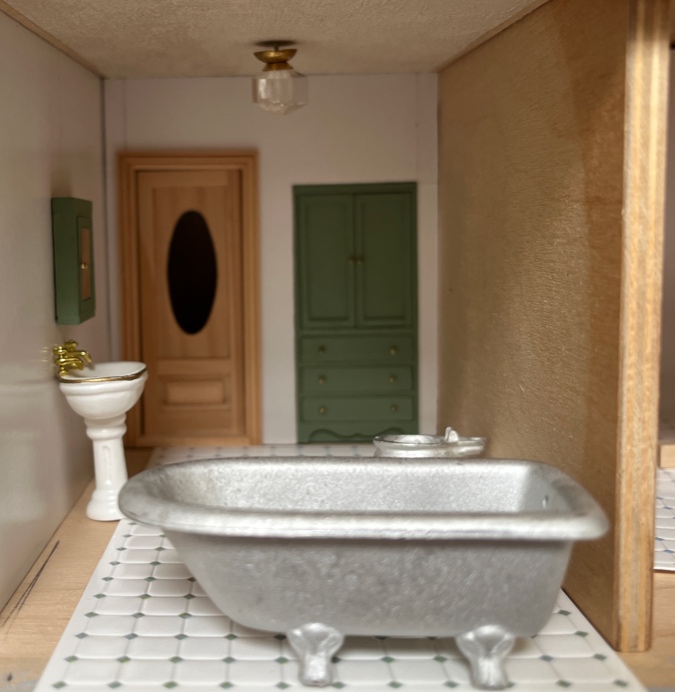
And here’s the room overall. Hopefully it won’t take another four months for me to continue on it.
Daisy is unimpressed.
 Emily is a freelance writer, miniaturist, and adventure game enthusiast.


Daisy is adorable! This bathroom is looing great. As always, your attention to detail is inspiring!
Thanks, Diane. :) Next post will be about the new canisters!
Daisy is too cute! Your work is looking lovely as usual.
Thank you!
I think your bathroom will look great when finished
Daisy is precious!