Back in May, I wrote about how I made a false wall and ceiling for the Mansard Victorian’s bathroom. I never posted pics, but I went on to make false walls and ceilings for the bedrooms on either side of the bathroom.
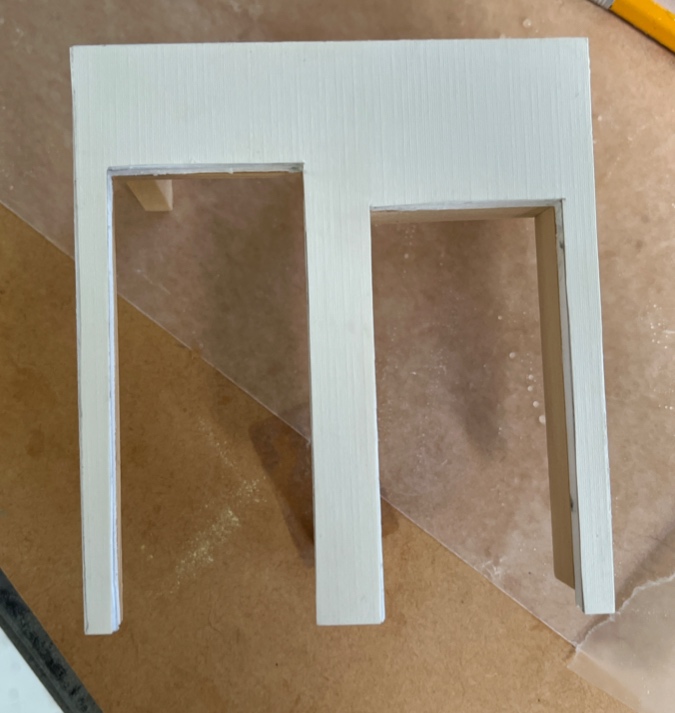
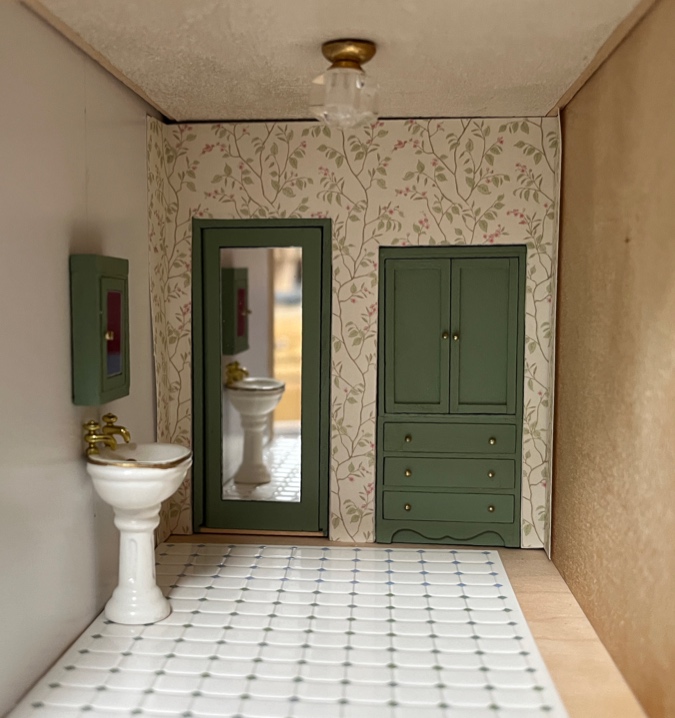
The bathroom wall is set in a bit, to make room for the built-in linen closet and to make a long, skinny room shallower and easier to reach into. But the bedroom walls will benefit from having a larger footprint, so I set those false walls closer to the real wall. (This picture also shows one of my aborted bathroom floor tile attempts.)
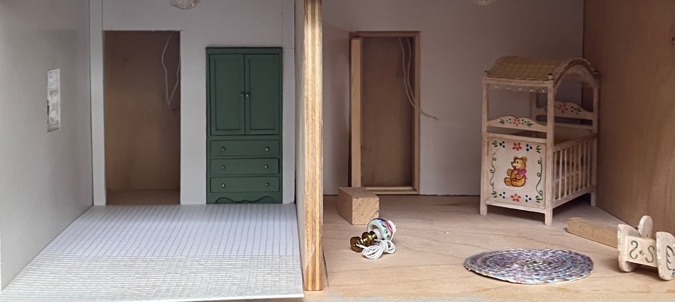
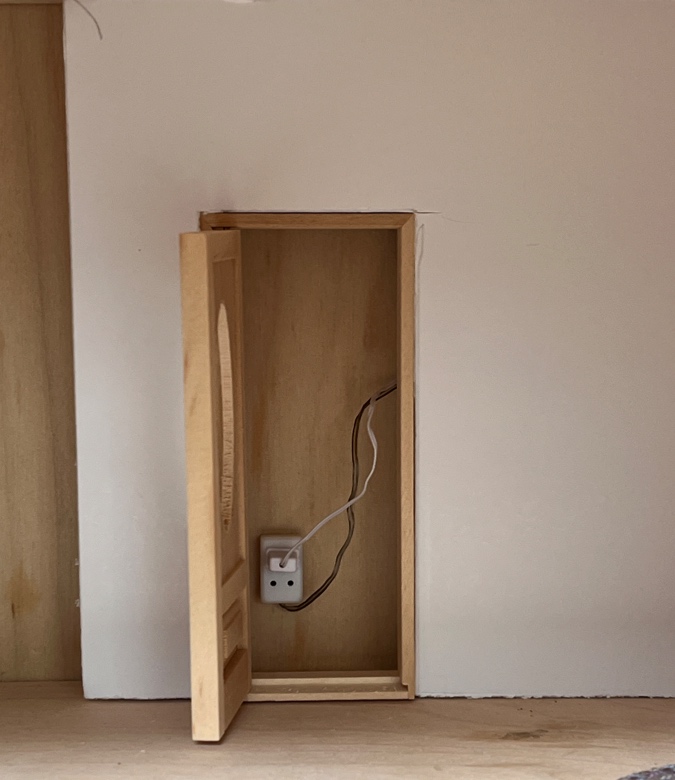
The false walls will hide electrical wires, with outlets accessible behind the doors.
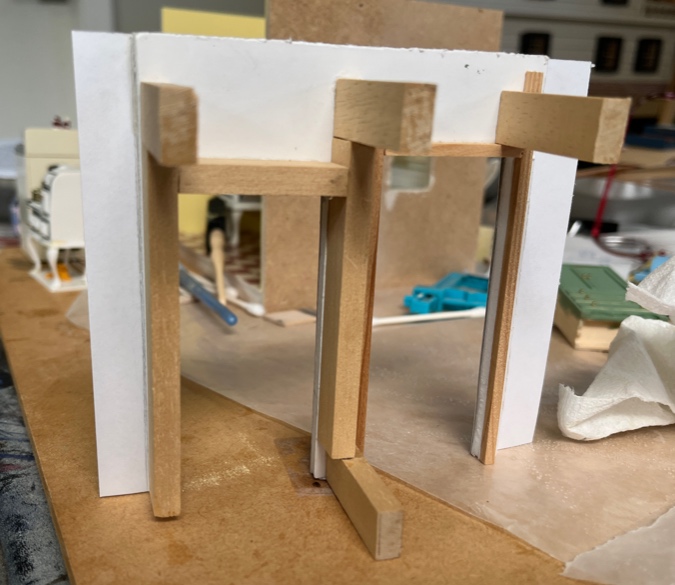
I had one spacer on the back of the bathroom wall, but it wasn’t enough to keep the wall from twisting and sitting crooked when I pushed it in. The foamcore was also bending, since the cutouts for the door and linen cabinet left so little material on the left and right sides. I added more spacers, along with strip wood to reinforce the holes.
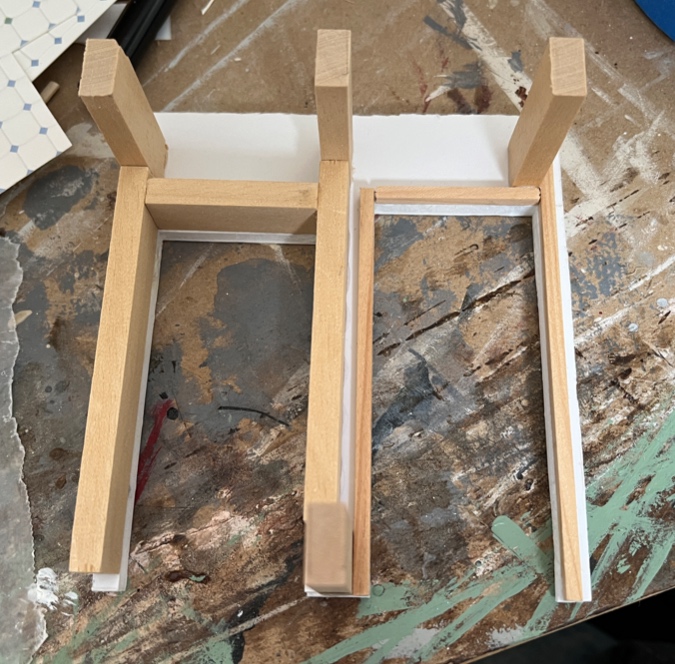
The wood around the door hole will hold the door so it’s flush on the visible side. The wood around the linen cabinet gives me something to glue the cabinet to.
I also glued a piece of scrapbook paper to the front side of the wall, to help prevent those skinny pieces on the left and right from bending.
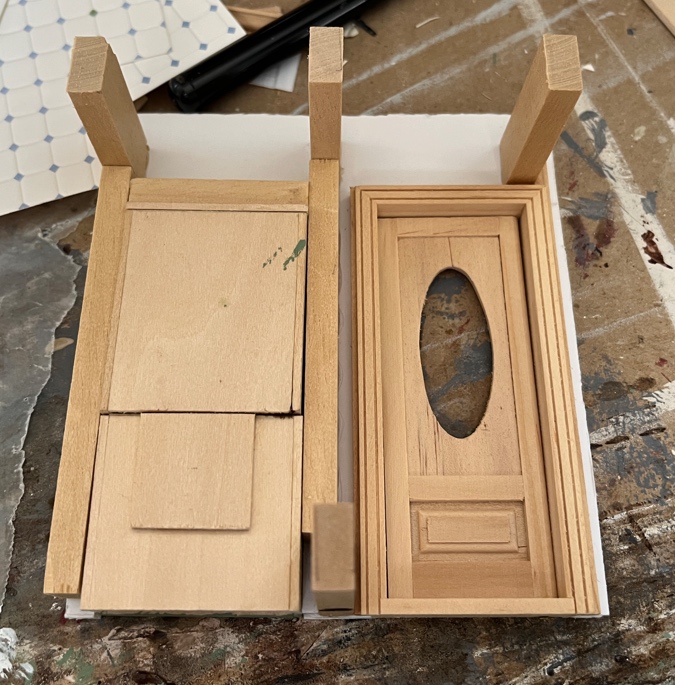
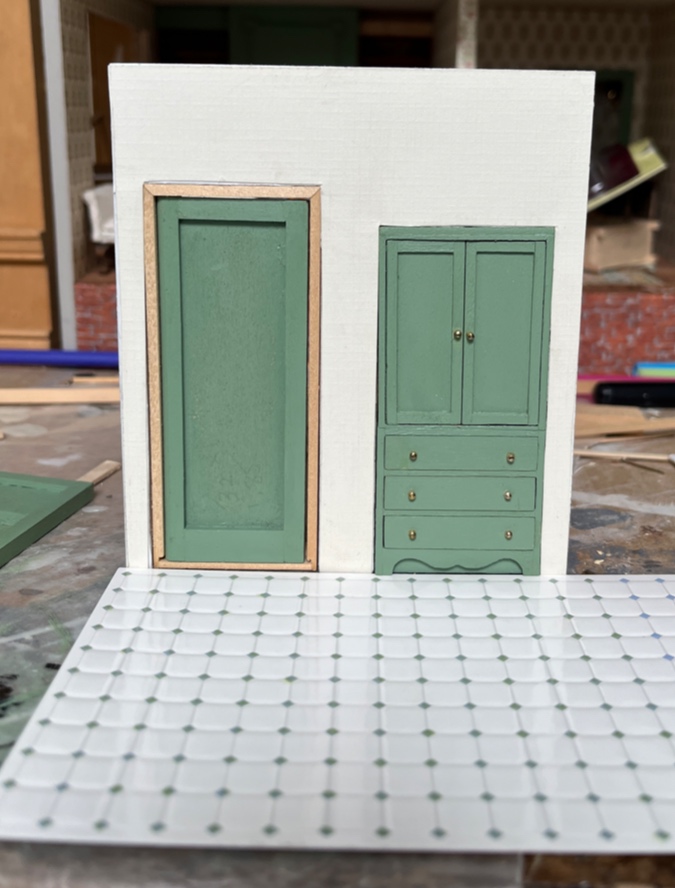
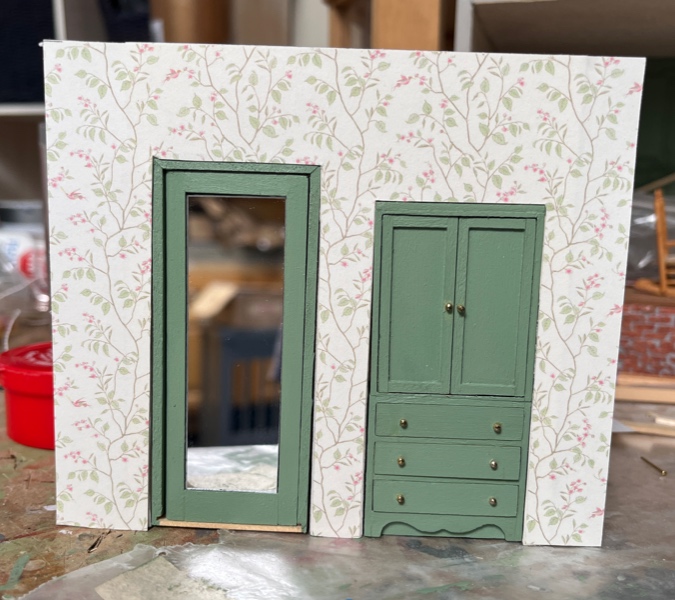
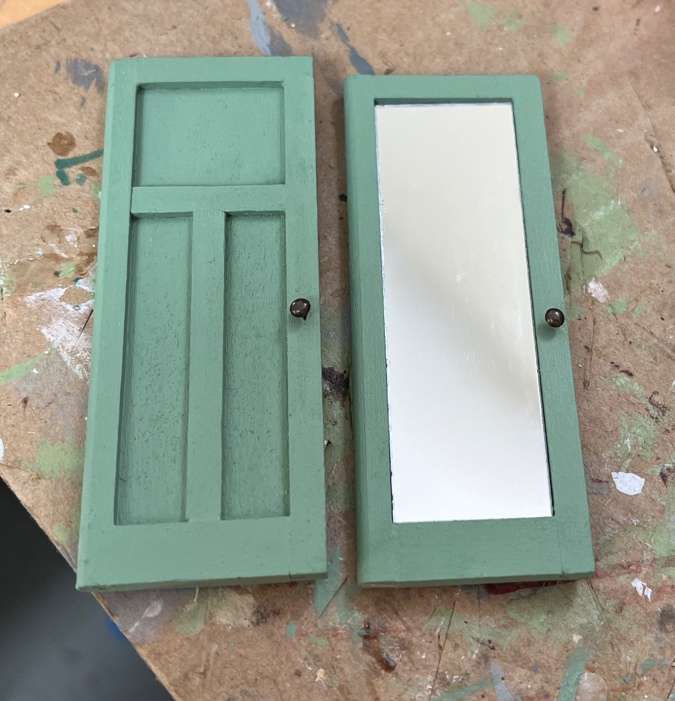
Next I disassembled two more of the Real Good Toys doors and reassembled them with solid panels, as described here. The one on the left is for the bathroom and will have a mirror inset in it. The house where I used to live in San Francisco (built in 1925) had a door like this. The one on the right will go in a bedroom.

I added wood filler to the cracks where the wood pieces meet, and then painted both doors. Here’s how the bathroom door and the cabinet will look next to each other.
After another coat of paint, I added the mirror. This is made from acrylic “mirror material” that I cut slightly too large with scissors, and then sanded down to size on the disc sander (same as the medicine cabinet mirror).

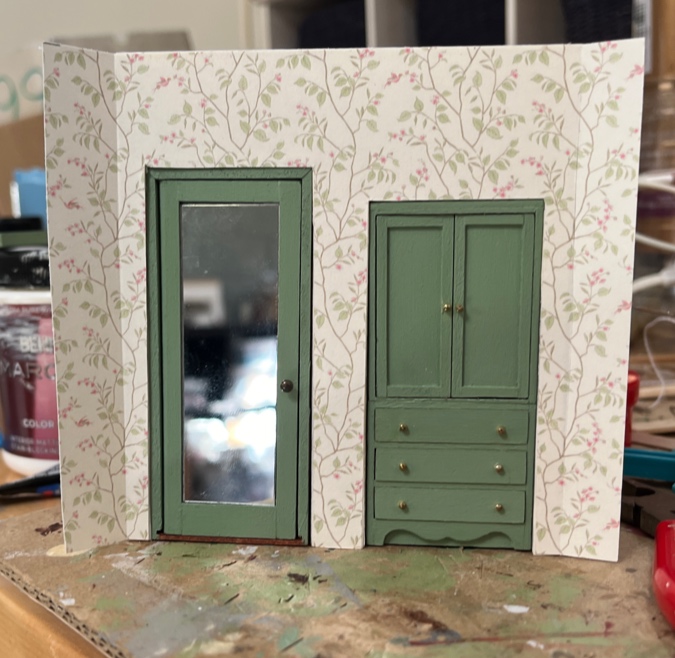
I cut a piece of wallpaper and glued it on. (Well, first I sprayed the paper with UV-resistant coating and let it dry overnight, like I always do to avoid something like this.)
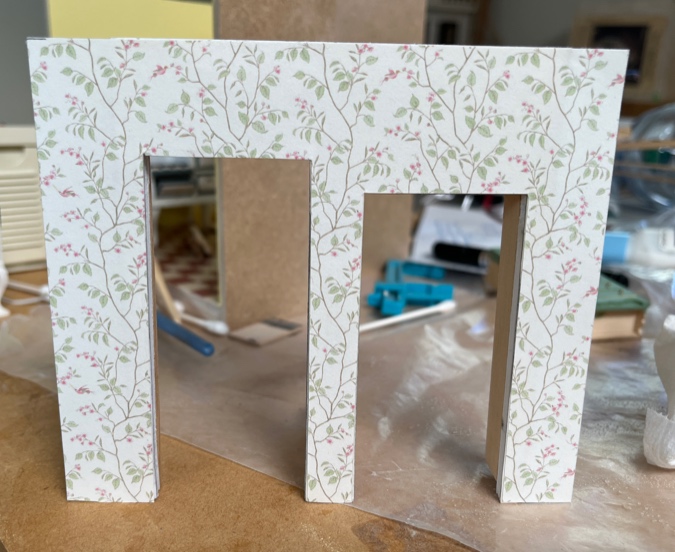
I left a bit of paper sticking off the sides. This will be folded over on the adjoining walls.
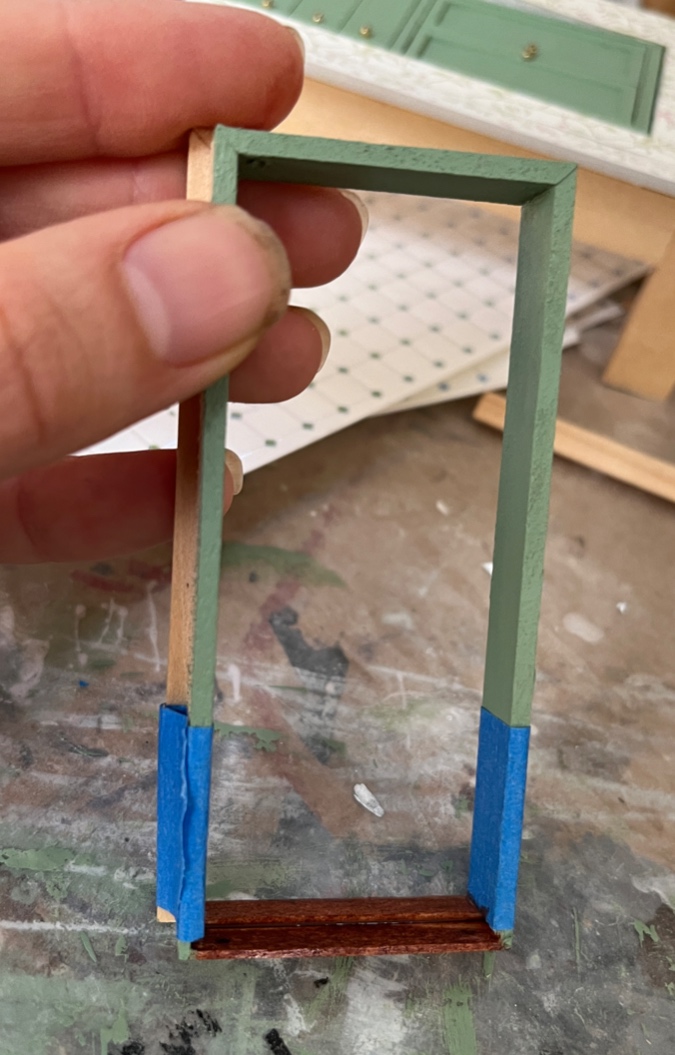
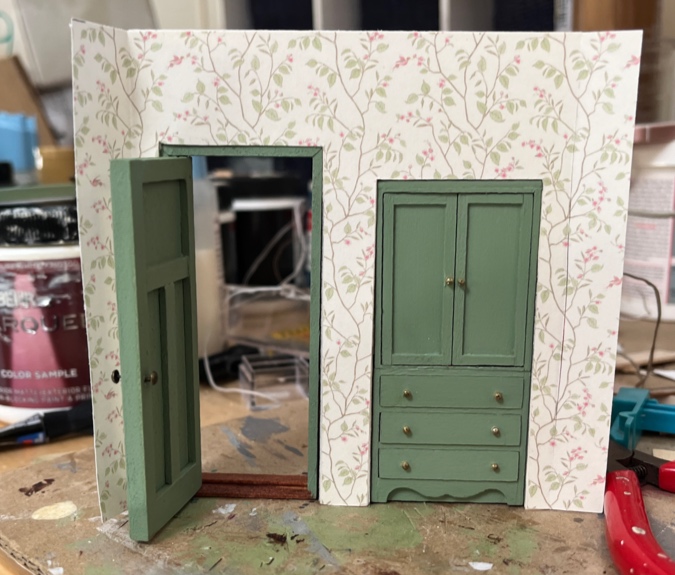
The kitchen door is hinged directly into the floor, which I think looks more realistic than the thick threshold built into the door frame. For that door, I didn’t use the frame because the built-in trim didn’t match the trim I’m using in the rest of the house.

Since the bathroom door can only be viewed from the front, you won’t be able to see the inconsistent trim. Also it would have been tricky to hinge the door into the tile floor, but if I’d hinged it into a floorboard (like the kitchen door) it would have looked essentially the same as it does with the door frame.
So it made sense to use the frame this time, but I did sand down the bottom first so it’s closer to the height of a floorboard.
Next, I carefully scored the edges of the wallpaper, to create clean creases where they’ll meet the other walls. At least, the first side was carefully scored. The second side — even as I muttered to myself “Now I’ll carefully score the paper” — was carefully sliced. The Xacto blade was new and I used too much pressure.

Eeeesh.
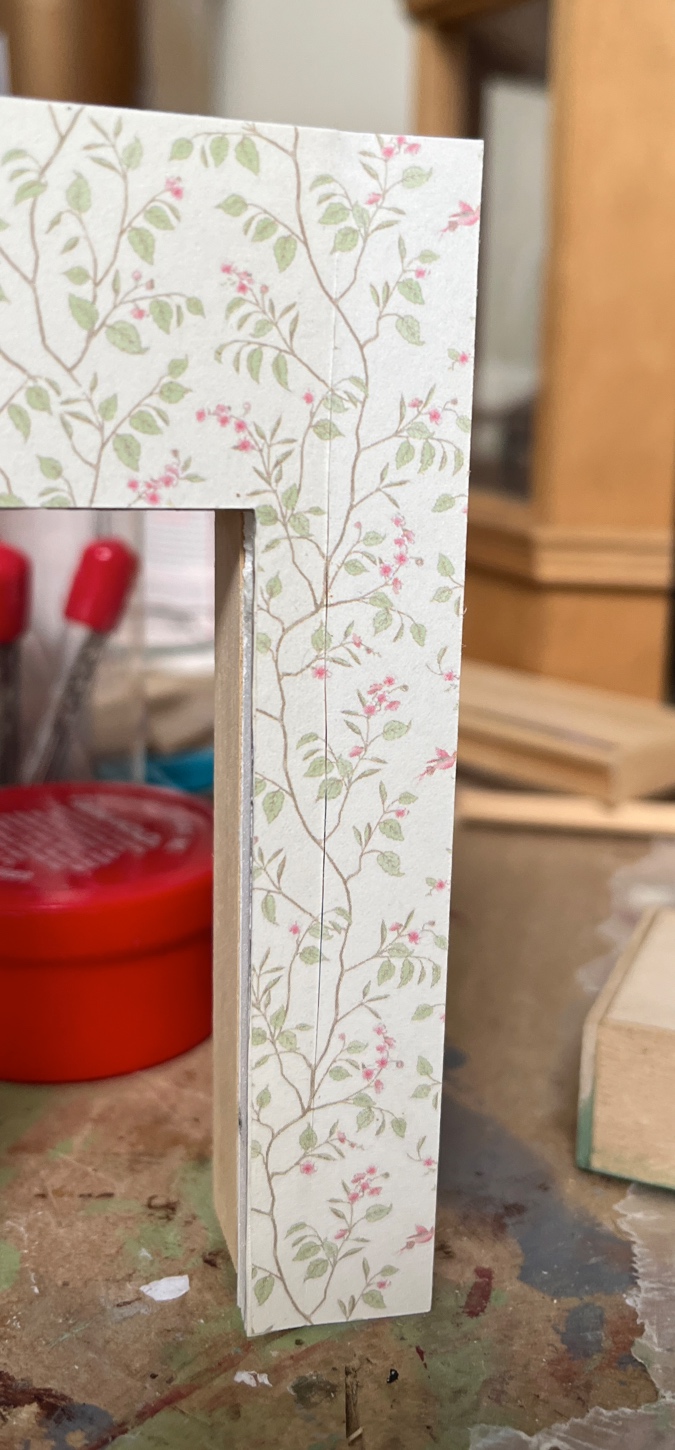
Fortunately I didn’t cut it off completely. I could rip off the wallpaper and start over, but I think when this is folded over and the adjoining wallpaper butts up against it, the slice won’t be visible. Cross your fingers.
Next I stained the threshold, to look like a floorboard.
I added mini-brads for doorknobs. I used my micro drill to make a small hole, all the way through the door, and then used the pointy ends of the brad legs to enlarge the hole just enough for the legs to fit. Then I cut down the legs and insert the brads into the hole with a dot of super glue.
Here’s how it’ll look. I still need to add trim.
I did finish the back side of the door, but I haven’t decided yet if I’ll bother finishing the area behind the door or not. If the outlets are back there, the door will generally be closed, but maybe I could hide the outlet off to the side and the door could be ajar, showing a hint of the hallway behind it. A decision for a future day.
 Emily is a freelance writer, miniaturist, and adventure game enthusiast.


Very nice work. I think the wallpaper will be fine once you finish the other wall.
Fun to read your update and see the progress photos! Thanks so much!
Wallpaper reminds me of the kind you had growing up
False walls giving the great impression that there are other rooms, hallways or staircases are such a great idea to visually enlarge and increase impact in a room…lovely progress!