I’ve been working on the Mansard Victorian’s bathroom for way too long. I started it last April when I bashed two Cassidy Creations kits into a linen closet and then dropped off over the summer when Momma’s Kitchen (and a new dog) diverted my attention. In September I got back to it for a little while and then got sidetracked by the dog vignette.
Meanwhile, the bits and pieces I was working on have been sitting out in the workshop, and whenever I come back to them I’m not sure where I left off. Here’s my attempt to get back on track.
Wallpaper & Wainscot
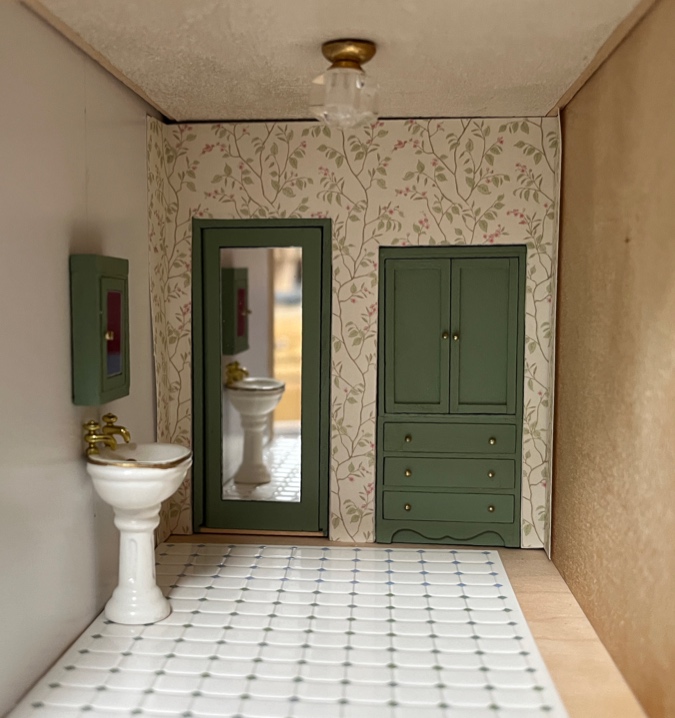
The last thing I worked on was the door with a mirror in it.
When I was scoring the wallpaper to fold it over at the corner, I got overzealous with a sharp blade and almost sliced off the excess.
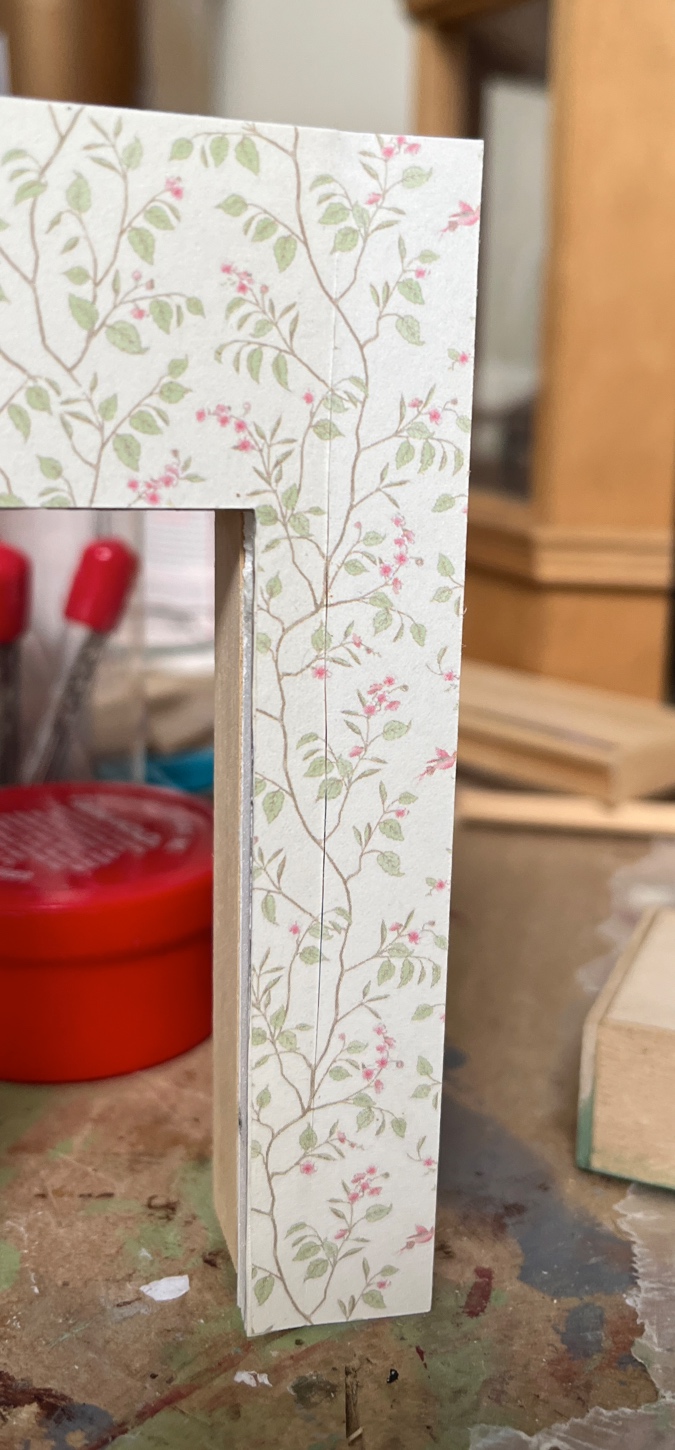
As I continued to work on the room, the slit got bigger and I was worried the two pieces of paper would separate. I reinforced the corner by gluing on a strip of stiff scrapbook paper.
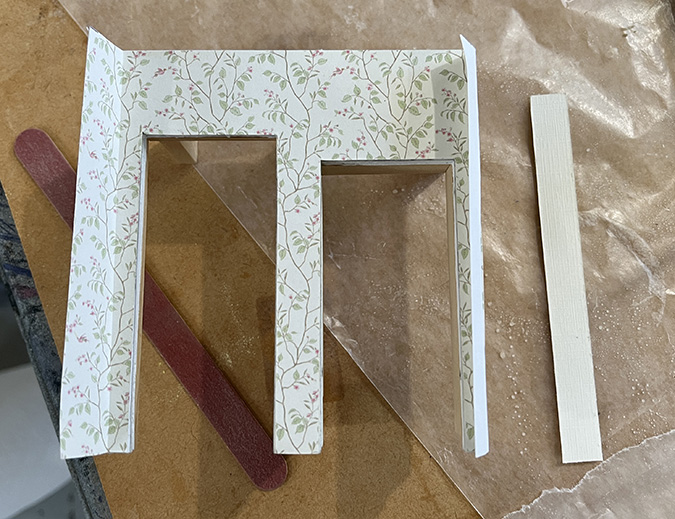
Once the wallpaper on the adjacent wall is butting up against this corner, you won’t see the slit at all.
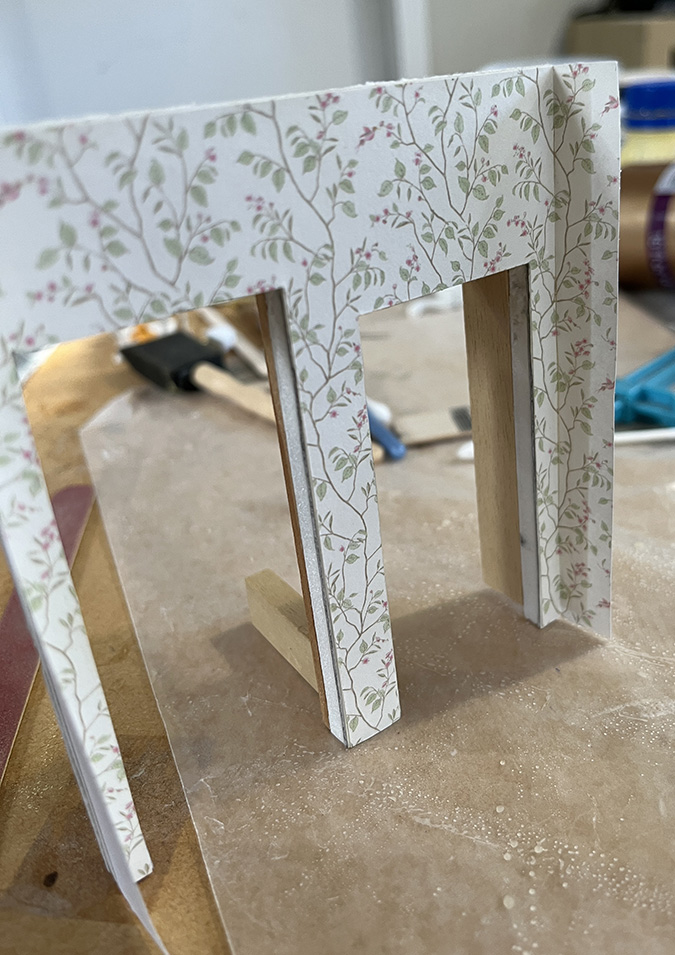
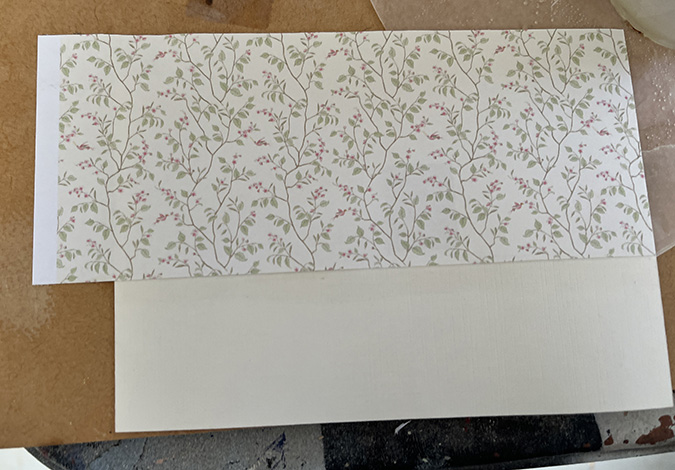
Because this is a long skinny room, I decided to prepare the walls outside of the dollhouse and glue them in. I started with a piece of stiff paper to cover the wall. I cut the wallpaper so the design will meet up at the corner. The bottom half will have wainscot.
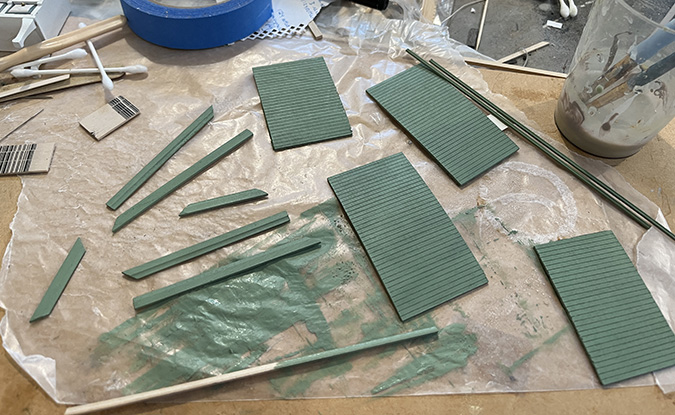
I painted the wainscot and door trim with the light green paint I’m using for the trim. (This matches the light green Bauder-Pine furniture that I’m using throughout this house.)
Floor
For the floor, I’m using embossed paper tile from World Model.
A dot of green Gallery Glass paint on top of the blue diamonds brings them close to the light green paint.
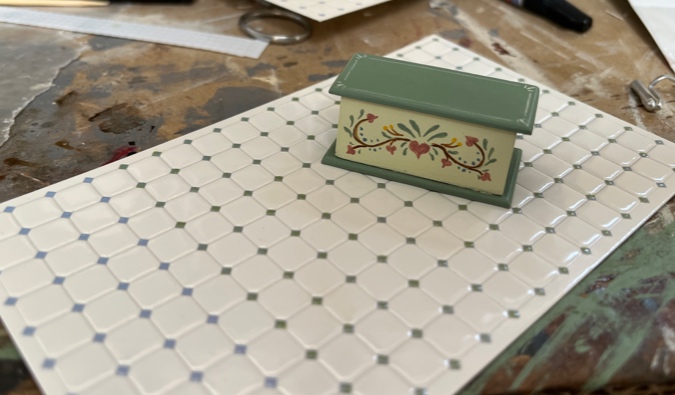
These tile sheets are only about 6″ x 4″ and the bathroom is bigger than that, so I needed to figure out how to join two sheets without an obvious seam.
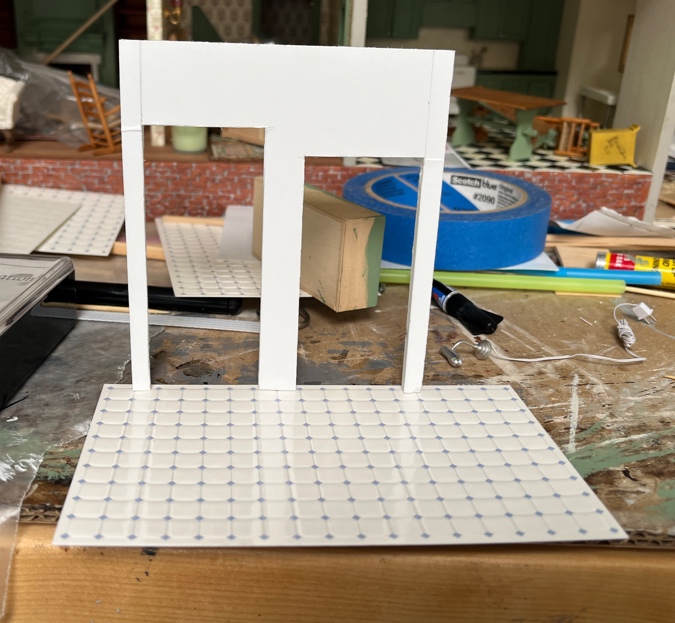
Since the walls aren’t glued in yet, a spacer the width of the bathroom ensures the walls are the same distance apart at the front of the bathroom as at the back. I cut a tile sheet to go at the back of the room, centering the tiles on the center of the room so the partial tiles at the sides are the same size.
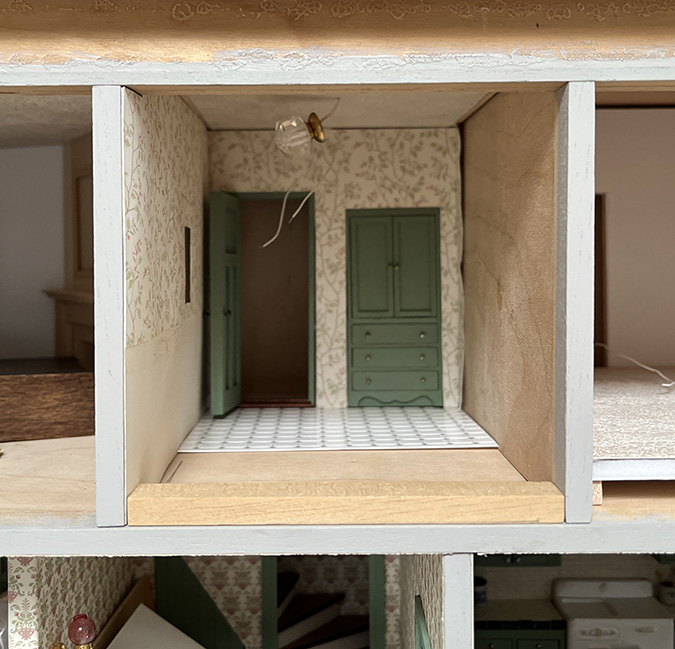
Where this piece joins together with the second piece, I cut along the tile line so the seam mostly blends in. (A slice through the center of the diamonds is less obvious than a slice through the white tiles.)
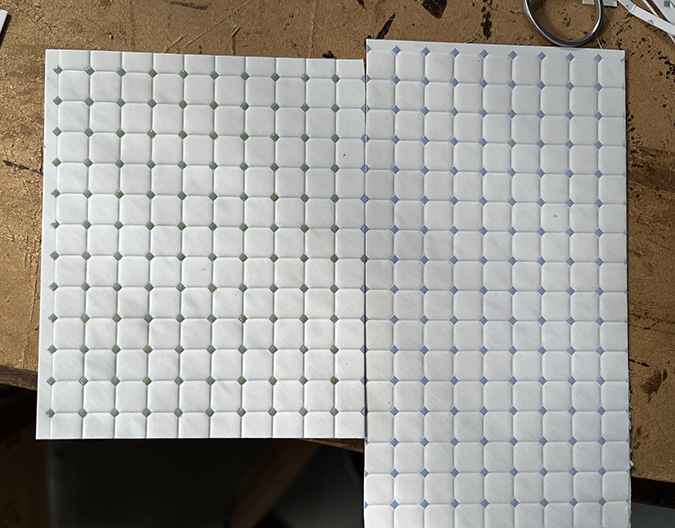
I thought I’d be able to use the finished end at the front of the house, but once I got it in place I didn’t like the look of it.
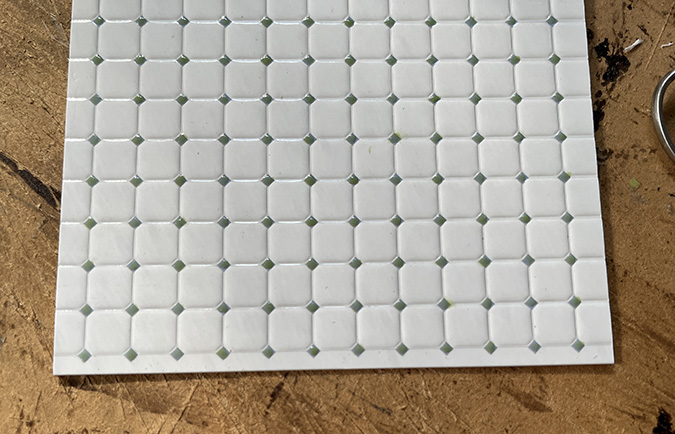
Luckily I had a few extra sheets, so I could do some trial and error. I ended up slicing the front row of tiles so those are roughly the same size as the partial tiles on the sides.
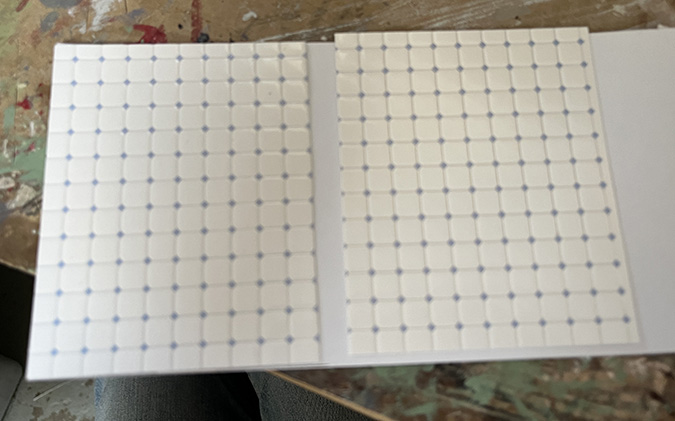
I glued the two pieces to another sheet of paper.
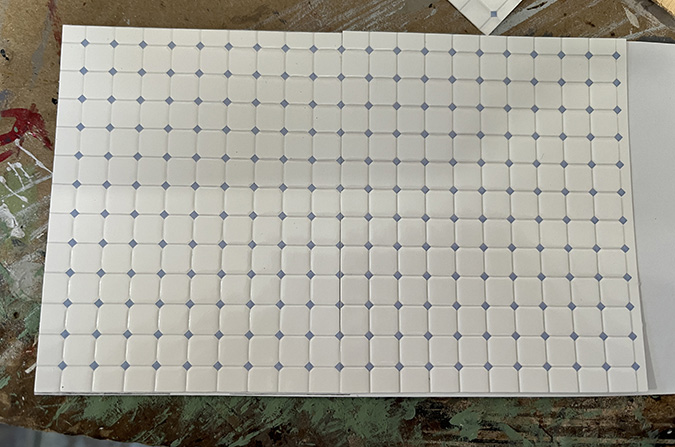
There we go!
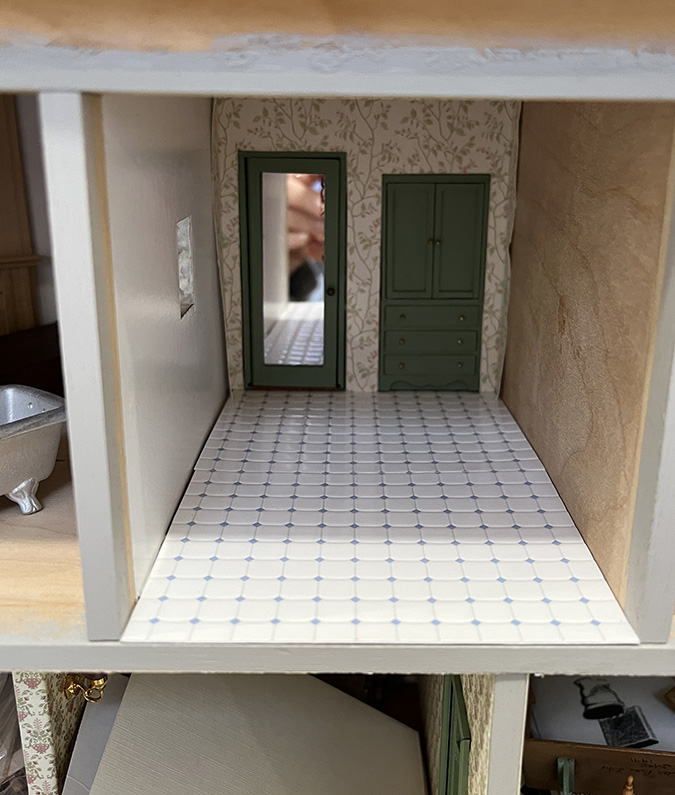
I then brought the tile piece inside and spent several hours rewatching Pen15 and dotting the diamonds with green Gallery Glass on the tip of a toothpick. The things we do for our art.
A Minor Disaster
I glued the wainscot pieces to the wall piece in mid-November, and then stopped working on the bathroom to focus on the dog vignette for Christmas.
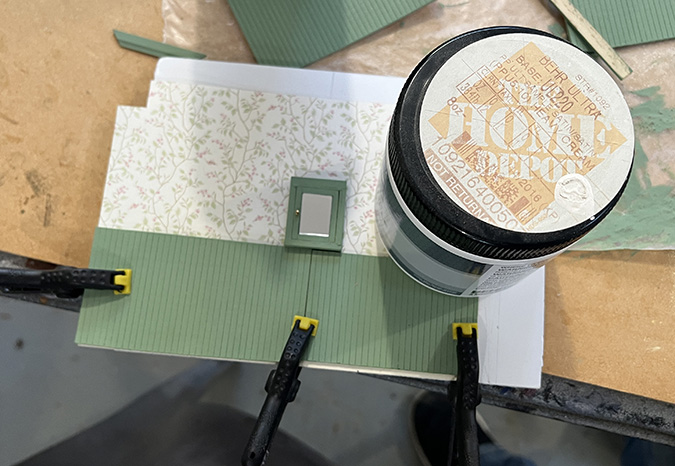
When I came back to it after New Year’s, the scrapbook paper / wallpaper / wainscot piece was in sad shape. Not sure if you can tell in the picture, but it’s warped and wrinkled.
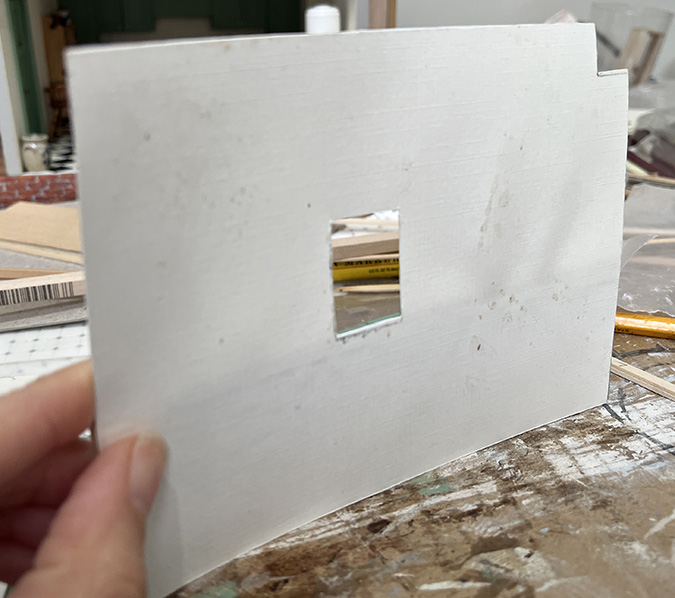
We’d had a big rainstorm and some water got into the workshop — just on the floor, but the humidity took its toll.
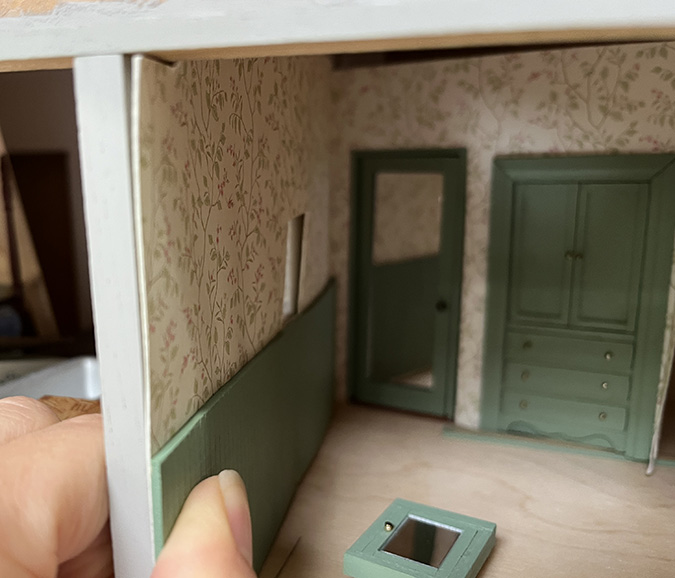
Before giving up on it and starting over, I decided to try an experiment. I got out the iron and covered the wall piece with a thin dishtowel.
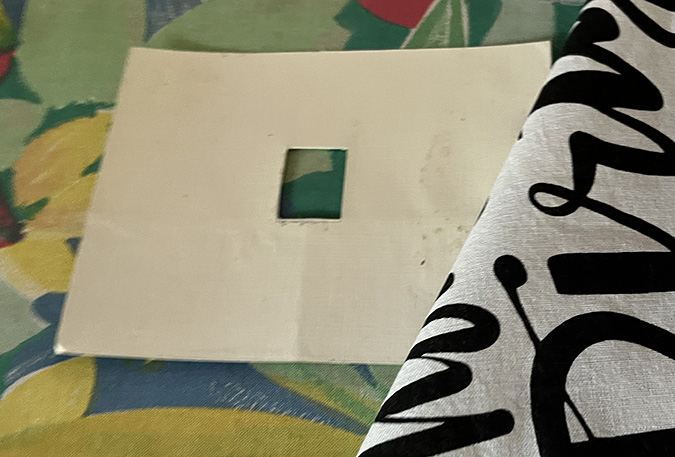
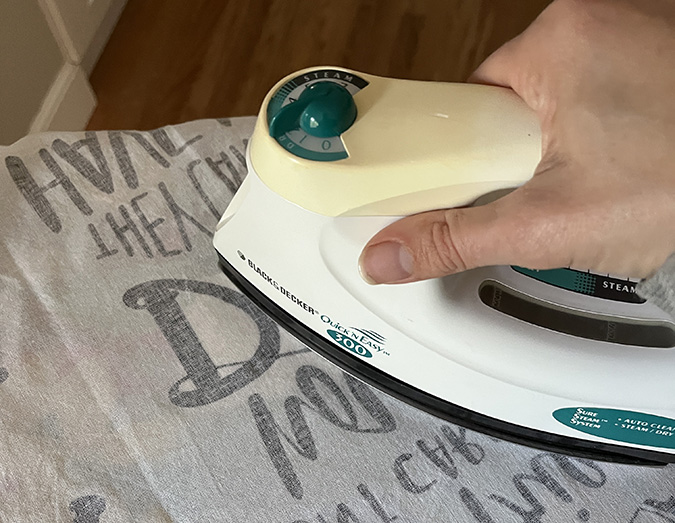
And I ironed it.
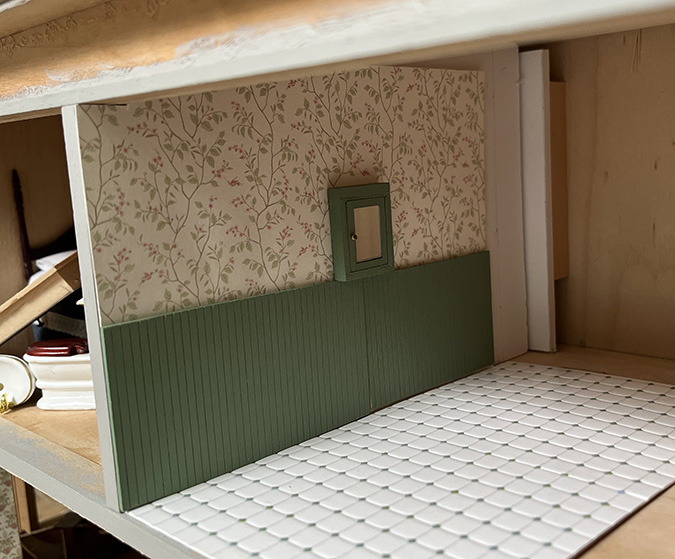
And it worked! It’s not completely flat, but it’s much better now. There’s still a bubble about halfway between the medicine cabinet and the front, but I think I’ll be able to get rid of that when I glue this to the wall.
I’m storing it inside a heavy dictionary when I’m not playing with it, to try to keep it flat. If necessary, I can iron it again right before I glue it in.
Finishing Touches
The recessed medicine cabinet is made from a Cassidy Creations wall cabinet kit that was missing the crown molding for the top. I found some appropriate cove molding in my stash.
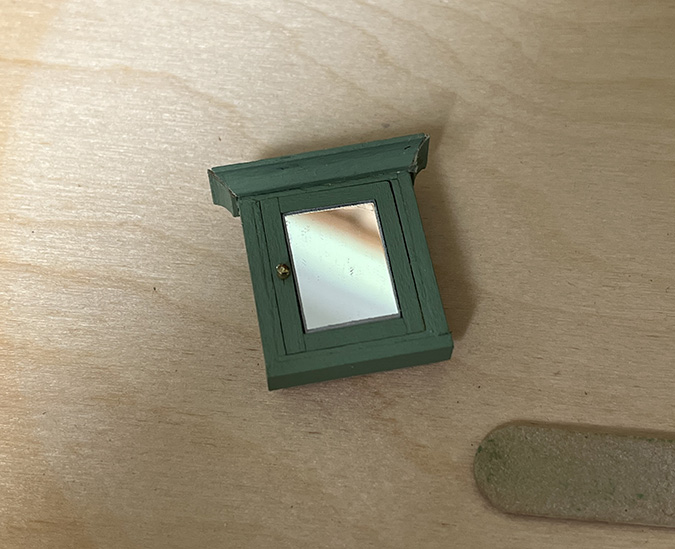
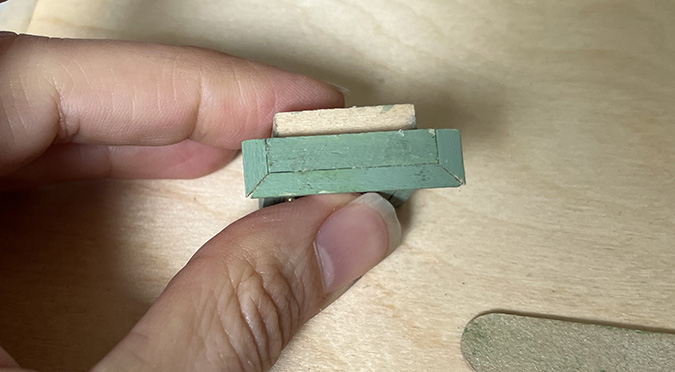
I used wood filler on the crown molding seams as well as the seam where the two wainscot pieces meet. This was one reason I wanted to put the wallpaper and wainscot together outside of the dollhouse — there’s no way I could have done a neat job with this if it were already glued in.
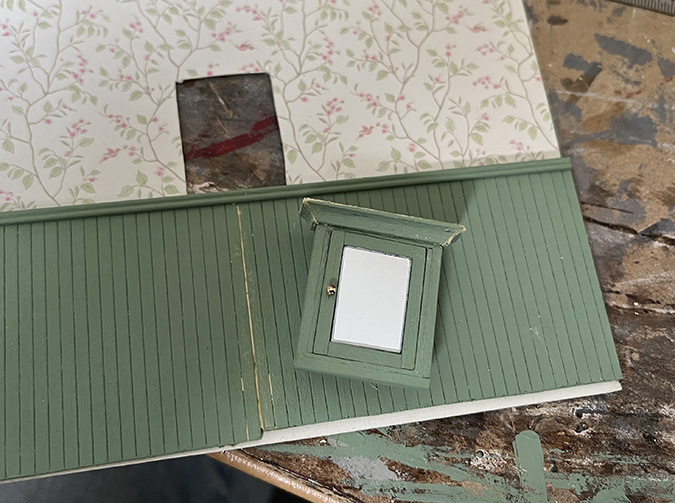
I thought this was looking good…
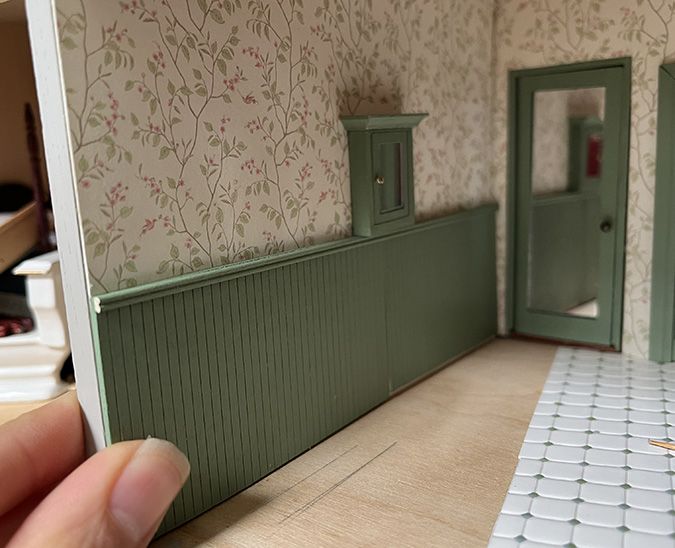
Until I saw it with the door trim in place. That little strip of wallpaper to the left of the door bugs me.
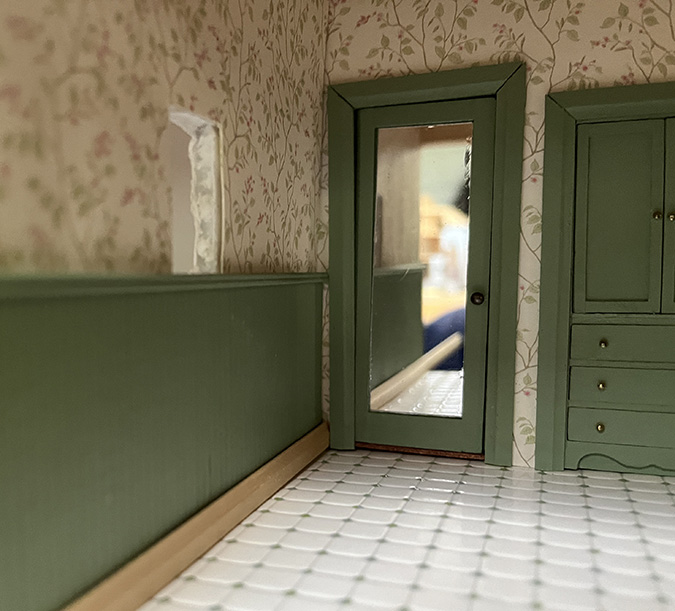
A Houseworks window mullion fits perfectly in that spot.
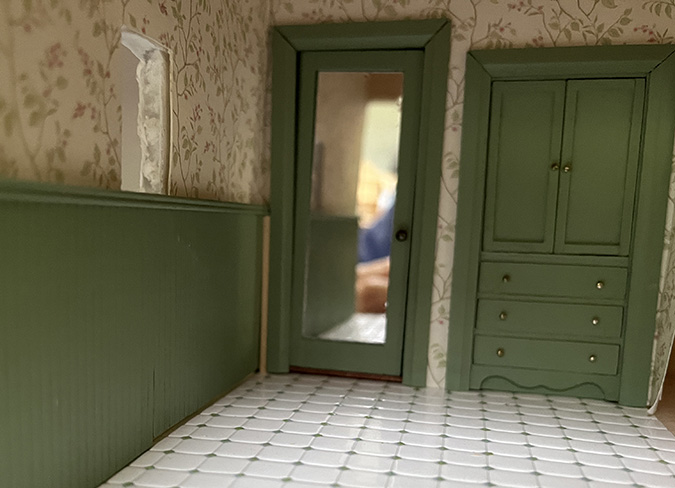
I figured I should also add wainscot between the door and linen closet, or that would be the only spot that didn’t have it. But the wainscot is the same depth as the door trim, which means the baseboard at the bottom would stick out rather than being tucked in between the two pieces of trim.
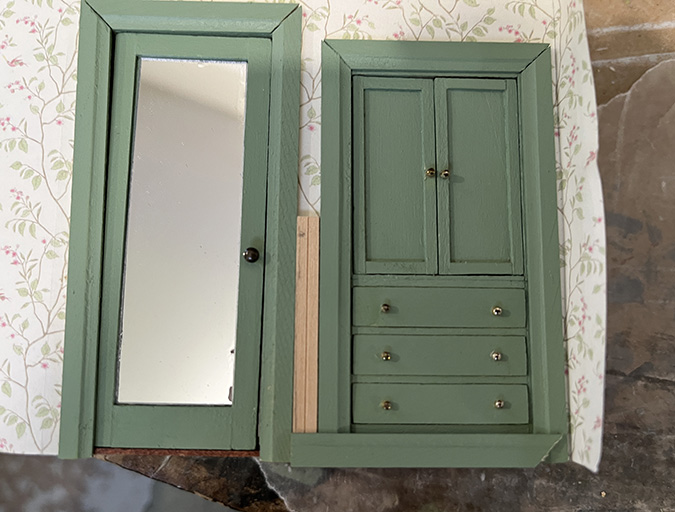
(Not pictured: I also tried cutting a shorter piece of wainscot so I could attach the baseboard directly to the wall, with the wainscot above it, but that also looked bad because the top edge of the baseboard is skinnier than the wainscot.)
I found a piece of strip wood that’s thinner than the wainscot and used a utility knife to score a line down the center. The baseboard still sticks out beyond the door trim, but it’s more tucked in now and looks better.
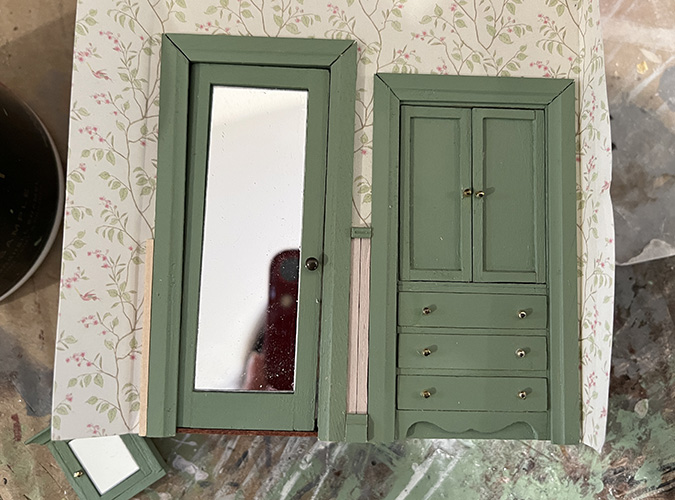
Coming up next time: electricity! Because I am a masochist.
 Emily is a freelance writer, miniaturist, and adventure game enthusiast.


Great detail work! It’s coming along so nicely!
Going to look amazing & great colors! Living in FL, the humidity takes a toll on some of my older houses. Even though they are in air conditioning, just aging really changes some of the wallpapers I have used. But it does give it a realistic, lived in quality. I’m continuing to enjoy your updates! A dehumidifier would help if you don’t already have one.
Had to laugh at your last comment! It’s good that your sense of humor is intact!
Great work! Thanks for continuing to share your projects!