The Den of Slack

emilymorganti.com

Mansard Victorian – slow bathroom progress

I’ve been working on the Mansard Victorian’s bathroom for way too long. I started it last April when I bashed two Cassidy Creations kits into a linen closet and then dropped off over the summer when Momma’s Kitchen (and a new dog) diverted my attention. In September I got back to it for a little while and then got sidetracked by the dog vignette.

Meanwhile, the bits and pieces I was working on have been sitting out in the workshop, and whenever I come back to them I’m not sure where I left off. Here’s my attempt to get back on track.

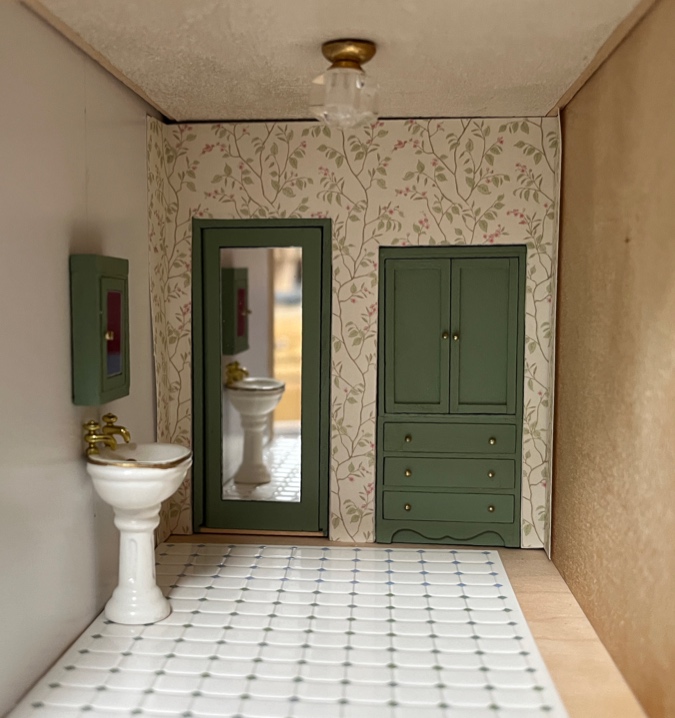
Wallpaper & Wainscot

The last thing I worked on was the door with a mirror in it.

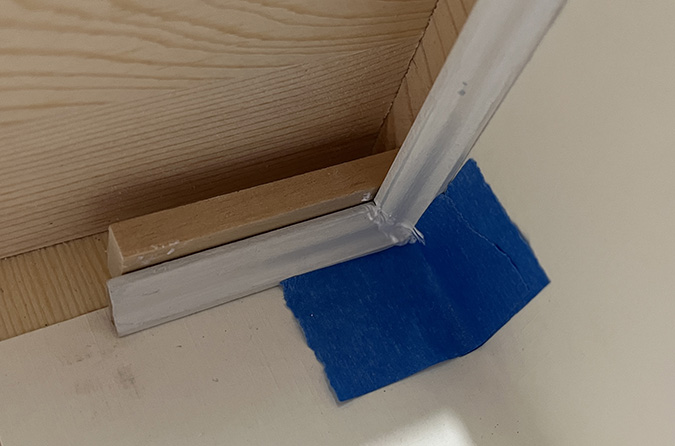
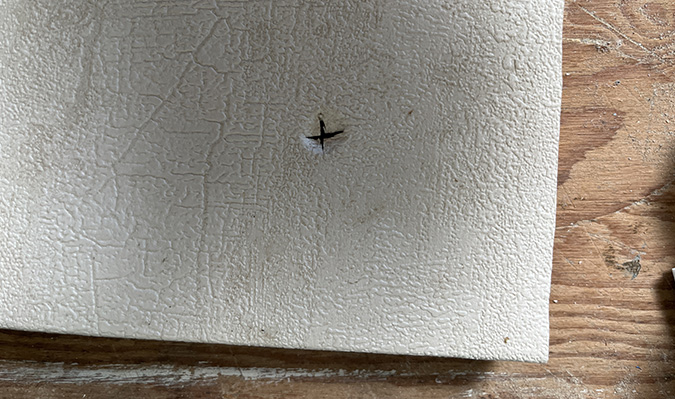
When I was scoring the wallpaper to fold it over at the corner, I got overzealous with a sharp blade and almost sliced off the excess.

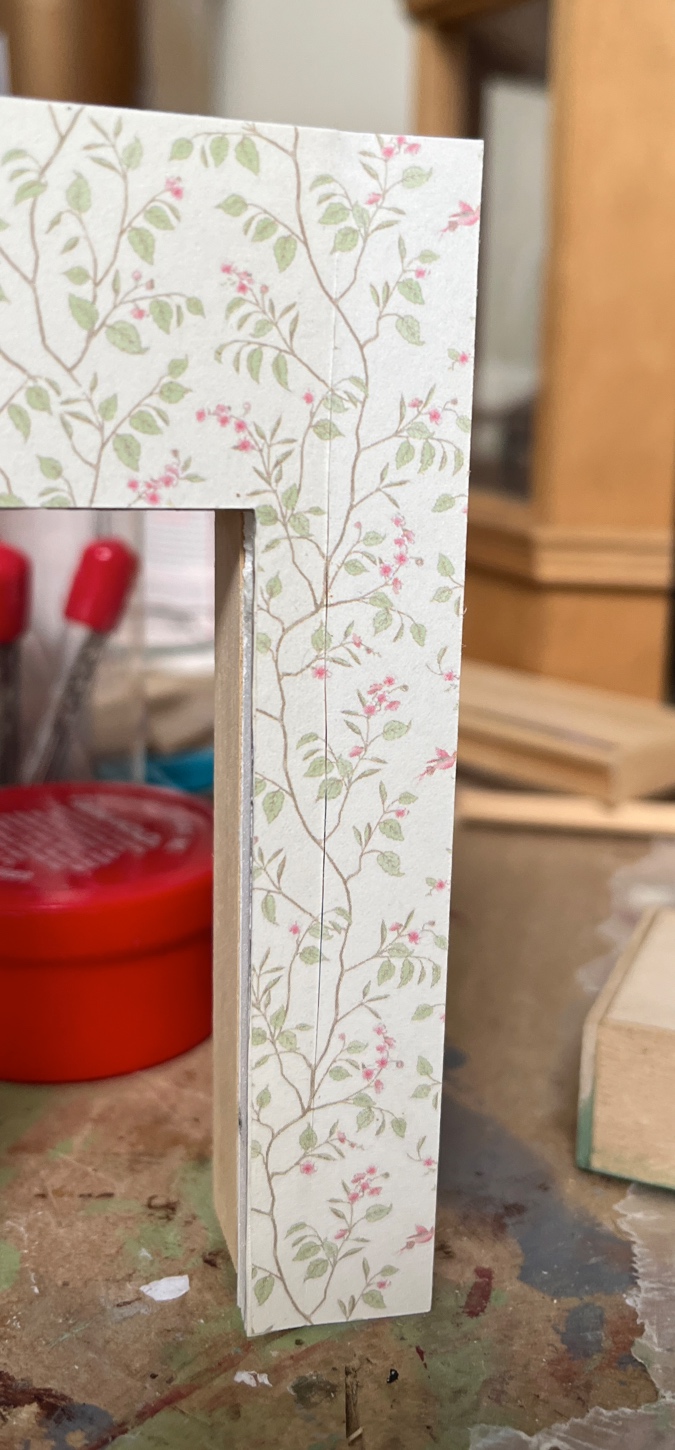
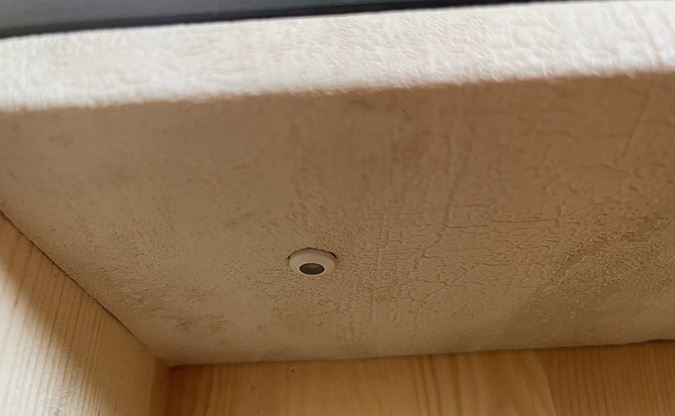
As I continued to work on the room, the slit got bigger and I was worried the two pieces of paper would separate. I reinforced the corner by gluing on a strip of stiff scrapbook paper.

Once the wallpaper on the adjacent wall is butting up against this corner, you won’t see the slit at all.

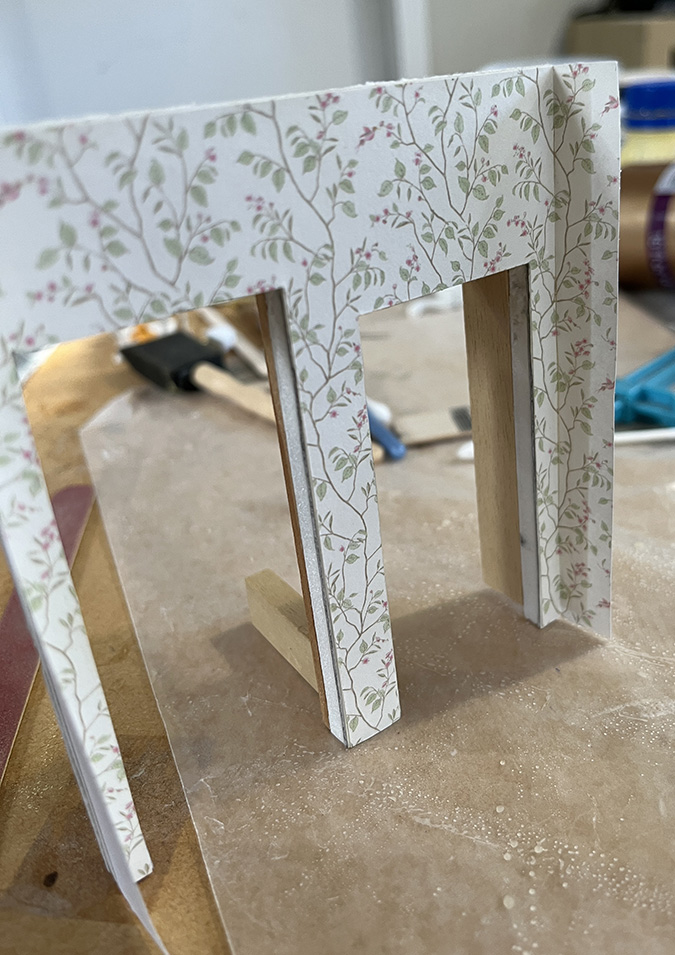
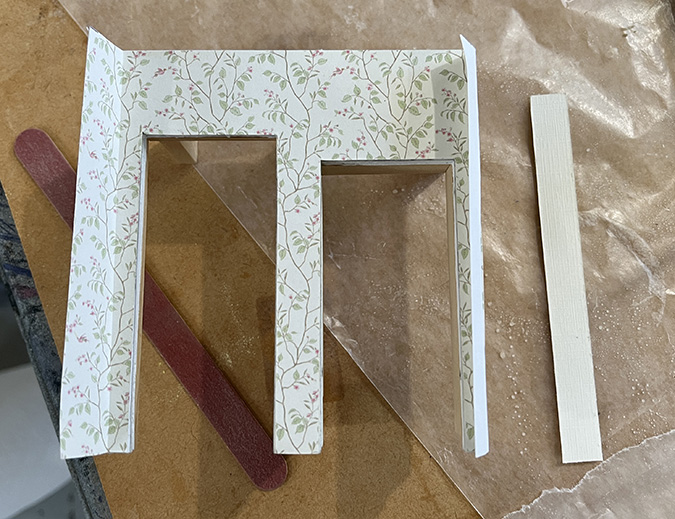
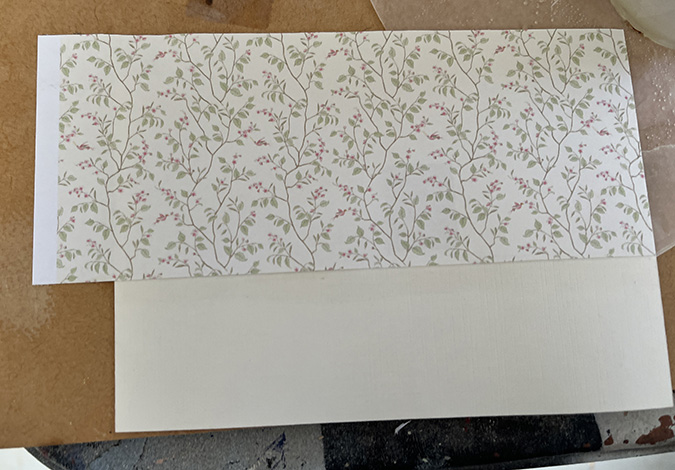
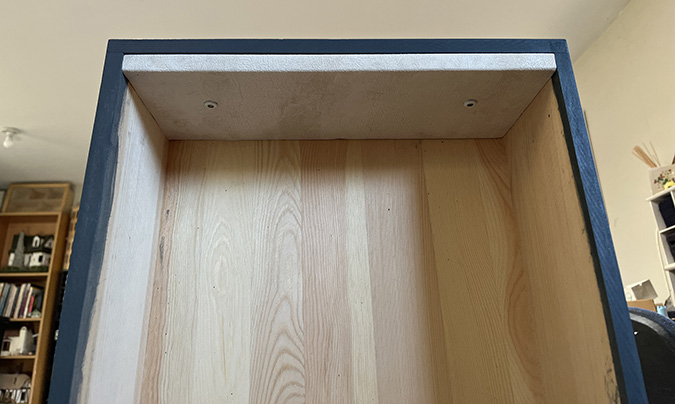
Because this is a long skinny room, I decided to prepare the walls outside of the dollhouse and glue them in. I started with a piece of stiff paper to cover the wall. I cut the wallpaper so the design will meet up at the corner. The bottom half will have wainscot.

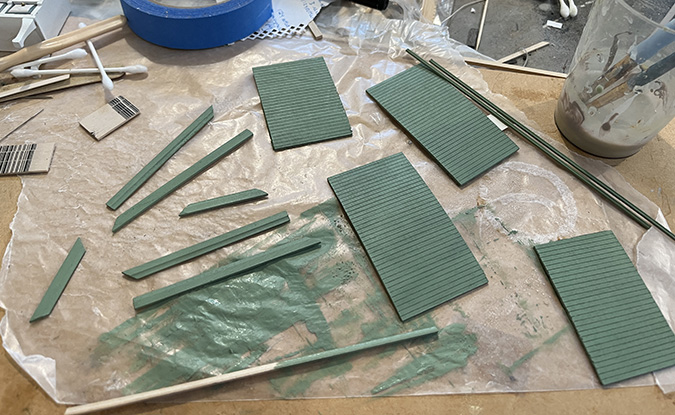
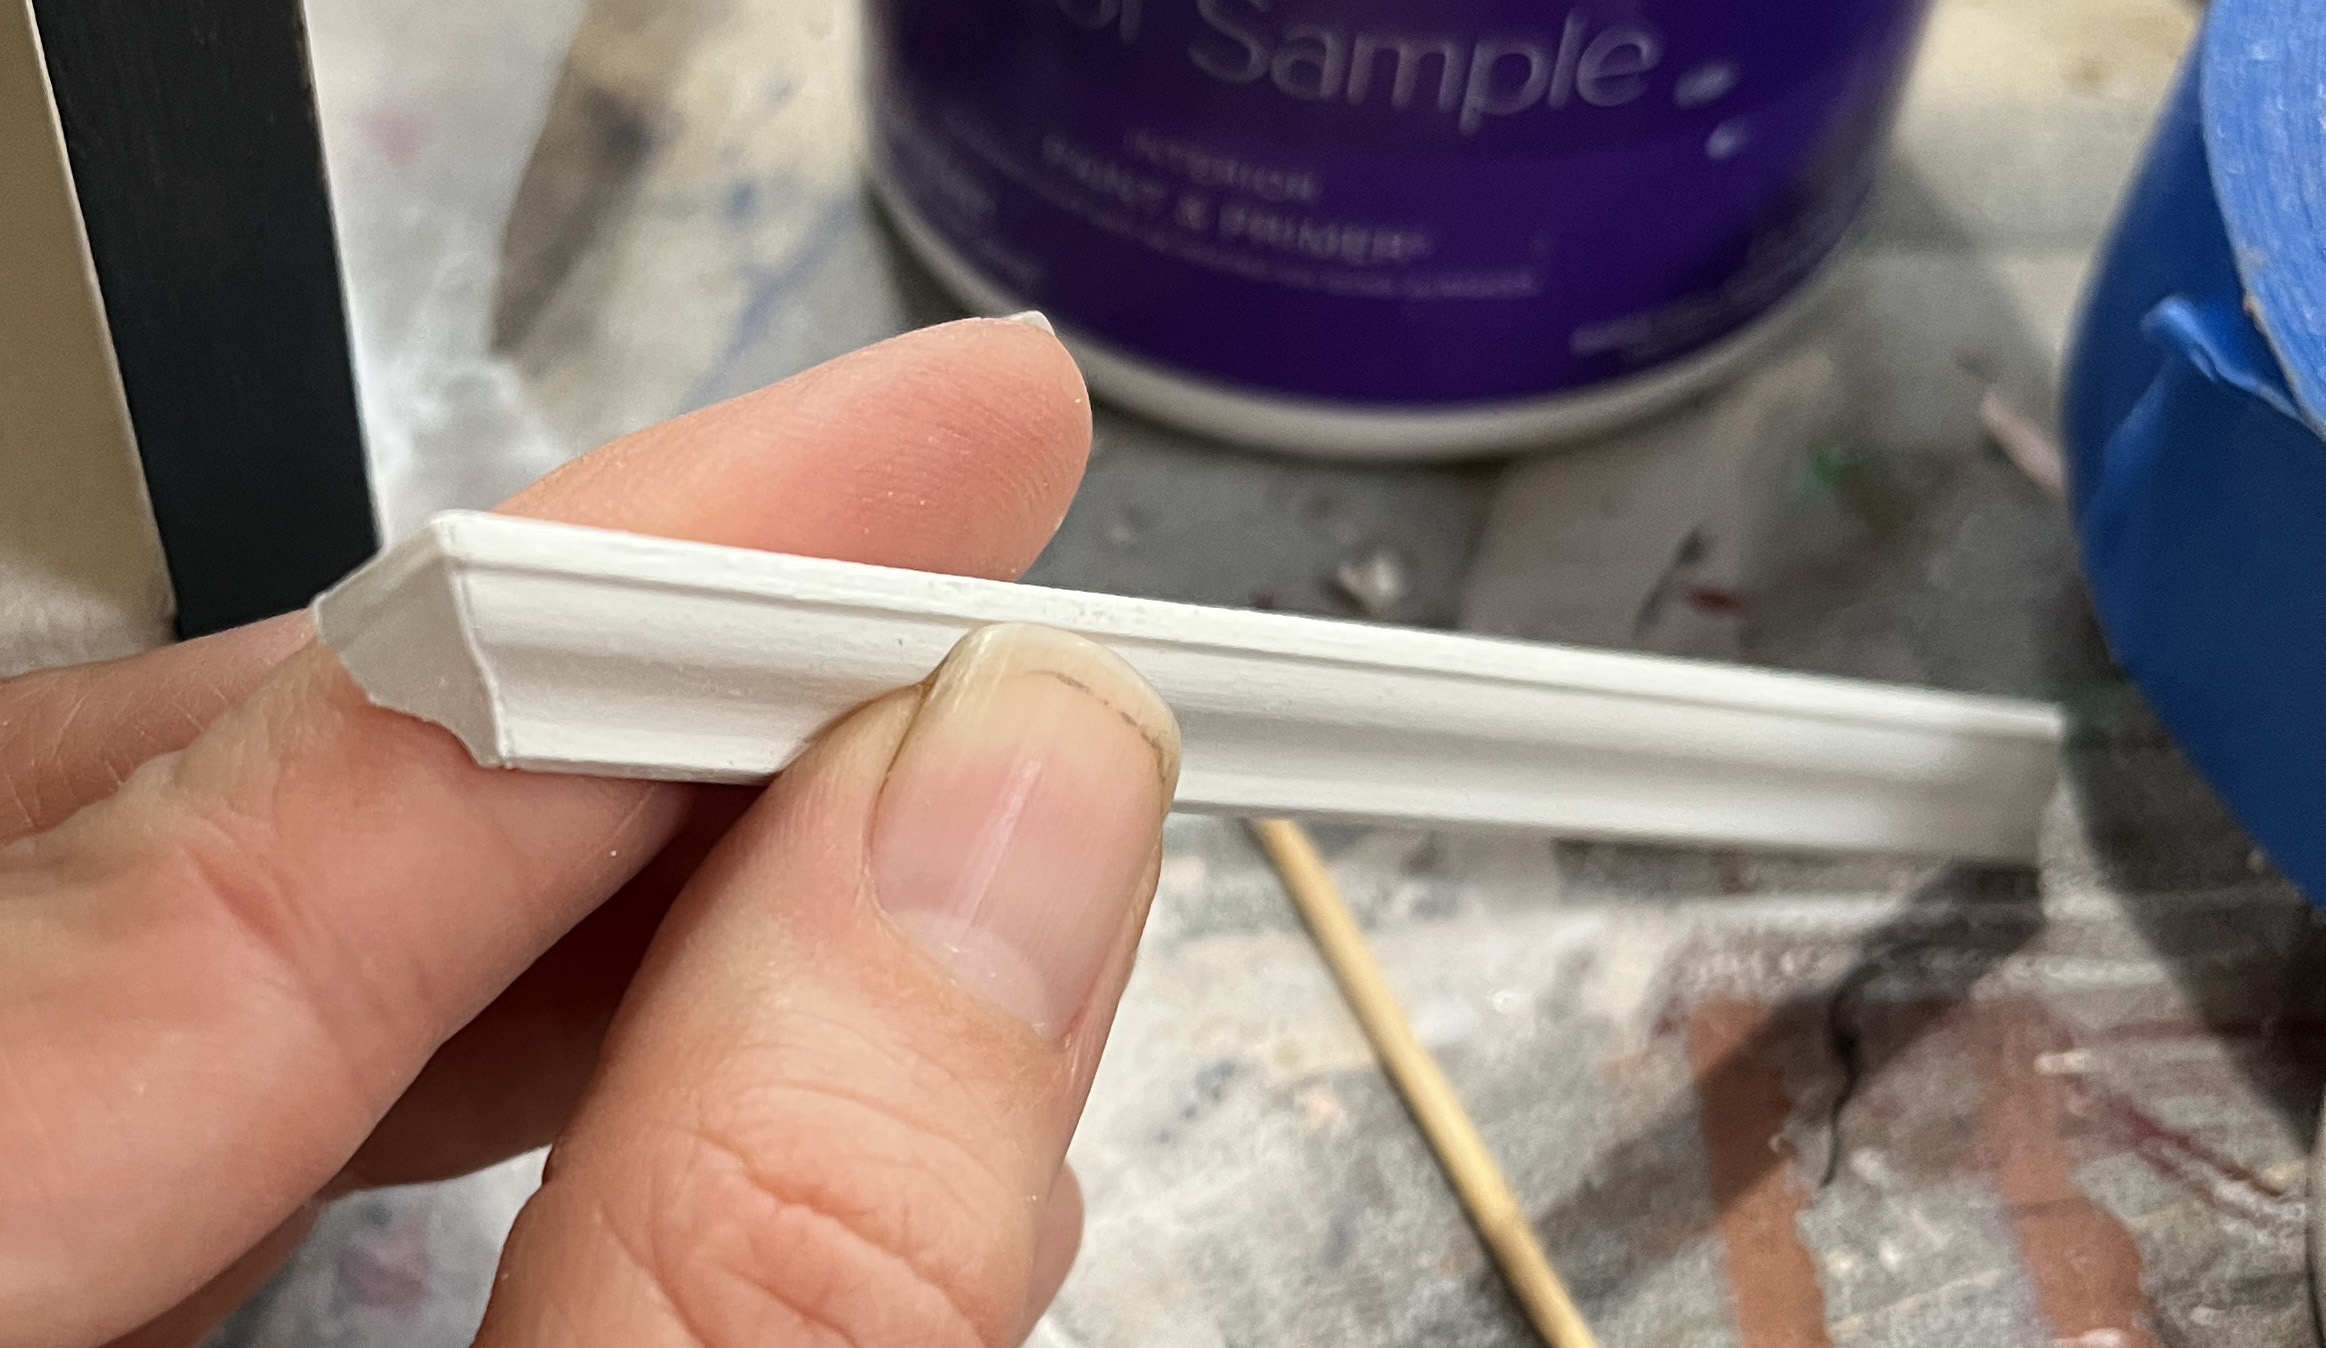
I painted the wainscot and door trim with the light green paint I’m using for the trim. (This matches the light green Bauder-Pine furniture that I’m using throughout this house.)

Continue reading

Dog Vignette – trim and accessories

Yikes, it’s been a while. I haven’t been working on anything lately, which depresses me because it’s been almost a year since I started the Mansard Victorian’s bathroom… at this rate that house will be finished in 2040 or so! But I also need to finish posting about the dog vignette I made for Christmas and I just haven’t felt like it. To all of you who have been waiting with bated breath, sorry.

I finished the electricity on December 21. By this point it was pretty clear I wouldn’t have the roombox finished for Christmas, since Geoff was home again and I couldn’t get everything done that was left to get done while he was around. So I accepted it would have to be a post-Christmas gift.

He left town again the day after Christmas which gave me a few days to get everything done before his return on the 29th. By the end I was really rushing and didn’t take good pictures, so apologies in advance for that.

I had purchased 1:12 baseboard and crown molding, but the baseboard was the kind that had a slot in it to hide a wire behind, and that didn’t look nice where you see the edge of the baseboard at the front of the roombox. I tried filling in the slot with wood filler but it looked bad. Also tried adding a return but it didn’t work out for reasons I can’t remember now (probably because I was in a hurry and got overly annoyed).

Luckily I had some 1:12 baseboard in my stash that didn’t have a slot in the back, and as an added bonus it was already painted.

I think that spacer to the right of the fireplace was in there because the baseboard was warped, and the spacer pushed it flat. Don’t remember.

I did add a return on the exposed ends of the crown molding.

I turned the roombox upside-down to glue in the crown. One of the pieces was warped and I used tape to force it into place.

(I should mention that the ceiling and floor are not glued in. I left them removable so I can access the wiring, just in case the electricity stops working. See, I’ve learned from past mistakes!)

Normally I would fill the seams with wood filler and then paint over them. Since I was in a hurry, I used white grout instead.

The piece of wood on top of the crown is preventing the underside of the trim from getting globs of grout on it.

While that was drying, I finished up the fireplace by gluing in the top and bottom pieces I’d prepared a few days earlier.

Then I added the front piece, using a spacer to make sure it’s centered. This is just held on with wax, so I can remove it and reach in to position the log.

Continue reading

Dog vignette — LED can lights and a flickering Log ‘n Flame

To electrify the dog roombox, I used LEDs and supplies from Creative Reproductions 2 Scale and Evan Designs. The roombox has two can lights and a flickering Log ‘n Flame. I got warm white can lights (they also come in pure white).

The log includes a circuit board and multiple LEDs that blink at different intervals, to create the flickering fire effect.

As I showed here, I made a false ceiling and floor out of foam core to hide my wires. The can lights fit into a 5/16″ diameter hole. I used my circle stencil to draw this and then poked around it with a pilot hole punch tool.

Then I cut out the punched circle with an Xacto knife.

After adding ceiling paper (which is life-sized textured wallpaper), I cut an X through the hole and pushed the paper in.

And here’s the can light in the ceiling. The hole is a little bit too big because my Xacto cuts weren’t exact. In hindsight I should have started with a 1/4″ circle for a more snug fit.

Here are the two can lights in place. In my post about preparing the box I mentioned that I tried a few different locations for the lights before I ended up with something I liked. These are roughly equidistant from the side wall and the front of the fireplace, with enough space between them to slide the fireplace in and out of the box.

Continue reading

« Older posts

© 2025 The Den of Slack

Theme by Anders NorenUp ↑